Pick up the bun with the knit fabric circle and turn it upside down so you can see the knit fabric peek through the center of the bun. Grab your double threaded needle and secure the knit fabric to the bun. Be careful not to prick your finger! 😉 Sew back and forth a couple of time.
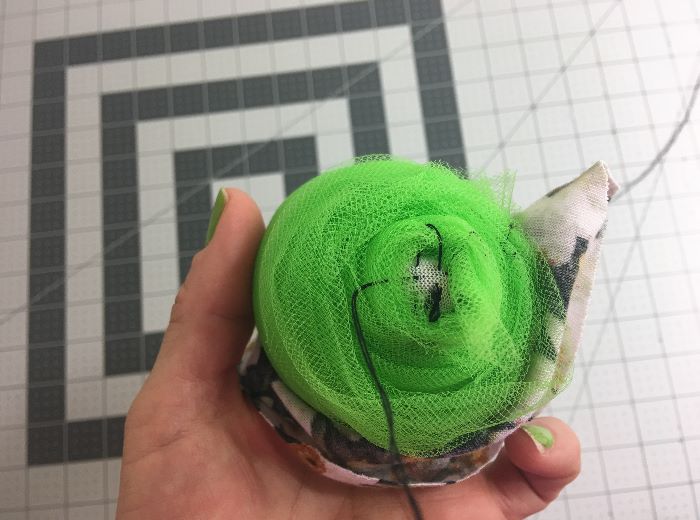
Now hand stitch all around the bun to squish it down some more. It should end up being about 1.5″ tall once fully sewn around it.
To continue with the tutorial please click on page 2 below!
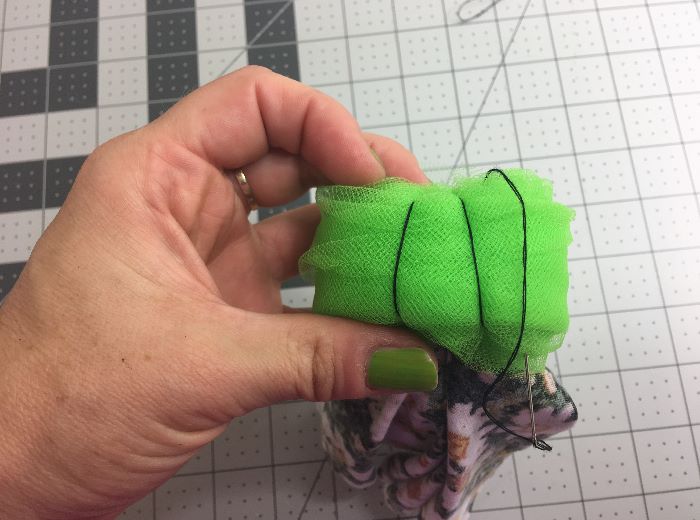
This is what you should have now.
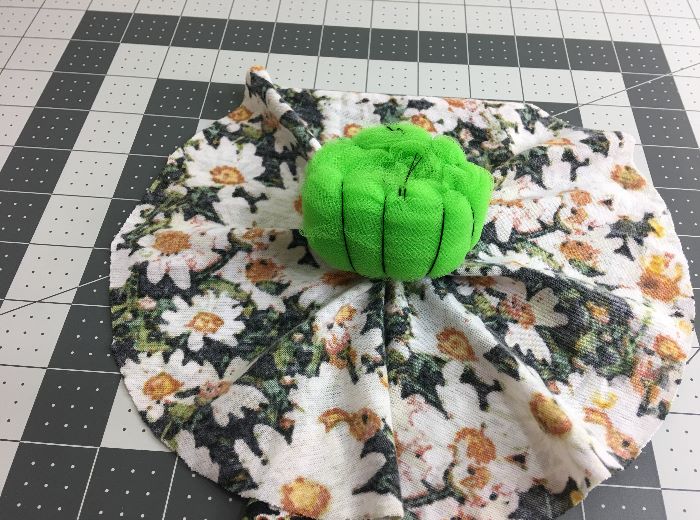
Pick up the knit fabric circle by the outer edge and fold up and over the bun.

You should have about 1″ of knit fabric past the bun, if it’s more, trim it off. No need to measure, just be sure to leave at least an inch of knit fabric edge.
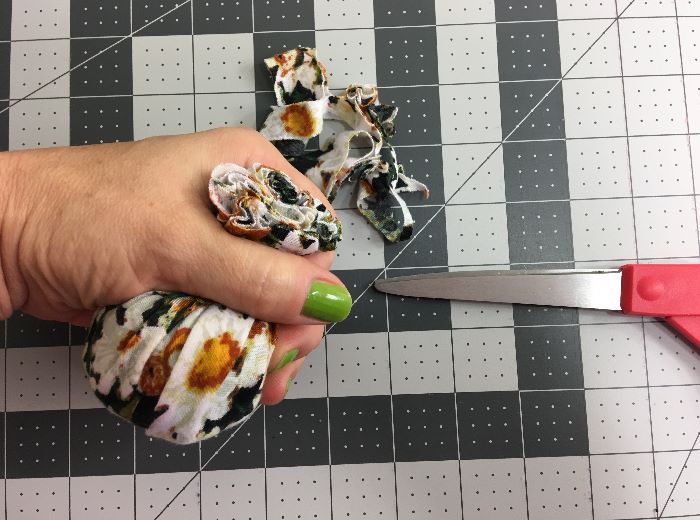
Gently push the knit fabric edge into the bun center as much as possible. There should be no looks folds around the bun and the fabric should sit snug around it.
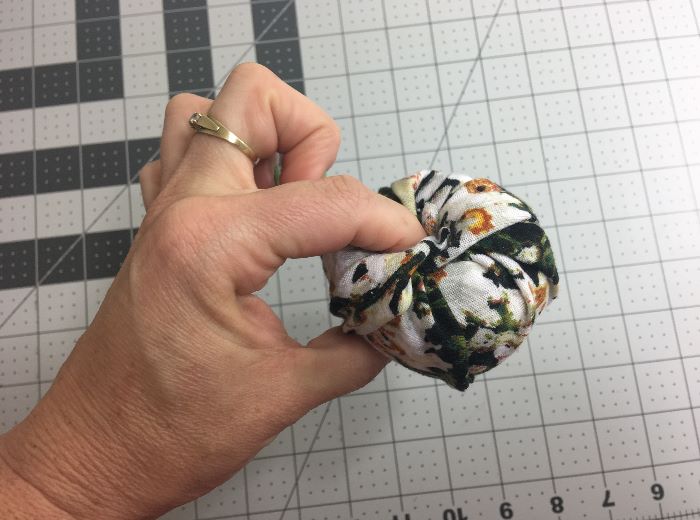
Secure this area with about 10 stitches back and forth, criss/crossing over the center.
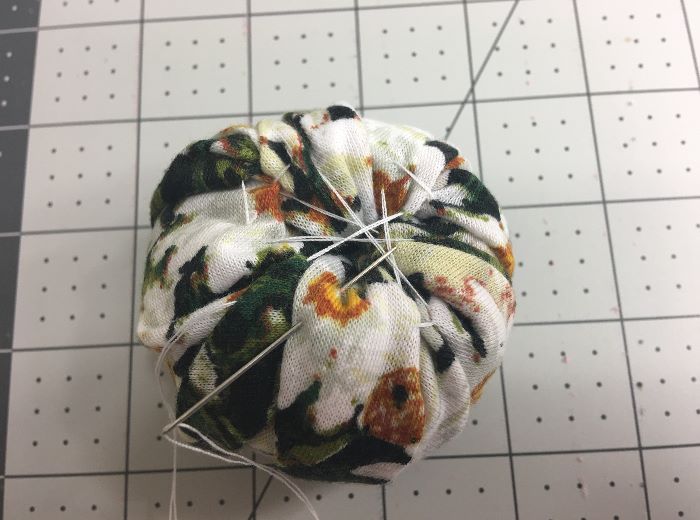
You may now rearrange the folds on the bun’s top. Get your beanie ready, of course without the bow.
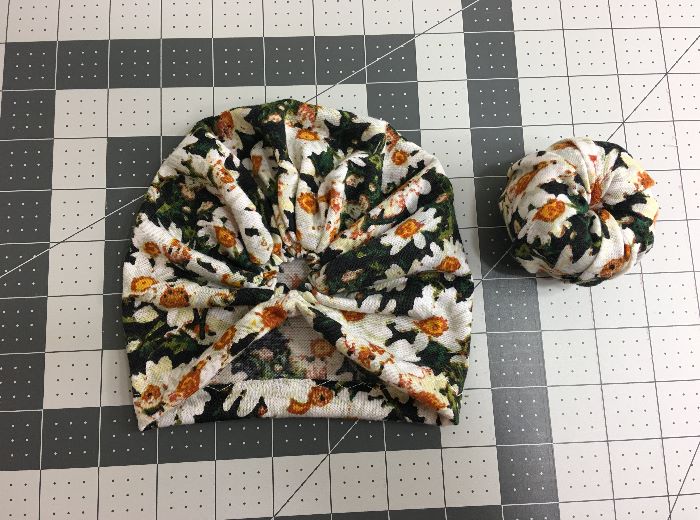
Place the bun onto the beanie’s gathering opening.
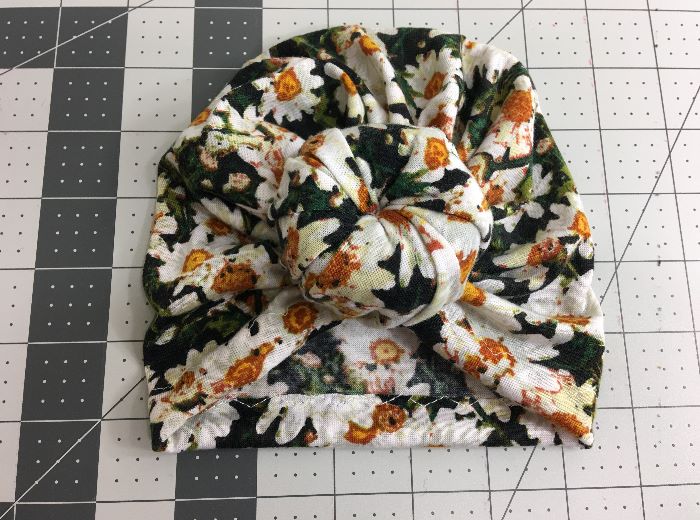
Carefully lift both up and hand stitch the bun to the beanie, all the way around. This process will take a good 5 minutes.
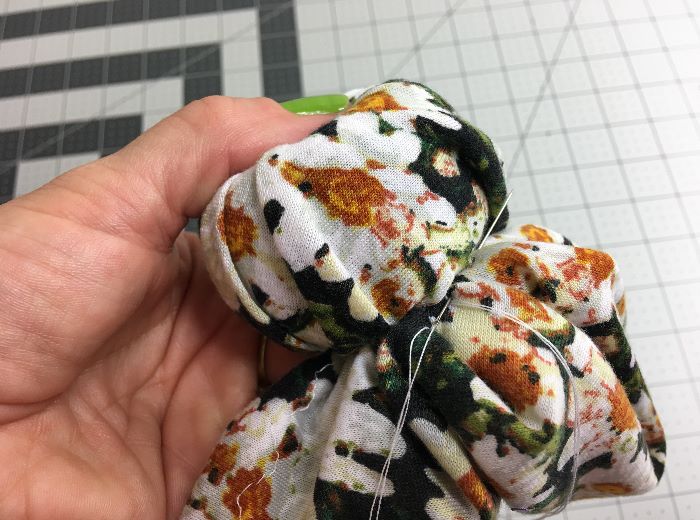
This is how the beanie looks like from the inside. We’ll cover that in a bit!
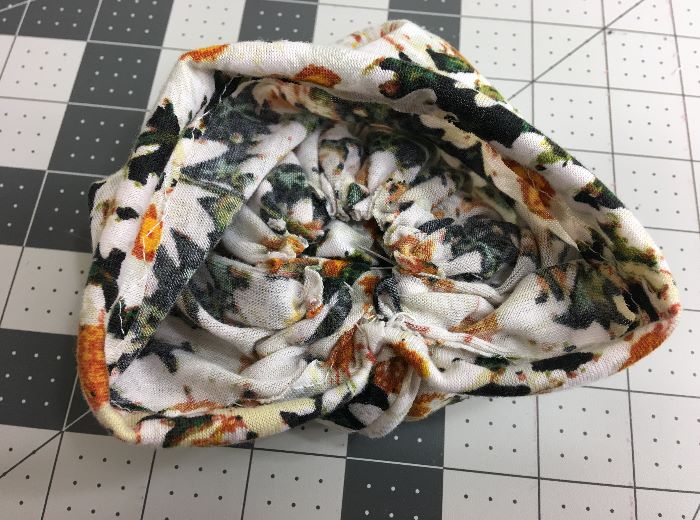
Pin the felt circle to the inside of the beanie to cover the gathered area.
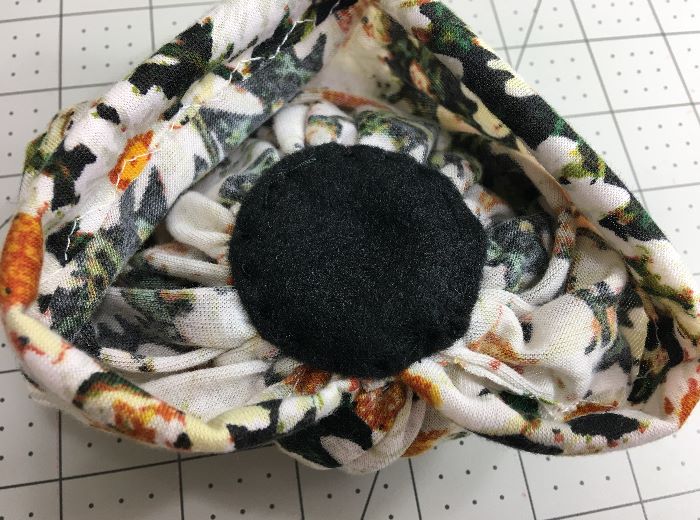
With a matching thread, stitch the felt circle to the beanie.
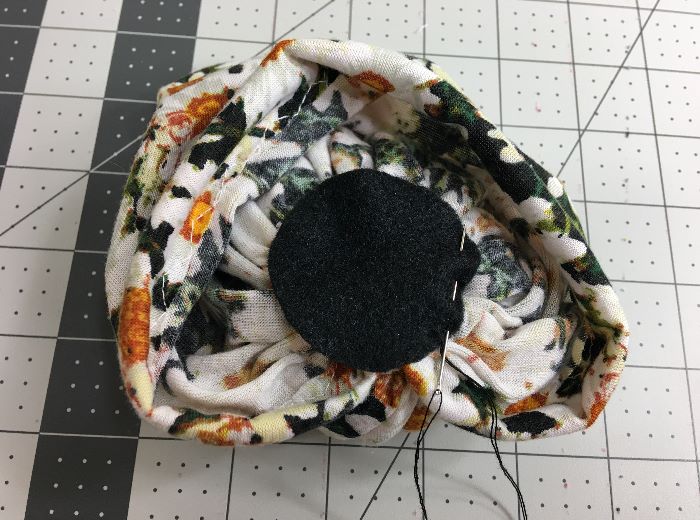
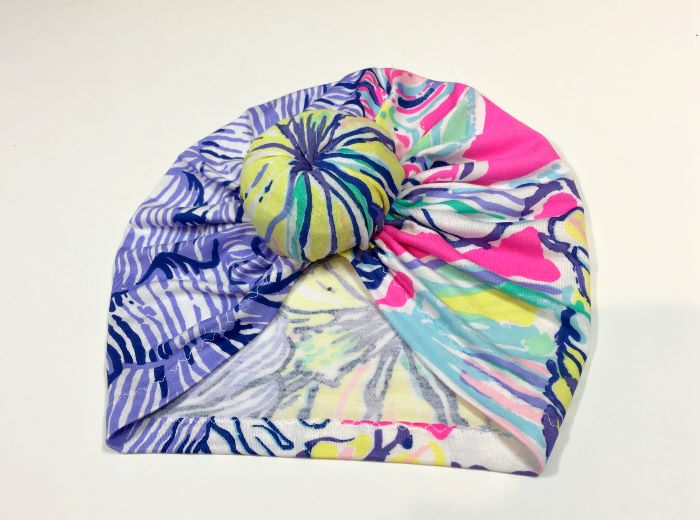
And our knotted bun turban beanie is done and ready to be worn! I made this fun beanie
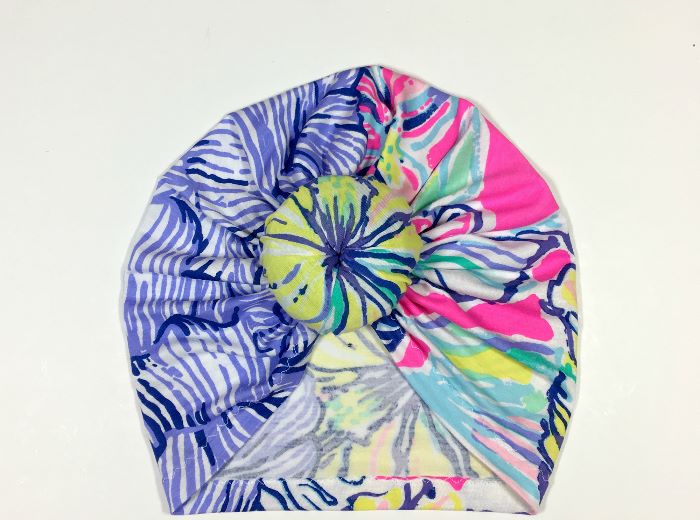
This fun knit fabric is also from Girl Charlee! I had to make myself a matching tee! I used my “favorite tee copy method” tutorial for this!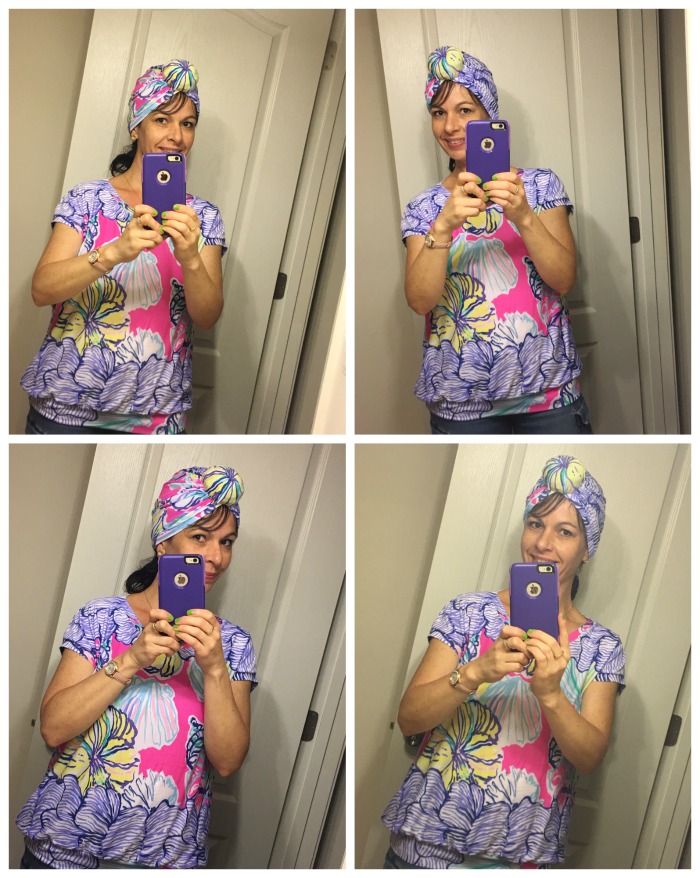

- Free Snowflake Tumbler Wrap Designs for Download - September 24, 2023
- Free Welcome To Our Farm SVG File - July 17, 2021
- Professional Overthinker SVG File – Download Today! - July 8, 2021
This is a nice way of giving back to the society. Good job. Keep it up.
Thank you so very much for your lovely comment!!
Thank you so much! Happy u made this tutorial!
Youre awesome
Do u also know how u make it without the donut just with the knot on top? If u dont Im already with this one en make sure u keep doing what u love
Glad you like this tutorial! The regular tied knot in the front is part of the pattern which you can buy. The knot (or bun) is for “hiding” the gathered area on the beanie.
THIS is the only tutorial I could find So awesome! I do have a question (that may be dumb sorry this is my first sewing project) but does your pattern that you stated above that was for sale on etsy does the work with this? Like how did you make the hat itself to be ready for the knot? Thanks in advance
Hi! I just bought your pattern and its great. I was wondering though the pattern turban head wrap part doesn’t look like this, with the little circle in the middle. Its just all gathered. Is there an updated pattern? I think it would lay flatter with this pattern. Any way you could tell me what the difference is? Thanks so much! Great tutorial 🙂
Love this tutorial. Thanks for sharing! is there a tutorial on how to make the beanie?
Where’s the pattern at that i can buy for the top knot without the tulle insert? Thanks!
Does your pattern also include the
Measurements to
Make the knot tieing the long strips of fabric so the hat is all one piece?