Looking for a great way to add some personalization to a shirt? Adding hand made appliques is easy! My step-by-step tutorial will guide along. For this quick tutorial I am using some very high quality flannel from Riley Blake, sponsored by the Stitch Stash Diva. Browse their huge sales section!! The quality is far beyond my expectations! But for now, off to the tutorial…
⇓- – – – – – – – – – P I N T H I S – – – – – – – – – – -⇓
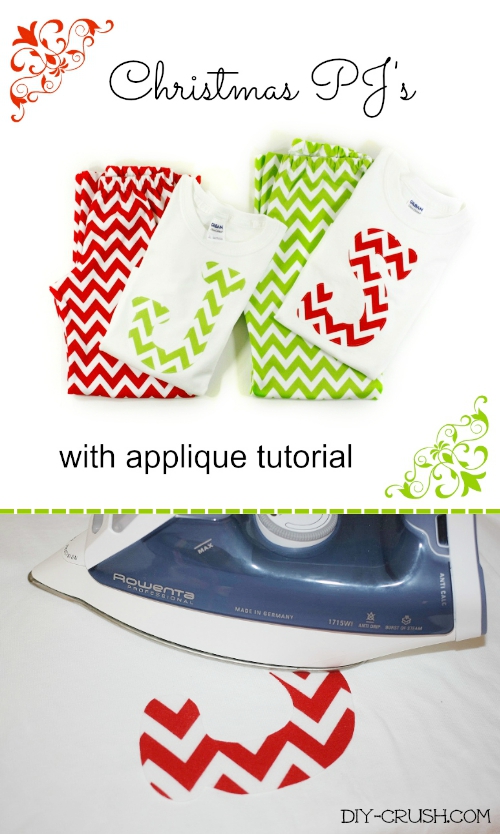 For this tutorial I wanted to combine a few things.
- Brag about the high quality of Riley Blake’s flannel
- Thank the Stitch Stash Diva for their sponsorship
- Teach a quick way to add personalizing to a garment
Not in any particular order though 😉
Fabric arrived
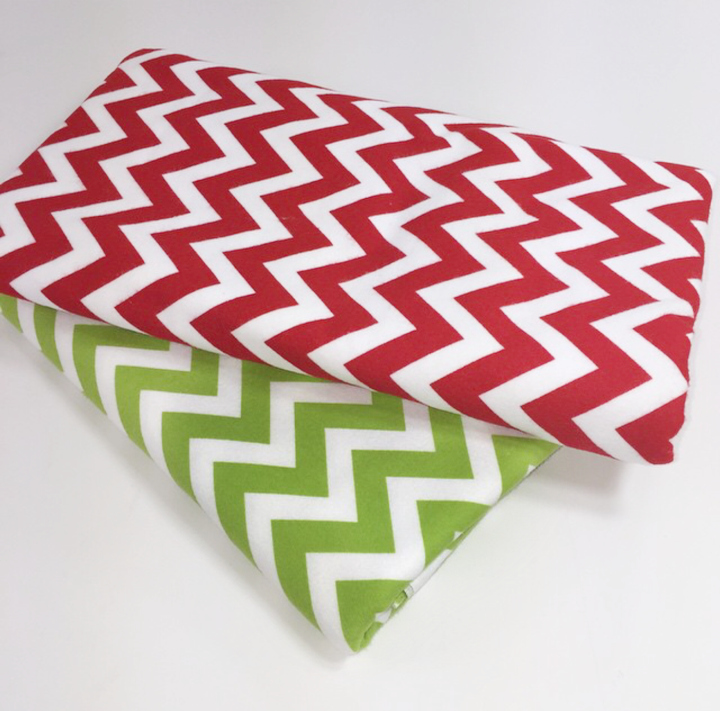
I was eager to unpack the package I have received from The Stitch Stash Diva and it revealed yummy, soft, colorful flannel fabric! Flannel fabric is just about the best material (next to fleece) for cold weather. Imagine it’s snowing outside and you can slip on your favorite pj’s made with flannel? Flannel is a multi-purpose material. It can be used to make baby bibs and burp clothes or it can function as a jacket liner as well. It’s not only great for pajamas. Further it washes well and especially Riley Blake’s flannel is known for that!
Choose the pattern
Since I love the idea of flannel pj’s I reached to Whimsy Couture’s Jump Around Pants sewing pattern. It’s a great and versatile one and by omitting the ankle elastic it will make a nice, straight pj leg. 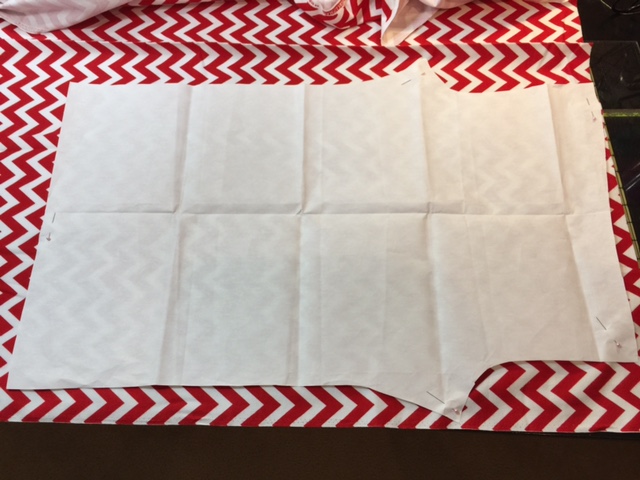 I traced the size I needed onto a poster roll and cut it out. Then I placed the template onto the fabric and made sure the chevron stripes would be nicely even. After I had cut both leg pieces I went ahead and finished the pants. During the entire process I just loved the softness of the flannel!
- Check out my list of 14 tips when sewing with flannel!
Make the applique’
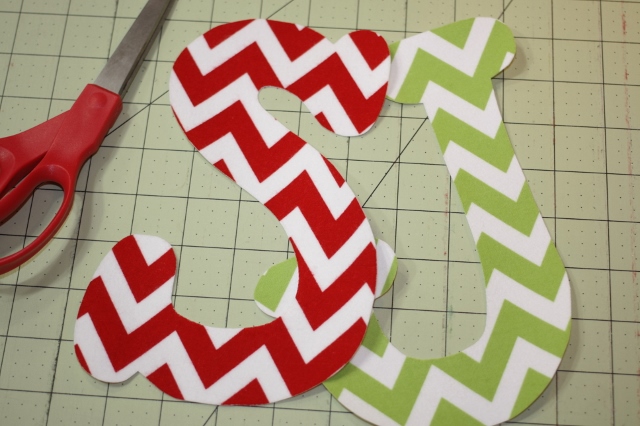
You won’t need a lot of things to make hand made applique’s. First you want to select the shape you like, in my case I chose my kids’ initials. I thought the finished project would make adorable Christmas pajamas 😉 List of required materials for making applique’s
- applique’ shape
- Iron on adhesive
- scissors
- pencil
- iron (I use this one!)
- shirt
Let’s get started!
This is my light weight heat’n bond which is perfect for a lighter strength and for sewing around the applique’ edges.
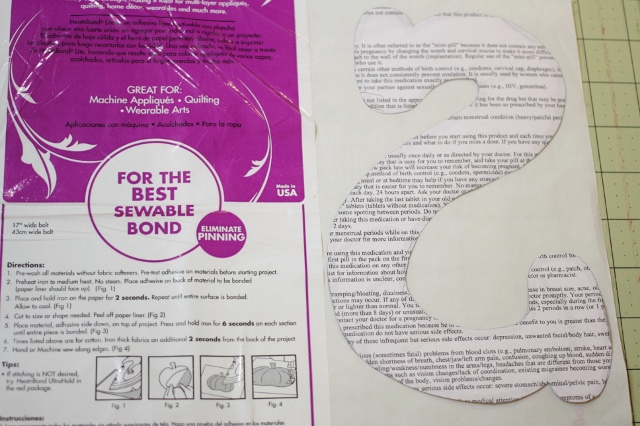 In order to trace the applique’ shape correctly so that the adhesive side is under the applique’ (especially important for letters!), flip the shape to be traced upside so that the “S” faces the wrong way. With your pencil carefully draw along the outer edge of the shape. This may take a while to be sure the lines won’t end up squiggely. Take your time! Now cut a square or rectangle just around the shape you just drew. Don’t cut out the exact shape! Once you are done with tracing it’s time to iron the heat transfer to the fabric. Flip your fabric with right side down and make sure the print direction, if applicable, faces down as well. Place your cut square or rectangle with the rough (adhesive) side facing down and the drawn shape facing up (hey, it’s better when mentioned twice, right? lol) onto your wrong side of the fabric and press with your non-steaming iron according to the adhesive instructions. It is usually about 10-20 seconds on high heat. NOTE: if you are using other fabric than cotton or flannel, follow the heat tolerance of that fabric! Otherwise you might melt the fabric to your iron!
Cut out the shape
Once your project is cooled off, cut out the shape very carefully with a pair of sharp scissors. NOTE: I don’t use my fabric scissors for anything that has adhesive, so you may want to consider this too. Then peel off the backing of the adhesive.
To iron the applique’ on
For my project I am using a ready made long sleeve t-shirt from Gildan which is a great quality and pretty thick, so it’s perfect for cold nights. You can also make your own knit t-shirt if you prefer. Set your iron to medium heat and no steam. If your shirt is wrinkled it’s best to steam press it before applying the applique’. Don’t forget to turn off the steam then! Place the applique’ where you want it to appear and press it with the iron according to the heat’n bond instructions or follow mine. Heat press it for 10 seconds at the time. DO NOT move the iron back and forth, keep it still in one spot for those 10 seconds. Lift up the iron and wait about 3 seconds before covering the remaining area.
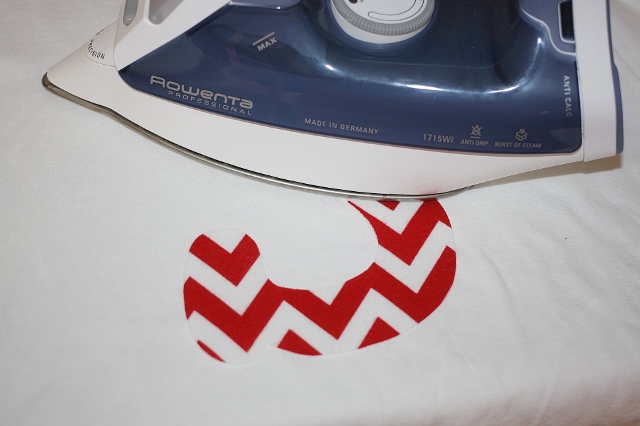 Once you are done with that, go over the entire applique’ one more time but this time you may move the iron as you would with regular fabric.
Sew the applique’ on
I usually just do a straight stitch along the perimeter of the applique’ with 1/8″ seam allowance. But a wider zigzag stitch or a tight zig zag stitch is also great! Best is to practice on a sample applique’ to see which one you like best. Here is mine: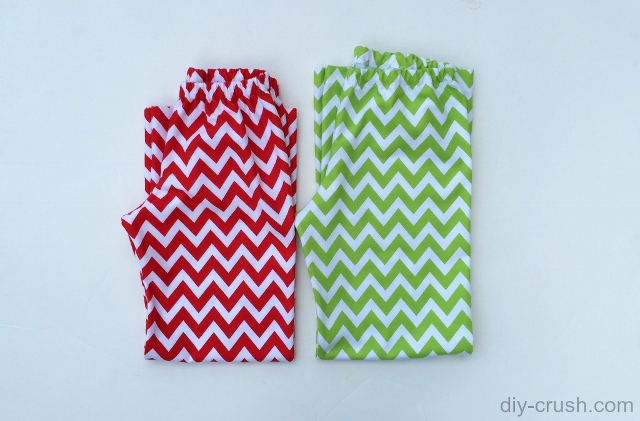 So, my pajama pants (two pairs!!!HA!) are done!
Get connected:
- Stitch Stash Diva’s Etsy shop
- Stitch Stash Diva’s facebook page
- DIY Crush website
- DIY Crush facebook page
- A facebook group to share everything in!
We are linking up to some of these awesome blogs!
- Free Snowflake Tumbler Wrap Designs for Download - September 24, 2023
- Free Welcome To Our Farm SVG File - July 17, 2021
- Professional Overthinker SVG File – Download Today! - July 8, 2021

Congrats, I’ve featured your PJ’s on Worthwhile Wednesdays tonight, stop on by and grab your button!
~Allie http://www.craftyallieblog.com
Thank you SO much!!! I love your blog and will grab the button in a bit! Happy holidays!
The pattern on the site, I don’t get it looks like it for kid, more details please. I will be house bound for 6 weeks and this would be a perfect project to do. I am having bunion surgery and would like to have something to do and would add another Christmas gifts to the gifts I have already. So I appreciate more information. Thank you Diane
Hi Diane, this is an applique’ tutorial, not a free pajama pattern. If you are looking for a free pajama pattern, I have one in long sleeves in size 9 here and I also have a free short sleeve summer pajama pattern in sizes 10, 11 an 12 here. Both are for kids. Those are the only ones I have at this time. Thanks for checking and good luck with your surgery!