Summer is just perfect for wearing cool and airy clothes, I think we all can admit that! However, a halter romper or any piece of clothing for that matter, might not always be desired. If you love the look of a halter but prefer a closed back, you can do that with pretty much any pattern. For today’s example I am using the Whimsy Couture Boho Knit Romper pattern which ties behind the neck. It has an exposed back and works great during summer but what about when it’s cooler? Take a look!
How To Make A Halter Romper With A Closed Back
The Whimsy Couture Boho Knit Romper is a roomy and comfy to wear halter romper for girls of any age! My daughter loves comfy knit clothes but firmly objected to wear this style because it shows her entire back. I understand that she doesn’t want that and I actually prefer her decision 😉 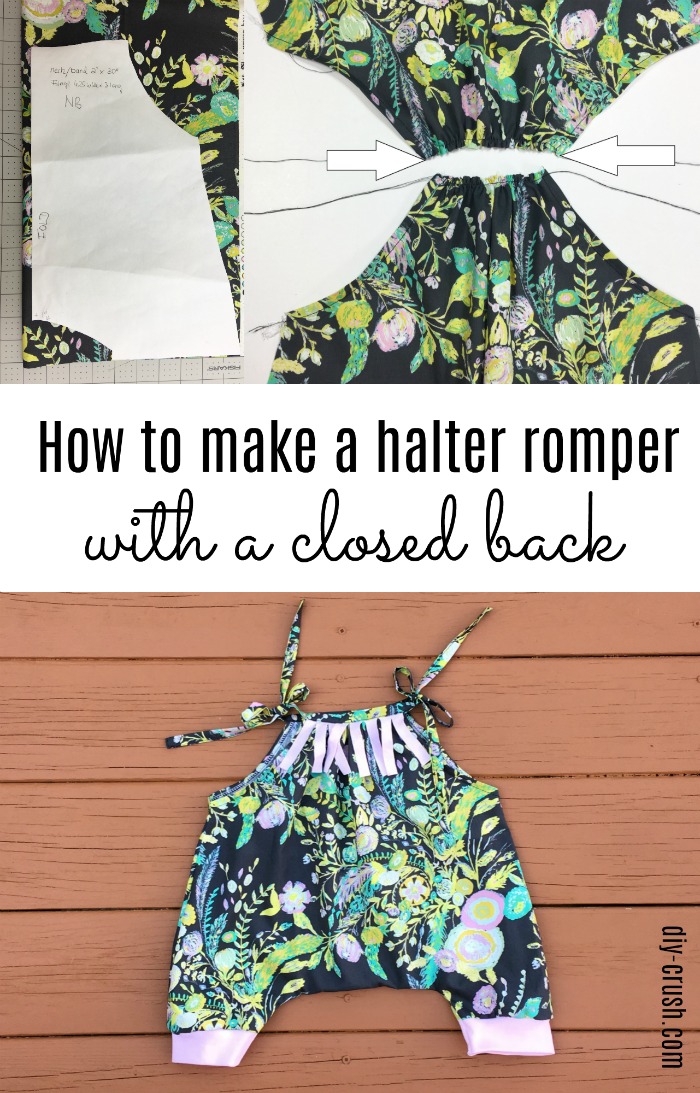 *This post contains links to affiliates. Please see full disclosure here.
Further, I am using wovens for this knit pattern and will show you an easy trick to do that and still keep the ease of wear.
For this post I am making a newborn size 0-3 months simply because it’s so much easier to photograph than a size 12.
What you need:
- Whimsy Couture Boho Knit Romper or any halter pattern
- measuring tape or ruler
- your usual sewing notions
Step-by-step tutorial:
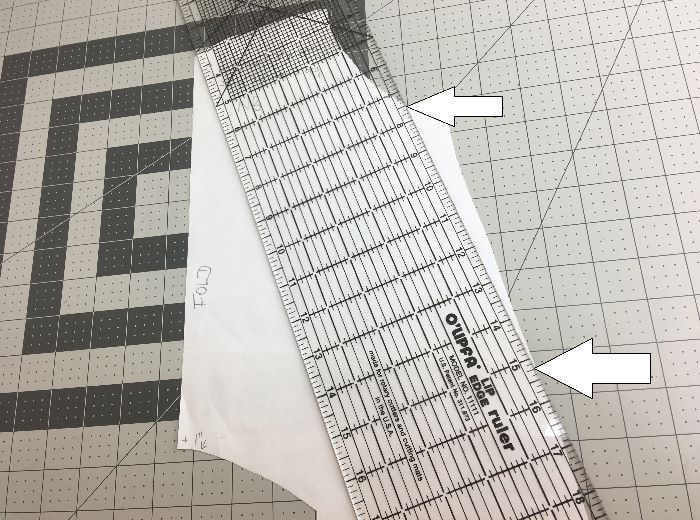
Print out the FRONT template only. If you want to decrease the large armholes which are supposed to be when making a halter romper, you want to trim off about 1 inch from the armhole curve’s lowest point and trim it off diagonally going down to meet the side half way as shown here:
(*note: I made my example romper without trimming down the sides but will show you a way to decrease the armholes once the romper is finished). Place the folded fabric down onto the work surface as instructed in the tutorial. Place the template onto the fabric fold and move it away from the fold 1/2″. Pin it in place and cut around the template. Since I was using wovens without any stretch, I added a seam allowance of 1/2″ while cutting around the template.
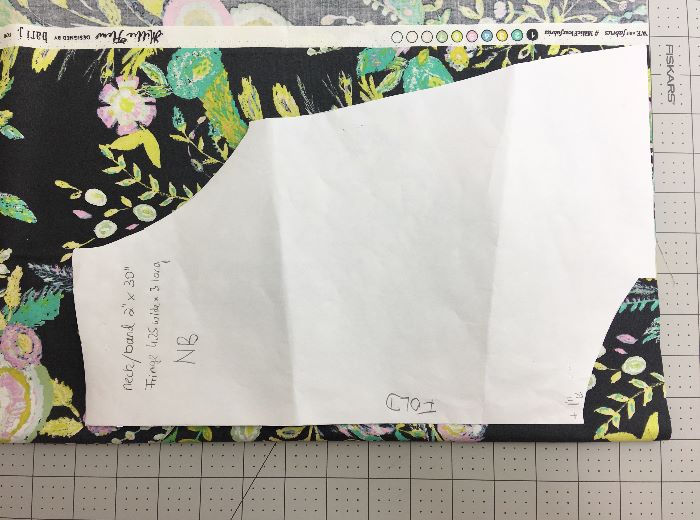
This is the cut out front bodice. I then cut out an identical piece. Remember, we are not using the back bodice template at all since we’ll make this romper with a closed back.
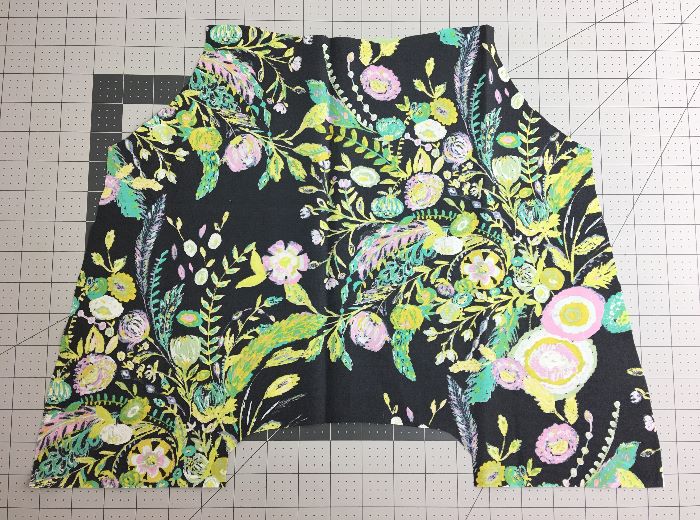
Since this romper will have a closed back, we won’t need just one halter tie. I cut out 2 tie pieces which will be used to tie the romper on each shoulder instead of around the neck. I left the measurements the same since I like longer ties to make a cute bow.
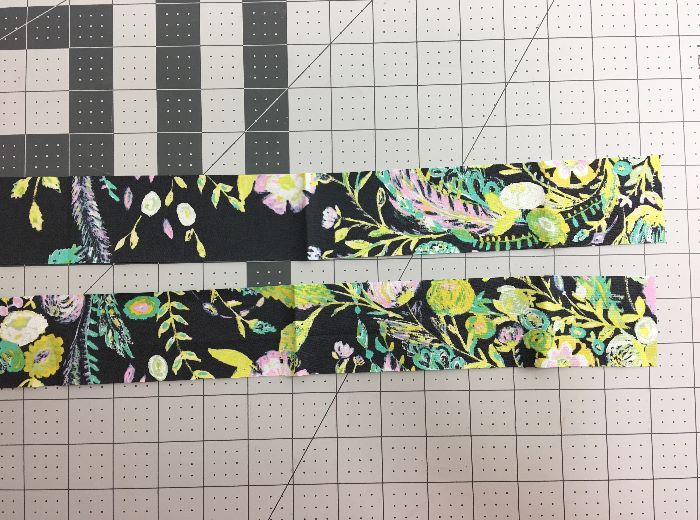
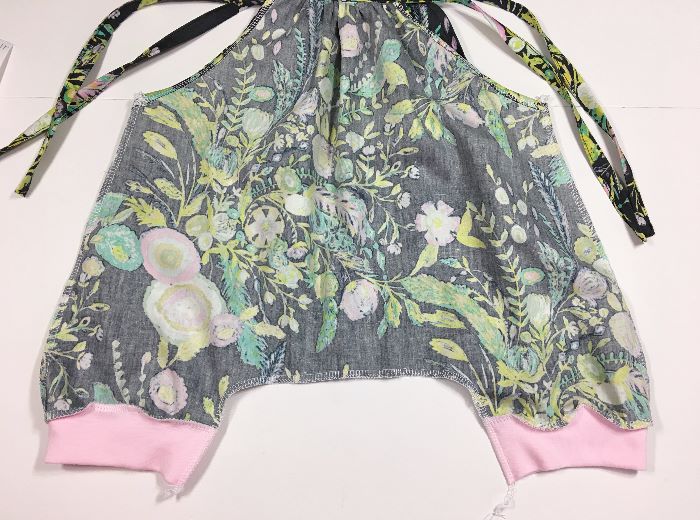
Once we get to the gathering part of the front bodice, we’ll gather the front as instructed in the tutorial. I also gathered the new back bodice but left the gathered area 1/2″ wider on each side. This will give the back a bit more coverage on each side.
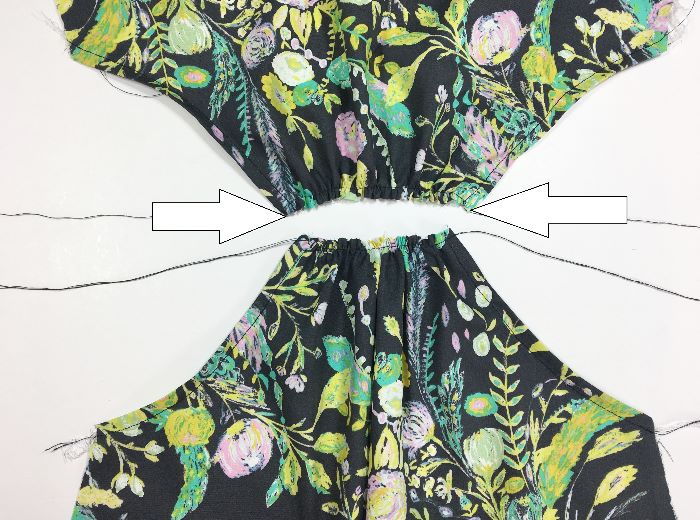
I finished the front bodice as instructed with the cute fringe piece and also sewed the tie band on. For the back bodice I sewed the tie band on as well.
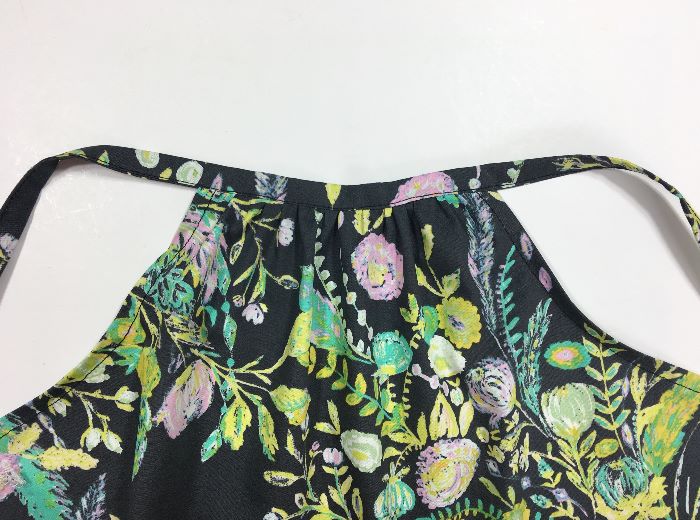
Now my romper is coming together nicely.
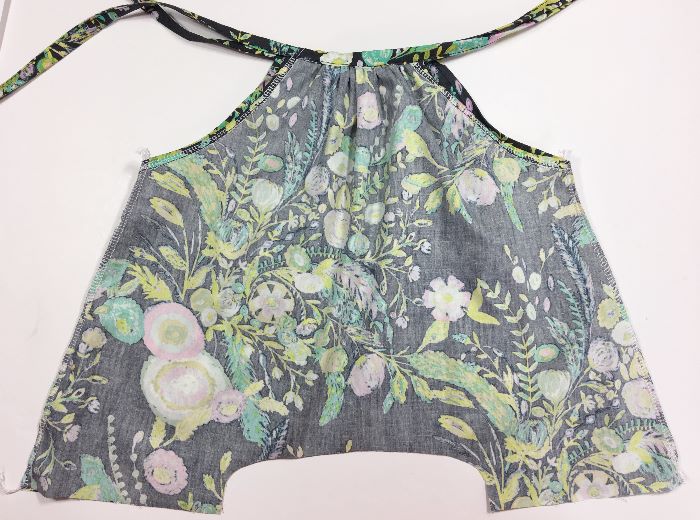
I added leg bands to this shorty as shown in this tutorial.
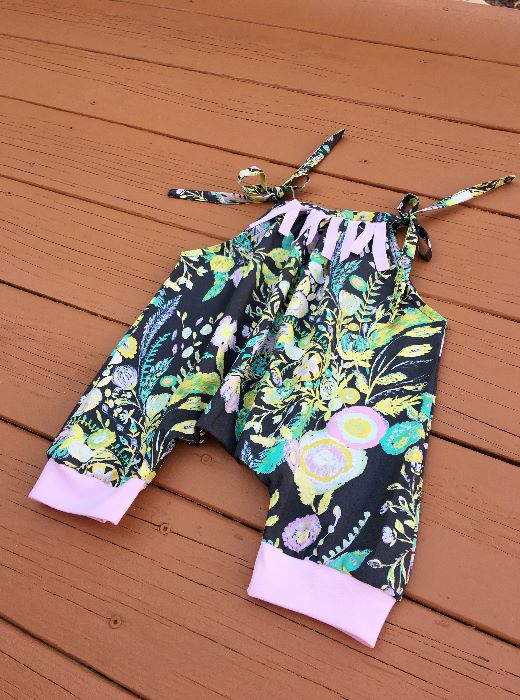
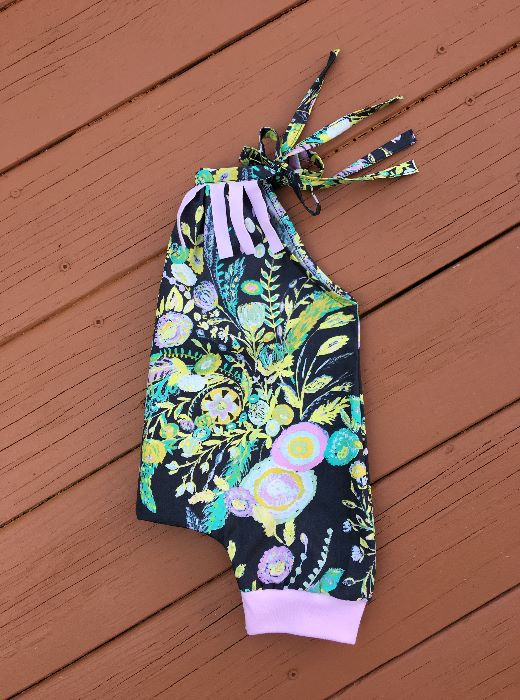
My boho knit romper is now a boho woven romper with closed back! This method can used for any halter pattern you want to turn into one with a closed back. That makes a halter garment perfect for any season because she can wear a tee underneath!
I hope you enjoyed this free tutorial on how to make a halter romper with a closed back and will subscribe to my newsletter!
- Free Snowflake Tumbler Wrap Designs for Download - September 24, 2023
- Free Welcome To Our Farm SVG File - July 17, 2021
- Professional Overthinker SVG File – Download Today! - July 8, 2021
Leave a Reply