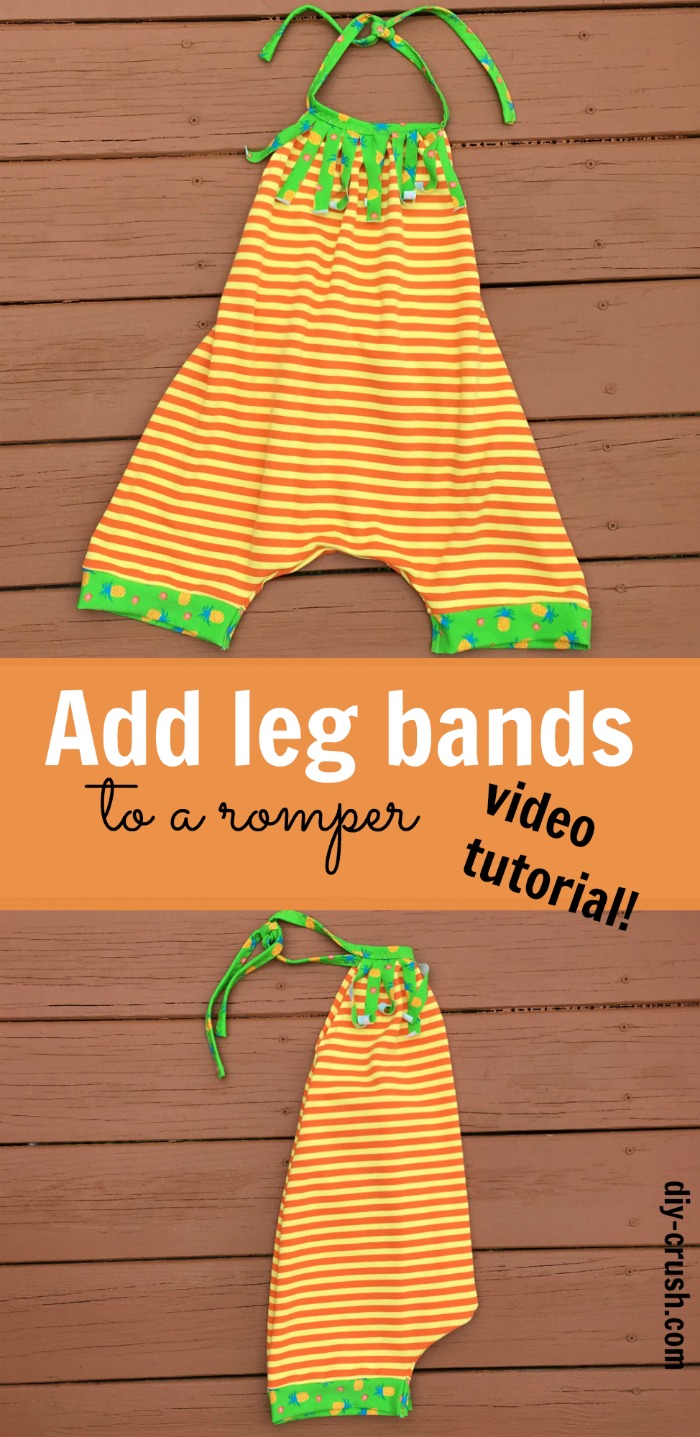
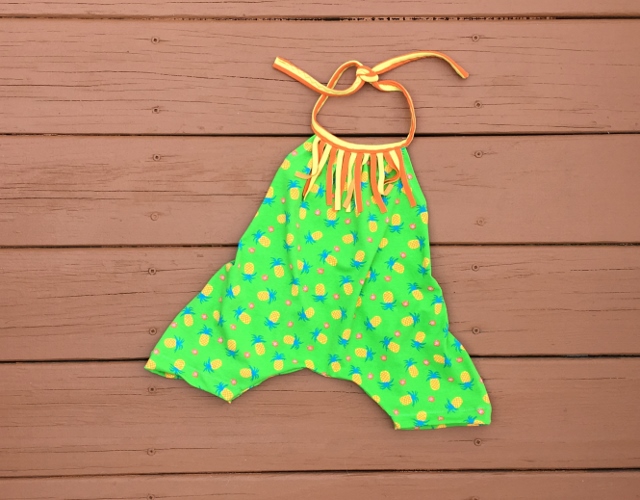
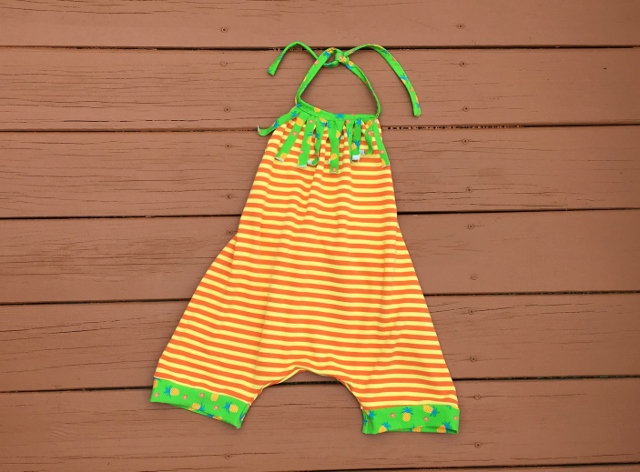
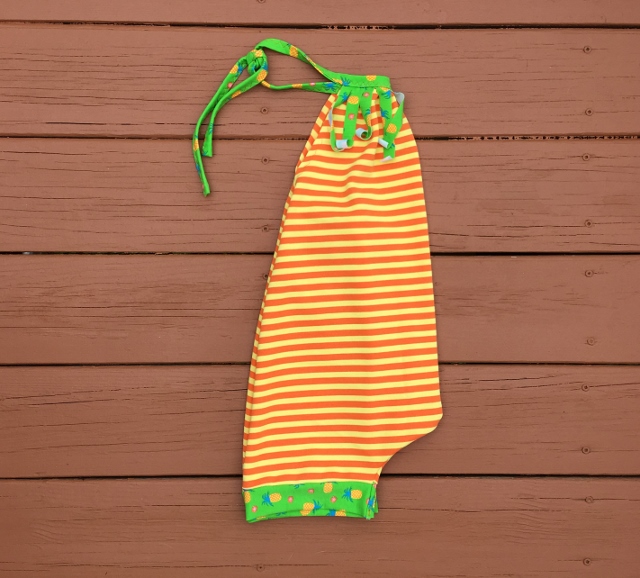
How to add leg bands to a romper pattern? If you sew, chances are you love rompers for little girls. I sure do and when I love a simple, clean lined romper pattern, I also love contrasting bands on the legs. You can add leg bands to a woven romper pattern or a knit romper pattern alike. Leg bands provide the ability to keep the legs up so the child won’t trip and fall over a long legged romper. And they look cute on shorts rompers too!
How to add leg bands to a romper pattern

*This post contains links to affiliates. Please see full disclosure here.
Another important factor of adding leg bands or any bands for that matter, is that a knit romper or other garment looks nicely finished without having to wrestle with uneven hem stitches. Bands provide a great way to finish any knit pattern nicely and professional looking. Just look at t-shirts! They can be finished with neck, sleeve and bottom hem bands! My kind of sewing! 😉
For today’s free tutorial, I will show you how to add leg bands to a knit romper pattern , which was designed with long legs and folded hems. Included though is a shorts add-on tutorial.  It’s actually my own pattern, so check out the video! After watching it, read below about the measurements etc.!
You need the following materials:
- The Boho knit romper pattern
- sewing machine
- serger (optional)
- pencil
- scissors
- knit fabric (I am using a cute orange/yellow knit fabric (similar print) and an pineapple knit fabric)
Cutting info: leg band width for newborn through 9m is 2.5″, for 18m-3t is 3.5″, for 4t-8 is 4″, size 9-12 is 5″.
Related: finish knit hems with this knit binding method.
INFO: when adding such leg bands to any other romper, shorts or pants pattern, be sure to take off the band length from the templates! Adjusting is necessary because you don’t want to end up with a romper, shorts or pants that are too long.
Tutorial:
- First, you want to print out the templates for the desired size you are making.
- Lay one template in front of you and take a ruler and draw a straight line across the leg.
- Take the shorts inseam measurement from the chart above, for the size you are making and measure down from the crotch.
- Draw a 1/2″ vertical seam allowance along the inseam and continue on with the curved inseam. This will allow for a nicer finish of the inseam.
- Cut along the drawn line and you will have a perfect shorts length template!
- Use this newly created shorts template and cut out your romper pieces according to the tutorial in the Boho Knit Romper pattern.
- Construct the romper up until section “to finish the leg hems” on page 18 of the tutorial and start with this video tutorial.
- Measure the leg width of the front and the back leg.
- Cut 2x leg bands across the width of one leg minus 2″.
- Fold the band in half lengthwise and pin it to the leg with the cut edges together. Match the print direction if applicable!
- Slightly stretch the band over the leg width. Pin first the sides, then the center, then the rest. Place pins every 3″.
- Sew band to leg using a stretch stitch on your sewing machine or use your serger. Remover pins before you serge.
- TOP STITCHING IS NOT NEEDED. Leg seams needs to remain stretchy.
- Fold romper with right sides together and sew the crotch as instructed in the tutorial starting on page 19.
- All done!


I hope you enjoyed this video tutorial and will start sewing cute knit bands to your romper, shorts and pants pattern!

- Free Snowflake Tumbler Wrap Designs for Download - September 24, 2023
- Free Welcome To Our Farm SVG File - July 17, 2021
- Professional Overthinker SVG File – Download Today! - July 8, 2021
Leave a Reply