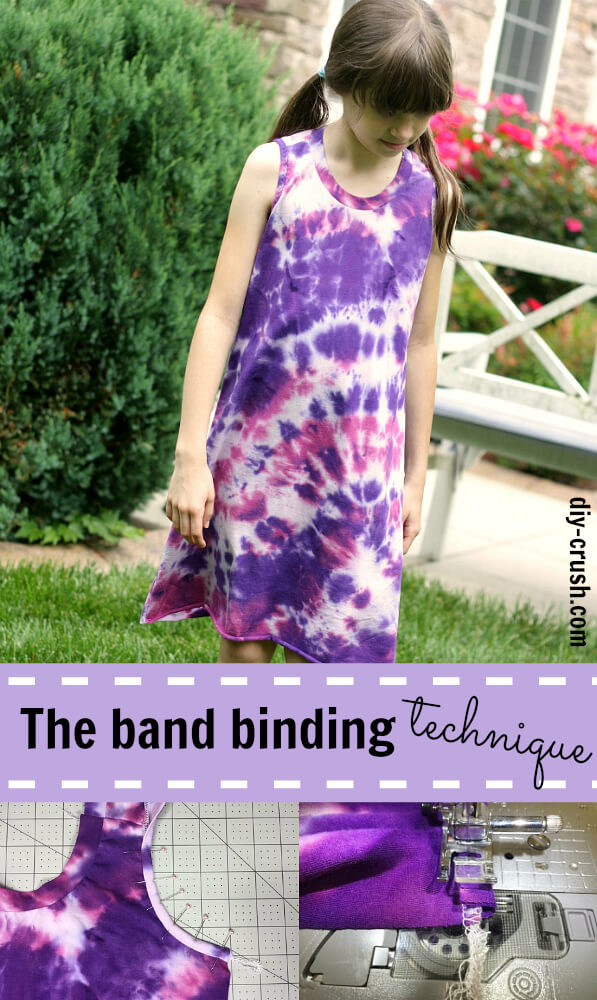
Easy to sew girls knit tank dress sewing pattern. If you sew your girls wardrobe you might be looking for the perfect tank dress. I am in the middle of sewing for my daughter and found an amazingly cute and simple knit tank dress pattern that I want to showcase today. Besides, I made a quick tutorial for you to show you one of my favorite knit binding methods.
Girls Knit Tank Dress Sewing Pattern – Review
*This post contains links to affiliates. Please see full disclosure here.
I’m sure you have heard of Lily Bird Studio, have you? She makes some of the cutest girls & boys sewing patterns. One of her awesome patterns for Summer is Rinna’s dress pattern, made with knit fabric. It is a simple slightly A-lined tank style with optional pockets and waist drawstring. I tend to find myself drawn to simple lines more because you can change so much on a simple cut and have a different look every time.
I was thrilled when Lily Bird Studio agreed for me to sew up a dress for my daughter and review the pattern. It took me a while to buy the knit fabric due to time reasons but my daughter and I finally made a trip to our local Joann Fabrics to purchase some hip purple tie-dye knit fabric. The fiber content was perfect with its jersey feel. If you love tie-dye fabric you should make a Joann Fabrics trip yourself soon! They also had denim and aqua which I didn’t buy but will very soon! 😉

The tutorial offers two neckline and armhole finishes, binding and bands. I love both and actually did the neckline with a serged on band but for the armholes I did something slightly different than the tutorial instructed for binding. I made a quick tutorial for you because this method is awesome and looks great every time. It fully encases the seam just like regular binding does. I call it the band binding technique.
>>> You might also like to read: how to make continuous bias tape <<<
Materials & props used in this tutorial:
- sewing machine
- cutting mat
- Rotary cutter
- Straight pins
- Iron
- Tie dye knit fabric from Joann Fabrics
- Rinna’s girls knit tank dress sewing pattern by Lily Bird Studio
- Sandals from Target
Let’s get started! First, I finished the dress (btw, I made the knee length!) up until the step to do the armholes. I cut my armhole bands as instructed in the tutorial to a width of 2″, folded the band in half and pressed them.
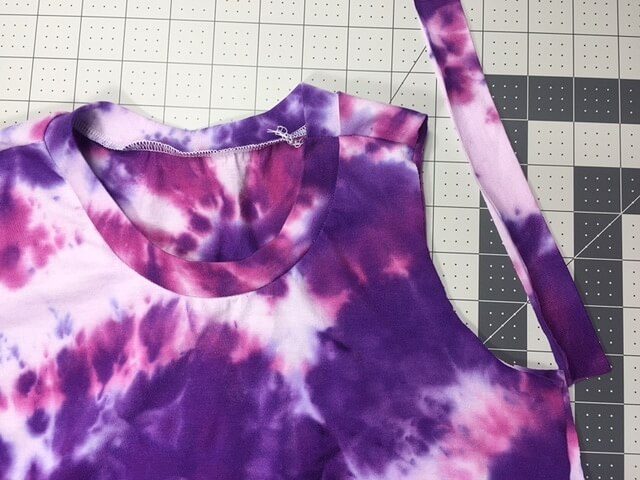
I positioned my dress with the right side down, then I placed the band along the armhole with all raw edges meeting. I started pinning from the bottom up and slightly stretched the armband before placing a pin. Since I am going to serge the band on, I placed my pins further towards the inside so that I am not going to serge over them. Best is to mark the middle of the armhole band and pin it to the highest point of the shoulder. Be careful because the shoulder seam of this dress is not the highest point!
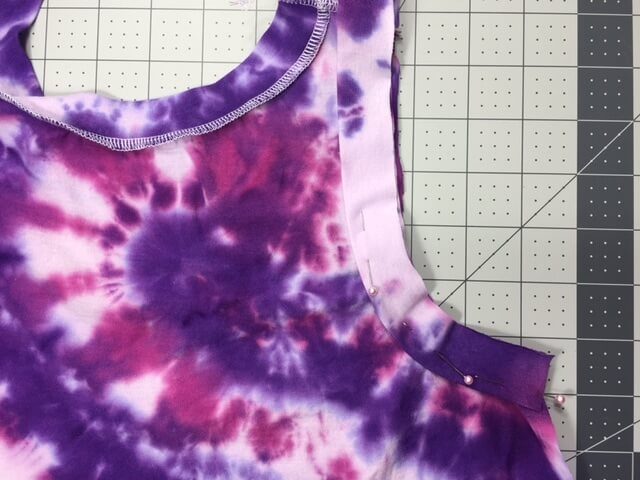
Once the arm band is pinned to the armhole, I started serging (with two needles and 4 thread cones so the seam would also be sewn at the same time).
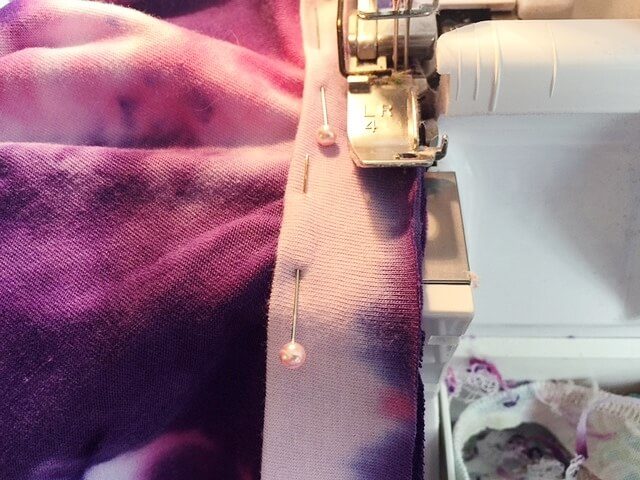
This is now my serged on band from the inside of the dress. The seam of the band is on the under side.
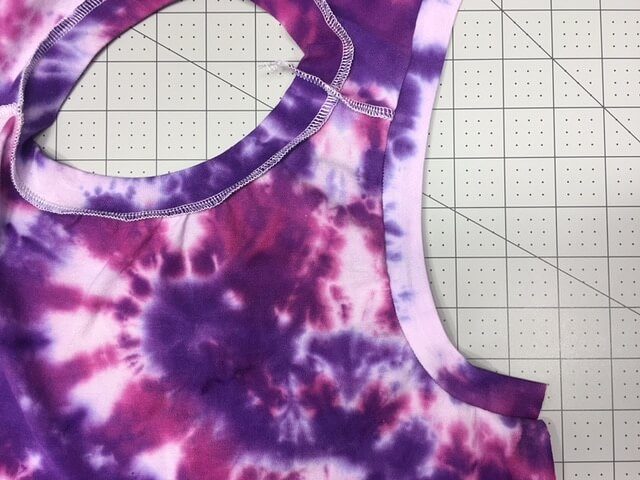
Once I flipped my dress over so that the right side was facing up, my armhole now has the seams facing up as well.
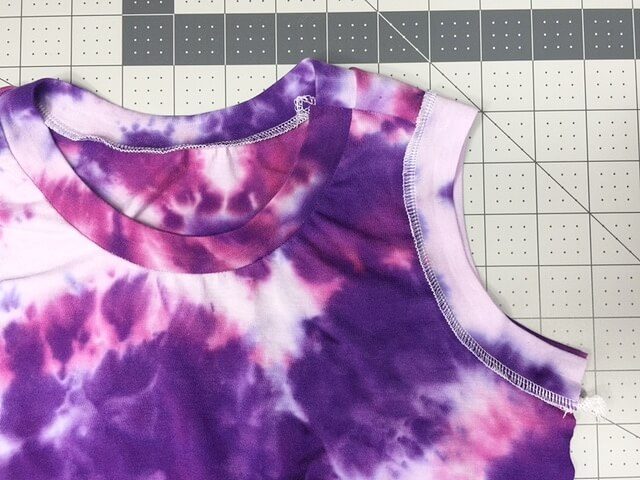
Now comes my favorite part of this method! The encasing of the seams! Yes! I folded the seam towards the band’s edge and my armhole band over towards the outside of the dress. Then I started pinning. Be sure to fold the band over enough so that the serged seam won’t show. It really only takes a fraction of a millimeter. TIP: now if I wasn’t so lazy I could have changed my serger thread to purple, what oh well lol).
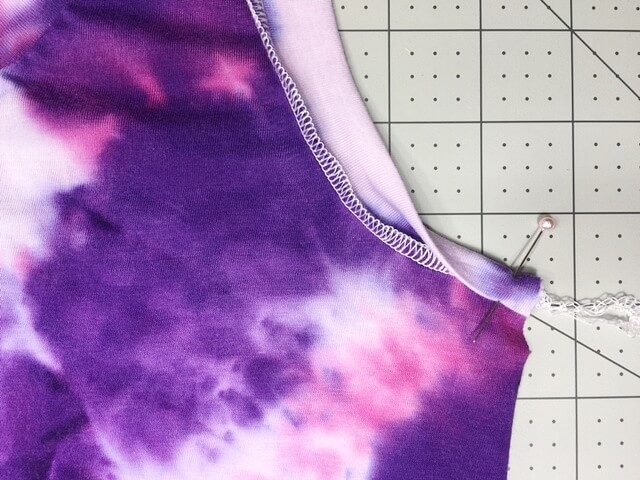
I continued to pin all the way up until my entire armhole was done.
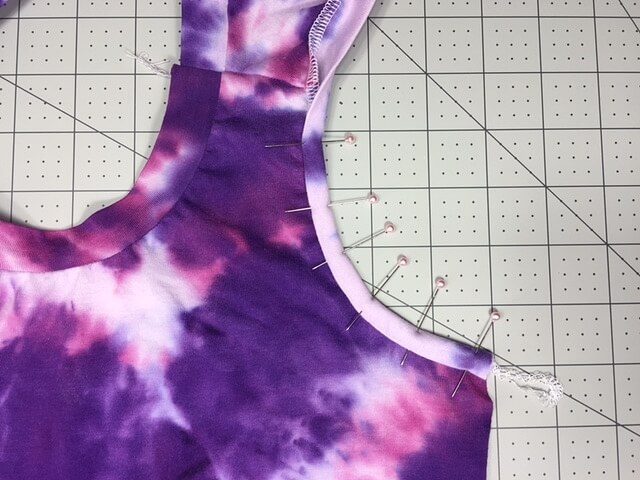
Now it’s time to sew with the regular sewing machine! I set my machine to my preferred stretch stitch, shown here:
I started sewing so that my needle (at its far left position) hits slightly besides the binding edge that faces the dress. That way I’m sure that the stitches will for sure hide the possibly peeking serged stitches underneath.
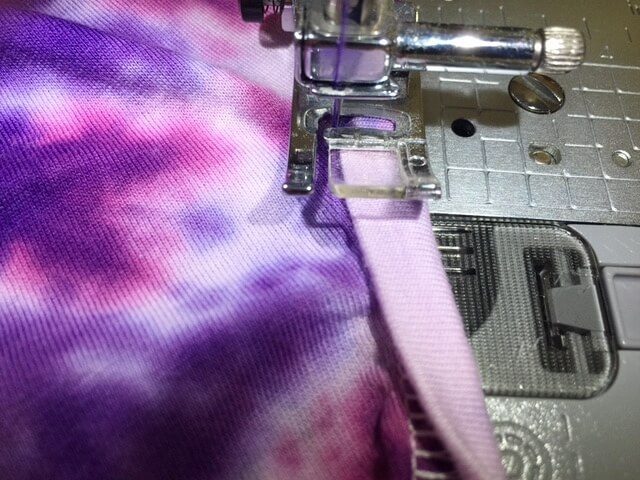
Here is a picture of my stitching nearing the end and you can see well that the binding just covers the serged stitches. Again, if you would choose a better matching color thread you wouldn’t really have to worry that much about the binding covering every little bit 😉
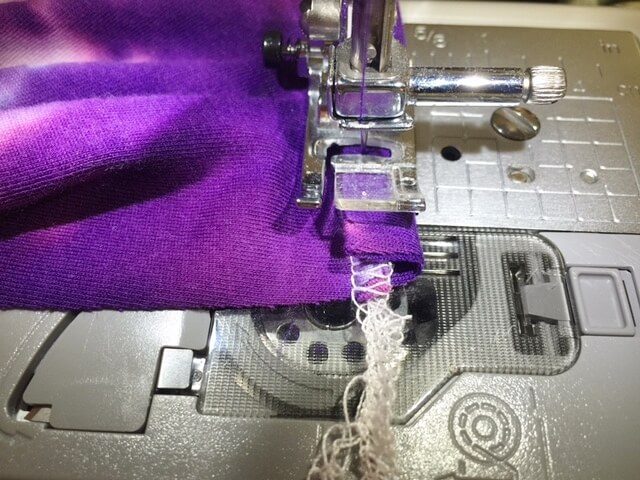
To continue with the tutorial please click on page 2 below!
- Free Snowflake Tumbler Wrap Designs for Download - September 24, 2023
- Free Welcome To Our Farm SVG File - July 17, 2021
- Professional Overthinker SVG File – Download Today! - July 8, 2021
What a neat looking finish! Well done! I like the finish along the hem also! What a fun little summer dress!
Thank you so much!! I appreciate your kind words and that you stopped by today!
Thank you so much, Paige!!