Now it’s time to pin both edges together with the lines being off.
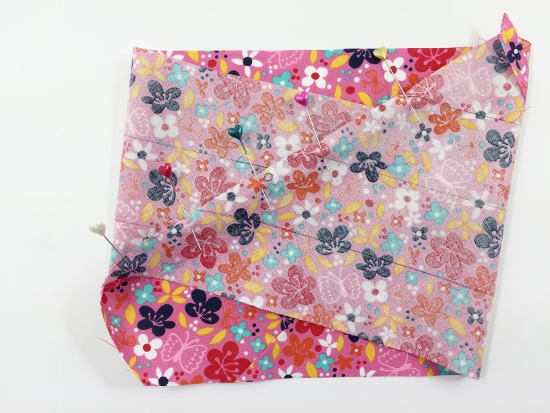
Sew both edges together and this is how it looks now. If sewn correctly, your line from both sides should now match.
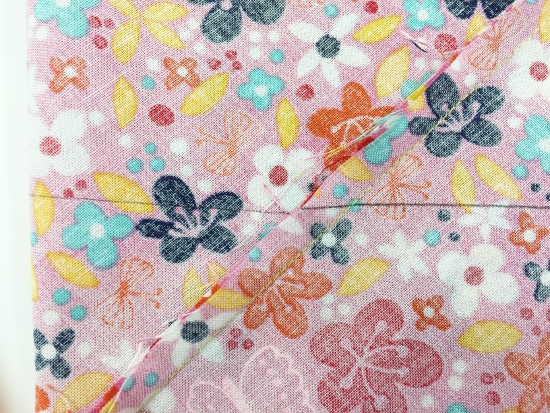
Press seam open and with your scissors start cutting into your fabric starting at the bottom line.
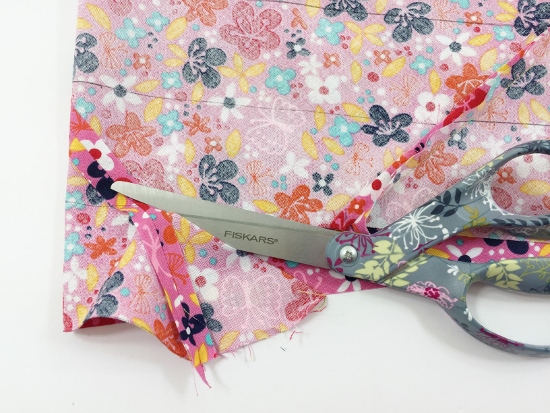
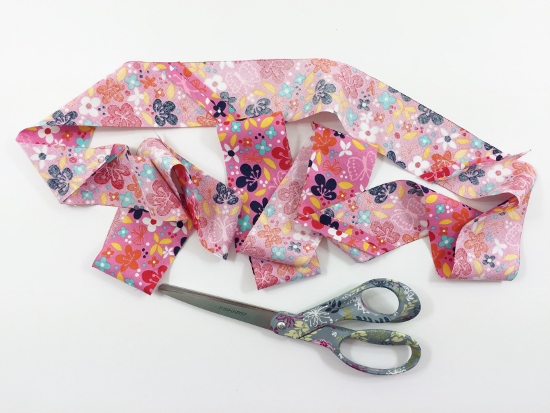
Cut in one continuous setting, very slowly until your entire piece turns out to be one long strip of fabric.
It’s time to make the bias tape. Preheat your iron without steam. With right side down, insert strip into the your bias tape maker tool. It will automatically fold in the long edges. With the help for your fingers press the edges towards the center of the fabric in an equal distance. The edges should not overlap but accurately face each other. Rather leave a tiny little bit of room in the center. Press the folded area that is coming out with your iron, remove your fingers from the fabric and press your iron’s steam button.
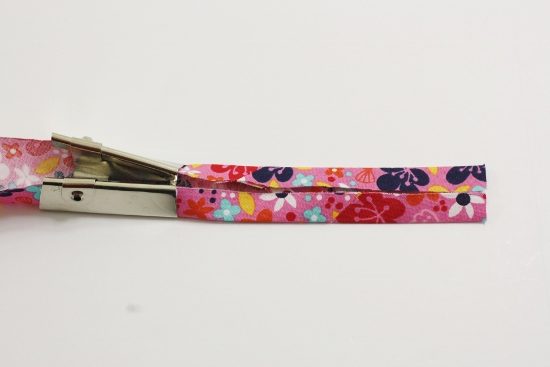
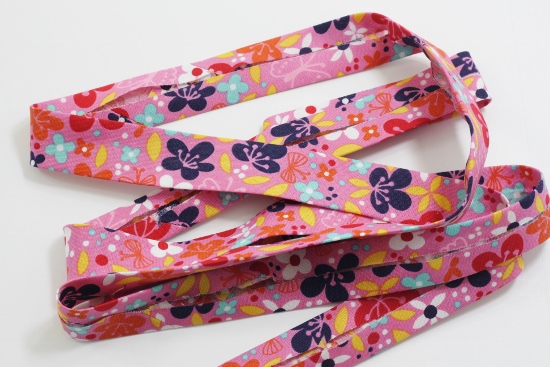
Repeat until your entire fabric strip is folded. To sew the bias tape on you want to fold it in half lengthwise and press. Shown below is the flate/unfolded bias tape:
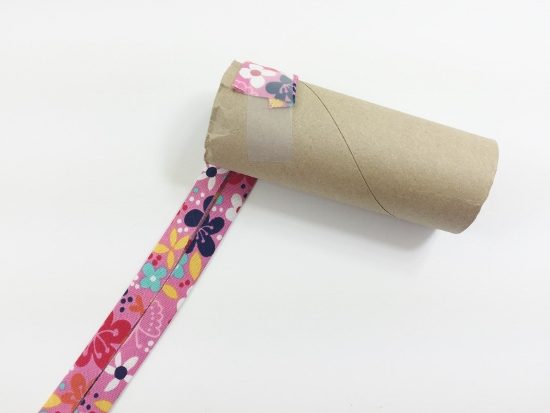
Here is one of my favorite tips on reusing household materials such as empty toilet or paper towel rolls. Tape one end of the bias tape to the upper area of the roll and wind the entire tape onto the roll.
I like using a straight pin to secure the end of the bias tape. Now you have a nicely wound roll of bias tape:
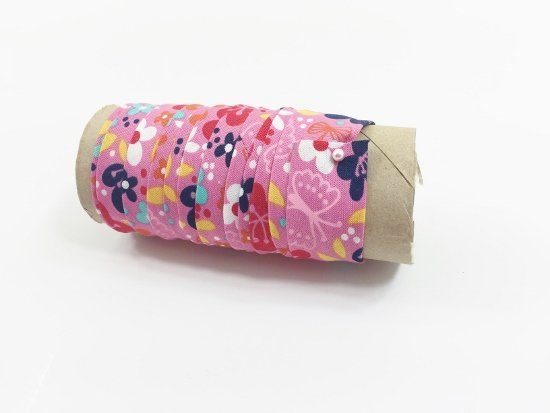
And this is How To Make Continuous Bias Tape my preferred way! See how I used this bias tape on my Baby Kimono Pattern.
- Free Snowflake Tumbler Wrap Designs for Download - September 24, 2023
- Free Welcome To Our Farm SVG File - July 17, 2021
- Professional Overthinker SVG File – Download Today! - July 8, 2021

Wow, that is so awesome! I’ll have to give that a try!
this is very useful tip… thank you.
so simply and it works :0) greetings from denmark ulrike
Thanks for the great tutorial! You make it look so easy!
I’ll be trying this out next time I make bias binding. Very thorough tutorial.
Featured today, Denise…
Great tutorial! I’ve seen instructions for this process before but I must say that you have truly simplified it. Bookmarked your page; will refer to it in future… when I get myself one of those bias tape maker thingies.
I’d seen this technique before, but hadn’t tried it because it looks complicated. But you’ve made it look so easy, I can’t wait to try it out! 🙂 Lisa
Very nice but easier ways I found this very complicated. Sorry.
I just finished reading another tutorial on how to do this and ended up extremely confused. But after reading yours, it’s all clear to me! Thank you so much!!
Great tutorial- thank you!!
Thank you so much!
One quick question — can you explain briefly one small thing. Right before sewing you suggest moving the left side up so the lines are out of alignment, then when sewed they fall back into alignment. I wanted to understand a little about the why of that– is it compensating for the feed dog dragging the piece a little bit? If so, I was wondering if using a walking foot might eliminate that drag? Thanks so much
Thank you so much for checking out this post! The reason why the fabric has to be moved is because of the seam allowance. If you weren’t going to SEW, just laying the fabric edges against each other and perfectly lining up the drawn line, it would be fine. But since we are sewing the fabric together, a seam allowance will be created and the drawn lines would shift BECAUSE of the seam allowance. Then they wouldn’t line up anymore for us to cut along the line. Let me know if this will help understanding why we move the lines.
I love your tutorial! I have it saved under my Pinterest’s “sewing” category and I have come back to it frequently when needing to create my own bias binding. It is so easy to follow and it really does make a LOT of bias binding! Thanks so much for the detailed tutorial— it has been well used and appreciated!