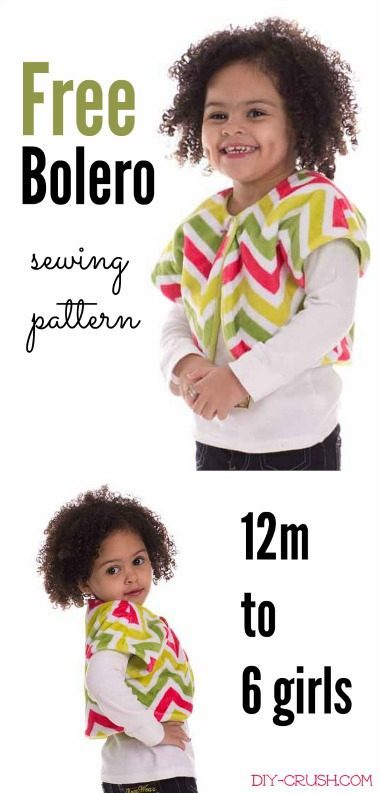
Let’s make a cuddly bolero! This free bolero sewing pattern is one of my favorites for winter and was originally written for Shannon Fabrics. Since it’s reversible you can choose two pretty fabrics. I made this from Cuddle fabric but you can use fleece as well. Enjoy this freebie in sizes 12 months through 6 girls.
⇓ – – – – – PIN THIS – – – – – ⇓
Free Bolero Sewing Pattern

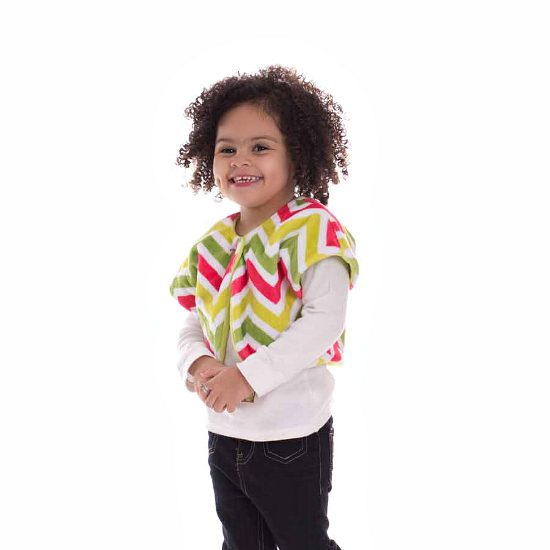
Free Bolero Sewing Pattern featuring the awesome chevron Cuddle fabric from Shannon Fabrics, available for purchase HERE. This cuddly bolero is a fun piece to wear over tee’s or dresses. It is fully reversible without any visible seams. It is meant to be “button-less” but if you prefer, you could add a toggle clasp to the top corners for closure. If you like to add trim, see this tutorial.
Like sewing for winter? See my freebies for mittens and infinity scarves!
Gather Your Materials
- Cuddle fabric (all sizes require 1/2 yard of Cuddle per side)
- Thread
- Sewing machine
- Regular needle or stretch/knit needle
- Scissors
- Straight pins
- Vacuum or lint roller (sticky brush)
- Basic sewing supplies, as needed
- print the templates —-> download
Seam allowance: 3/8” unless stated otherwise
Print out your templates without scaling. Double check the 1 inch print scale for the smaller sizes and the 2 inch scale for bigger sizes. Cut around the perimeter of each page and match up the diamonds in the corners. Tape all pieces together without overlapping or leaving gaps. For sizes 12m-3t print pages 1-6. For sizes 4-6, print pages 7-12.
Cut out the desired size or trace it onto transfer paper to preserve the other sizes.
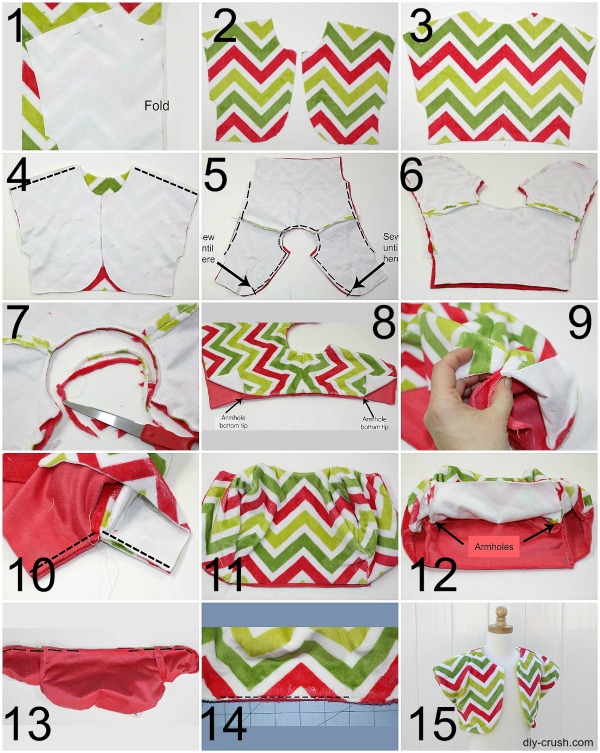
Follow this picture tutorial:

- To cut your back side, you want to fold your Cuddle fabric from side to side and place your back template (printed side up) with the FOLD alongside the fabric fold. Pin and cut around it. To cut your fronts (2), fold your Cuddle fabric over from side to side with the direction of the fibers going down. Place your front template (printed side up) onto your fabric and pin. Then cut around template.
- You should now have 2 front pieces for one side (and 2 front pieces for the reverse side).
- You should now have 1 back piece for one side (and 1 back piece for the reserve side)
- Take both front pieces onto the back piece as shown with right sides together. Pin in place and sew the shoulder seams along the dashed lines.
- Place the “inside” and “outside” with right sides together and pin the armhole areas as shown with the dashed lines and the front sides going over the neckline. You want to stop about half way through the front bottom curves (marked with “Sew until here”). Backstitch the beginning and ends at every seam.
- This is how your two sewn together bolero sides look like now.
- Trim off about half of the seam allowance all the way around the bolero and clip corners.
- Turn your bolero with right sides out and place it in front of you as shown with the armhole/sides facing you.
- Bring both Armhole corners together in the middle.
- Pin entire armhole edges together as shown. Sew in place along dashed lines. Repeat with other side.
- Turn bolero with right sides out and this is what you should have now….an almost finished bolero.
- Flip up the bottom edge of the top layer to expose the armhole corners.
- Flip under the bottom layer so you will have covered the entire bolero and only have the insides showing. Pin the upper open edges from where the seam starts. Leave a center opening of 4”. Backstitch the beginning and end.
- Turn bolero with right sides out and pin the opening, then sew it closed along the dashed line. You may sew (top stitch) all the way around your bolero if preferred.
- All done!
Find Shannon Fabrics here:

Happy sewing!
- Free Snowflake Tumbler Wrap Designs for Download - September 24, 2023
- Free Welcome To Our Farm SVG File - July 17, 2021
- Professional Overthinker SVG File – Download Today! - July 8, 2021

cute and simple, will use again and again