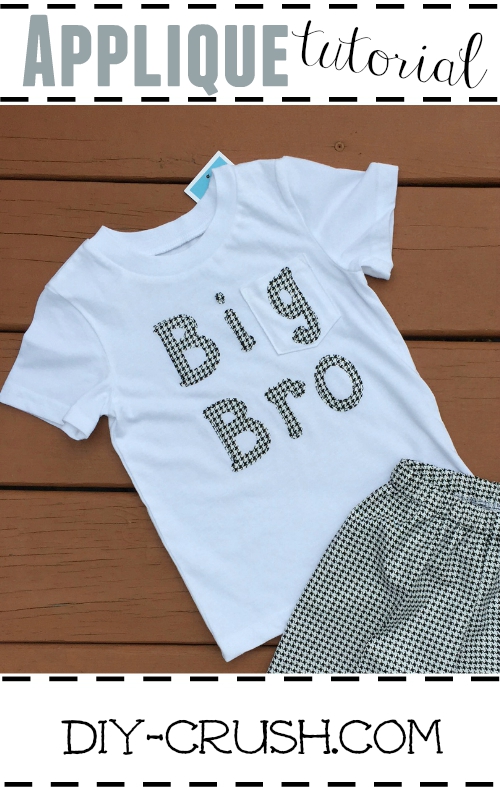
Once a new baby announces itself, the older brother is so excited and with this BIG BRO shirt tutorial you can now make him a shirt that he will wear proudly!
♥ {I promise, I’ll make those letters for girls soon!} ♥
⇓———- PIN THIS ———-⇓
For this fun DIY I bought a white t-shirt at Target. I wanted one without a pocket but that was all they had so I thought why not put the “g” onto that pocket! 🙂
I included three sizes of letters so you can embellish a small shirt, medium or larger one too! Just see which size fits your t-shirt best.
Gather your materials
- print the letters out in one of the three sizes (my newsletter subscribers can download the templates. Sign up to ‘sewing’ below and once you receive the email, click on the link and look for no.2)
- plain t-shirt
- cotton fabric with a small print or in solid
- iron on adhesive such as Heat’n Bond
- pencil
- iron
- scissors
- sewing machine
- thread
- scrap fabric piece
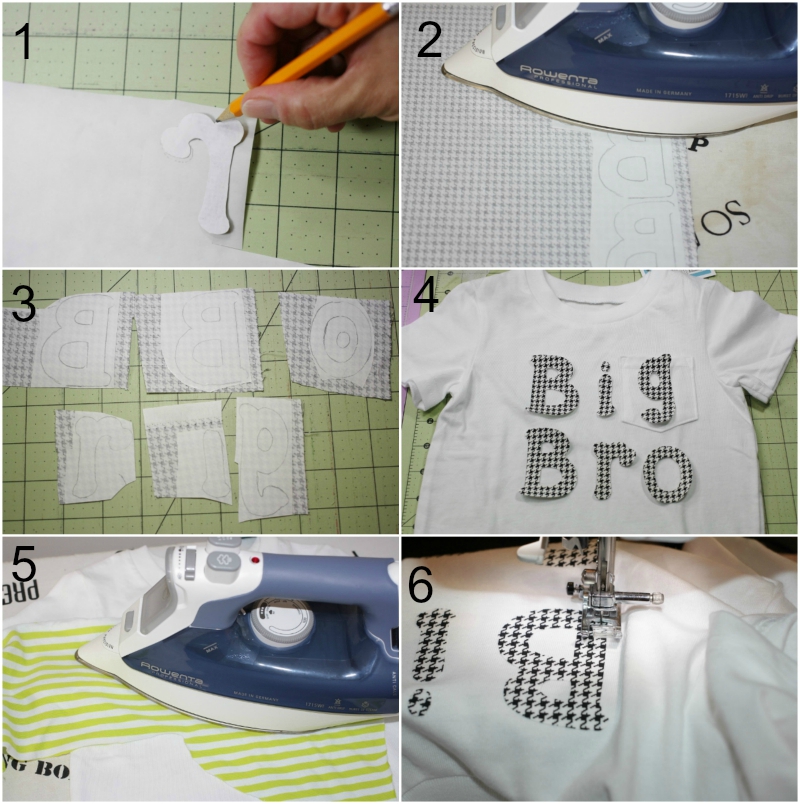
Follow this 6-step picture tutorial
- Select the letter size and cut them out with paper scissors then trace each letter flipped over so the letters are upside down, onto the smooth side of the iron on adhesive.
- Place the letters with the rough side of the iron on adhesive facing the wrong side of the fabric. Be sure to have the print direction going the right way. Press without steam at the highest heat setting or according to your iron on adhesive.
- Once cooled, cut out the letters.
- Pull the backing off and test how the position of the letters look on your t-shirt.
- Place a piece of scrap fabric (cotton) carefully onto the letters without shifting them. Without steam, press the area in sections for about 15-20 seconds or as instructed by the iron on adhesive. Do not move the iron.
- Once cooled, sew around each letter with a straight stitch, zigzag stitch or your preferred stitch!
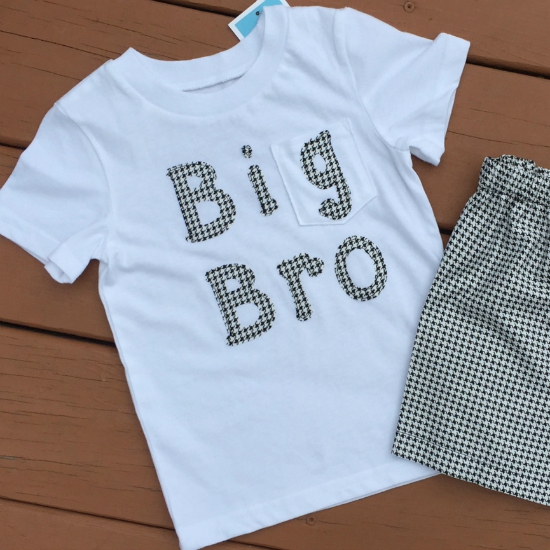
All done! I made a pair of shorts to go with the t-shirt since I had enough left. Ready to surprise a friend who is having a baby!
♥ Ready to make your own BIG BRO t-shirt? ♥
If you like this project, browse all our Baby Tutorials!<====== click this link!
♥♥♥ ♥♥♥ ♥♥♥ ♥♥♥ ♥♥♥♥ ♥♥♥ ♥♥♥
Do you blog about your own craft tutorials or patterns? If they are free you are welcome to submit them to our blog! Read more here:
Please follow us here:
♥ ♥ ♥
If you liked this free applique tutorial, would you like us to email you when we have a new post up? Subscribe box is on the right side!
- Free Snowflake Tumbler Wrap Designs for Download - September 24, 2023
- Free Welcome To Our Farm SVG File - July 17, 2021
- Professional Overthinker SVG File – Download Today! - July 8, 2021


Great tutorial, I’m wanting to try applique soon so this is great timing and very helpful!
So great you like it!! Thanks for peeking in today!
Oh, how cute! Love the black and white hounds-tooth. Thanks for sharing at the #HomeMattersParty – we hope to see you again next week. 🙂
~Lorelai
Life With Lorelai
Lorelai, thank you so much for visiting!! glad you like this DIY!
Thanks for sharing at the Inspiration Spotlight Pinned & shared. Hope to see you again soon.
This is so adorable! Thank you for sharing this at the #SmallVictoriesSundayLinkup!
Thanks for visiting!!
Oh my! This looks so cute! Pinned and tweeted. Please join us tonight at 7 pm, and party with us. I can’t wait to see your new masterpieces or amazing classics! Lou Lou Girls
Thank you, sweets! I linked up again! Thank you for offering your fabulous link party!
What a great tutorial on appliques! Thanks for sharing with us at Funtastic Friday. Please join us again for this week’s party. It opens this Thursday evening at 9.
I appreciate your visit and sweet comment! I sure will link up again!
My daughter had her 3rd on Mother’s Day. We are all quite excited about the new addition to the family. I would so appreciate your adding the Sis template as our little one has a big bro and a big sis. Also what would be cute would be little letters saying, the baby. People using those could do them in pink or blue depending on what was appropriate. I so appreciate your tutorials and the time you put into them. Our daughter spaces her children out. There is 4 years between each of them. Big bro is in the middle and has been wanting a sibling “forever.” I want to make all of them t-shirts now that it has happened. Thank you for the wonderful tutorial.