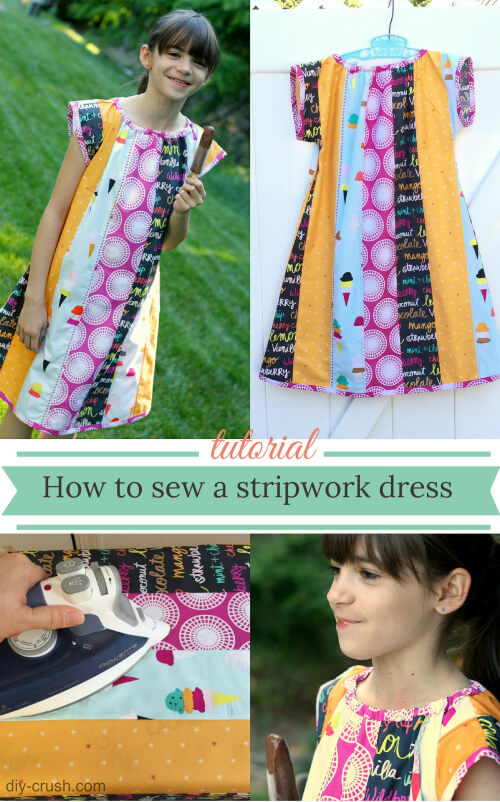
Threads & Stitches Fabric ShopIf you sew, chances are you have quite a few remnants laying around and might not know how to use them. Today I am talking about a favorite sewing tip for using up all those fabric scraps. If they big enough you can turn them into something wearable perhaps. I made a dress for my daughter from small strips of fabric. Learn how to sew a stripwork dress!
How To Sew A Stripwork Dress & a Review
Ok so, technically I am not using my own remnants to showcase how I turned a dress pattern meant to use on a solid cut of fabric, into a pretty stripwork dress.
*This post contains links to affiliates. Please see full disclosure here.
I was lucky to get to work with some amazing fabric provided by [eafl id=16050 name=”threads & stitches fabric shop” text=”Threads & Stitches”]. Just upfront, they did not pay me for this post, I got the shown fabric in return of a post. Needless to say, I LOVED when the package arrived. Christine, the owner packaged it so nicely that I didn’t want to unpack it. Well, almost 😉 I couldn’t really wait until I got to work with the fabric!
As an example of what pattern you could use to make a stripwork dress, I am using the Bohemia dress pattern which is my own. You can use pretty much any pattern that has a larger main surface like an A-line dress or peasant or even pants or a skirt! The style of the Bohemia Dress pattern is amazingly simple, just two pieces of fabric to cut and only 4 seams to sew. But today I am showing you how you can turn this simple dress pattern into something even prettier!

Before though, visit Threads & Stitches Fabric Shop:
I have been making things with my hands through various medias for as long as I can remember. I learned to sew, knit and do needle work at age 5 by my mom. I still remember those first projects and cherish the memories that were made during those times creating and learning with my mom. Over the years, I have done all kinds of creative projects, but most recently found a love for sewing children clothing and opened a sewing shop about 3 years ago doing just that. As the business progressed I realized that getting fabric at good prices was key to my success so I started buying fabric wholesale and that is when Threads and Stitches was created. Now, my days are spent mostly cutting fabric for others and I love it. I still do the occasional sewing project of a quilt, tote, or even doll clothing but getting fabric into the hands of others that share my same passion for fabric, at great prices, is really what drives me everyday. I stock and take pre-orders for fabrics from Riley Blake, Free Spirit, Blend, Birch, Robert Kaufman, Lecien, Michael Miller, and many others. Please join my Threads and Stitches group on Facebook & follow me on Instagram for the latest deals and information on what’s going on at Threads and Stitches.
Christine
>>> You might also like to read: how to make a paneled sundress <<<
Materials & props used in this tutorial:
- sewing machine like these
- Fiskars cutting mat
- Rotary cutter
- 1/4″ band elastic
- small safety pin
- Straight pins (I had to show off my pretty heart shaped pins
- Iron
- Fabric: Art Gallery – Boardwalk Delight
- Dress pattern (I used the Bohemia Dress pattern by Whimsy Couture with some modifications)
Let’s get started and learn how to sew a stripwork dress! First, I assembled the pattern template as instructed. I am not going to alter the template in any way. It’s so easy to create a stripwork dress like this! Below you’ll see my full sized template graphic which contains all sizes. The actual template I’m using for my daughter is a size 10.
Place the template onto your work space and measure the width of the widest part. See the red markings. Then take that measurement and multiply it by 2. This will give you the ultimate width your pieced together fabric will have to measure.
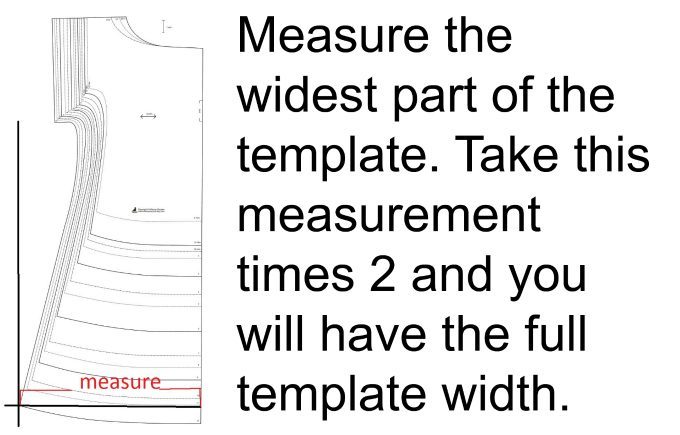
The math formula for creating a wide enough piece with sewn together fabric strips:
- to make it easier to calculate use a 1/2″ seam allowance for the strips
- determine how many prints you want to work with (I had 4 different prints)
- determine the strip width you want to have once the dress is finished (I chose 3.5″ so I cut my strips to 4.5″)
- take your template width and divide it by your FINISHED strip width
- the outcome is the TOTAL amount of strips you have to have (for my dress I needed 7 strips – per side)
(shown below are 4 strips)
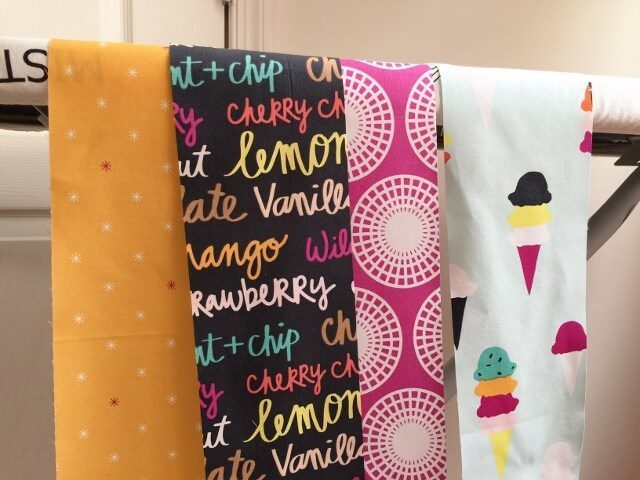
At this time you can select how many times each print will be used. I selected my placement randomly since all the prints match nicely with each other.
I picked one print to finish the dress with. The original Bohemia Dress pattern instructs to use a serger to finish the hems with and to sew in elastic thread around the neckline. I omitted both and went with a couple of modifications which makes this dress almost completely different.
>>I used these tutorials for making continuous bias tape and for sewing on bias tape<<
Once you have all strips ready to be sewn on, use your serger to sew and hem at once or sew the strips together with your machine and later on, zigzag or overcast the raw edges. This tutorial shows you in detail how to sew the strips together.
Press the seam allowances flat, first from the underside and then again from the right side. Don’t move your iron a lot. It’s best to keep it still and lift it up to move it. This prevents the panels from getting wrinkled from ironing.
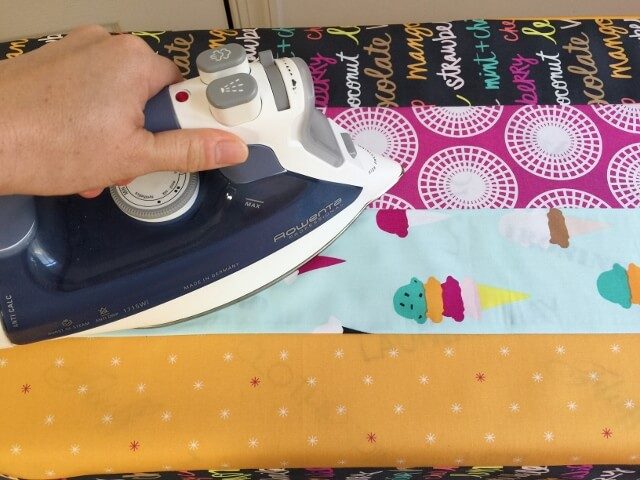
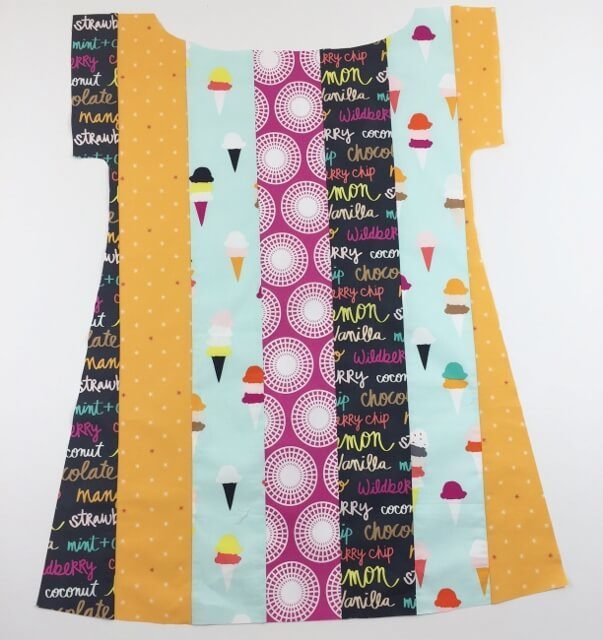
Now you have a large piece of fabric, wide enough to fit your template on. I already proceeded with the tutorial and cut out my front and back dress pieces. Shown below is my front side. Cute already, huh?
TOP STITCH where the seams meet! I used a couple of decorative stitches on some of the dress.
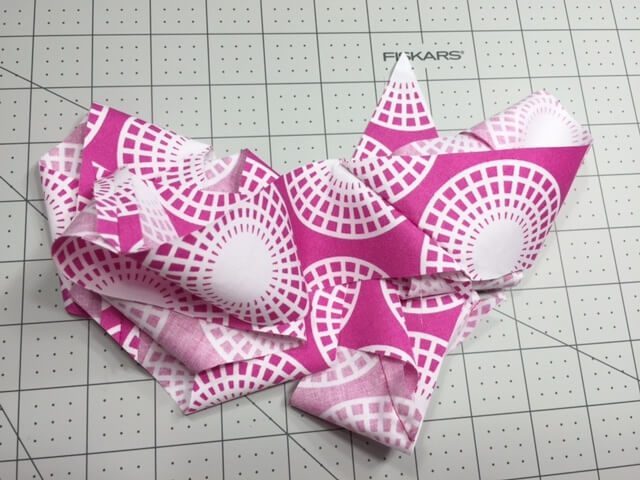
Next step is to make the bias tape binding. I have made mine using this tutorial.
Once you have sewn your two dress pieces together along the shoulders as instructed in the pattern, it’s time to sew on the neckline binding which also will create a casing for the elastic. Remember, I mentioned earlier that the original pattern instructs to sew in elastic thread? This dress here is made with a casing, provided with the bias binding. Fold in the short end of the binding 1/2″ and start pinning the binding to the neckline edge, on the wrong side of the fabric.
Be sure to see the in depth tutorial on how to sew on bias binding! It will show you the detailed steps.
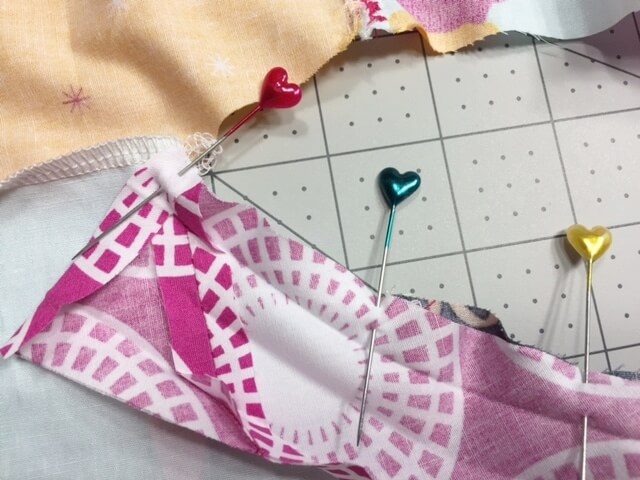
Before you finish the binding and cut it off to length, be sure to fold in the end of the binding 1/2″ as well and overlap both ends 1/2″. Then finish stitching the binding on.
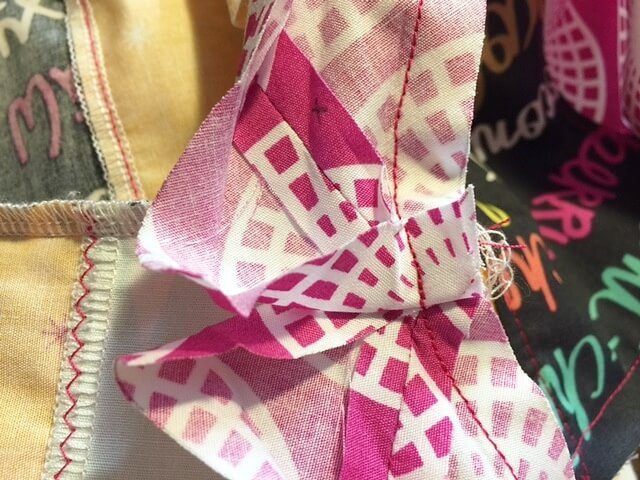
Next is to trim off half of the seam allowance all the way around the neckline.
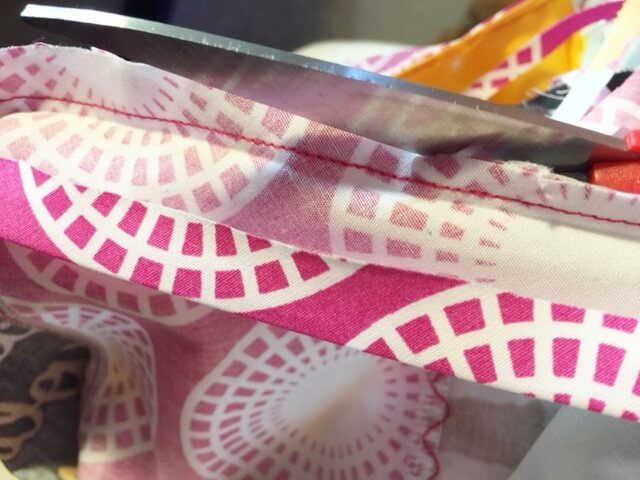
To continue with the tutorial please click on page 2 below!
- Free Snowflake Tumbler Wrap Designs for Download - September 24, 2023
- Free Welcome To Our Farm SVG File - July 17, 2021
- Professional Overthinker SVG File – Download Today! - July 8, 2021
Wow, what a great alternative way to use a dress pattern. It creates a totally different look. Thank you so much for explaining on how to calculate the strips. Your method makes it so easy. I love the sweet little neckline just gathered a bit. Such a fun and easy pattern. The fabric is gorgeous and so great for creating a strip work dress. Thanks so much for featuring my fabric shop! I have so much seeing what others create with all the beautiful fabrics that I carry in my shop!
-Christine
Thank you so much, Christine! So happy you like this dress!