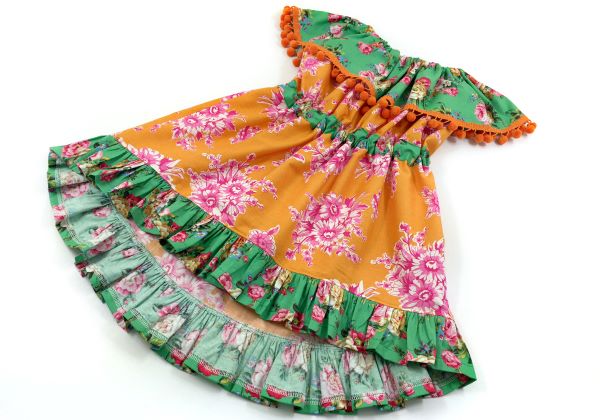
How to sew a high low dress with a regular ruffle dress pattern? This free tutorial shows you how to create the beautiful hi/low hemline. Download the free template to use on almost any ruffle dress pattern you have.
How To Sew A High Low Dress
This tutorial is a free add-on originally designed for the ‘Celebration Dress’ pattern to make the bottom hems hi/low. It can be used for any other top, dress or skirt pattern that has ruffles on the hem. The sizes the hi/low templates can be used on range from babies through older girls. 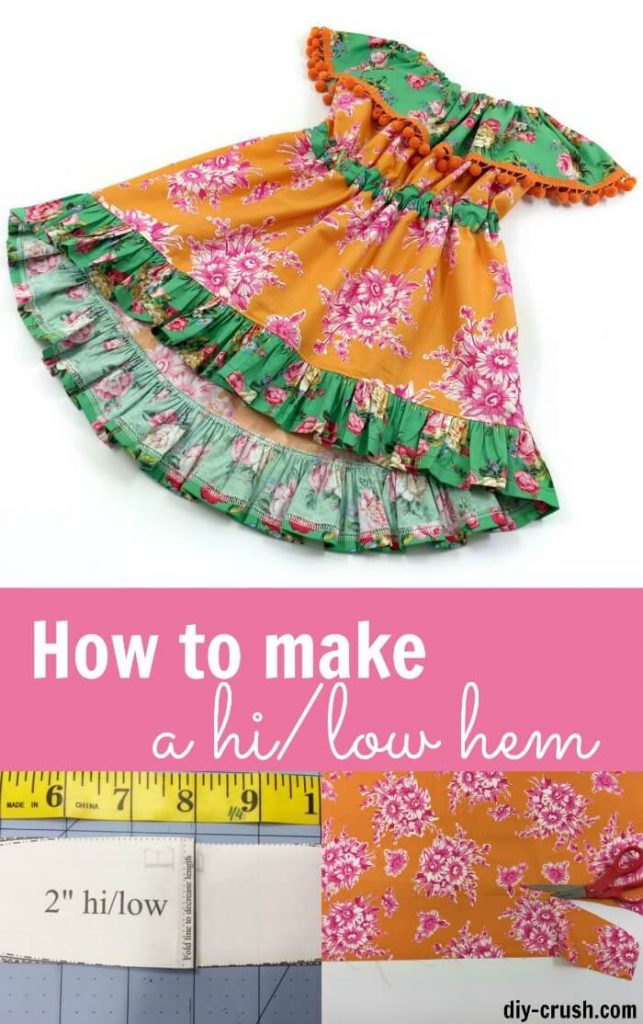
*This post contains some affiliate links. Please see full disclosure here.
The templates are not labeled with clothing sizes but rather with the fabric widths, as follows: smallest width is 10” and largest width is 35”
This means you can use the templates on any pattern within that range for the fabric width.
The length distances of the front to the back sides plus the pages you want to print are as follows:
- 2” = 1,2,4,5
- 3” = 7,8,10,11
- 4” = 5,8,11
- 5” = 2,3,5,6,8,9,11,12
The lengths of 2, 3, 4 and 5” are for a moderate hi/low effect. For example the 2” template can be used for fabric widths from 10” through 16”. The 2” template would ideally be used on baby sizes. The templates will overlap some of the width measurements, so you can choose which level of hi/low effect you want. See the length difference and fabric widths below:
2” template = from 10” through 16”
3” template = from 11” through 18.5”
4” template = from 13” through 19”
5” template = from 28” through 35”
List of required materials:
- A top or dress pattern that has ruffles on the hem such as the Celebration dress
- Free high/low templates & tutorial
- Scissors
- Straight pins
Print the cutouts:
Once you have printed out the above linked templates, set your printer to no scaling (or 100%) and print out page 11 first to check if the print scale of 1” is correct. The box should measure exactly 1”.
Print pages for each size:
2” = 1,2,4,5
3” = 7,8,10,11
4” = 5,8,11
5” = 2,3,5,6,8,9,11,12
Piece and tape together:
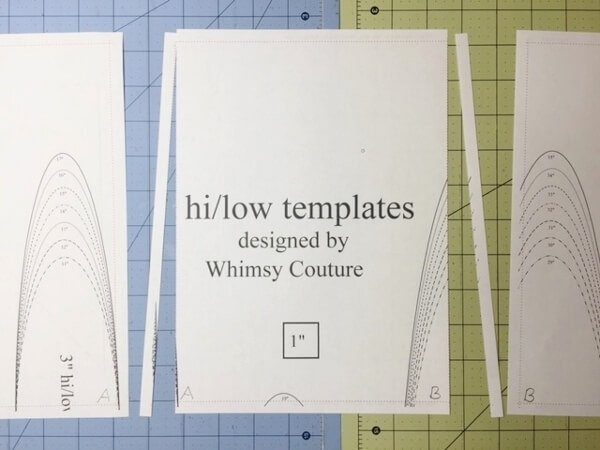
Once they are printed, spread them out on your work space, matching up the letters in the pages’ corners. You only want to cut both sides (along the dotted line) of the center pages out.
Then tape those 3 pages together, repeat for remaining 2 rows.
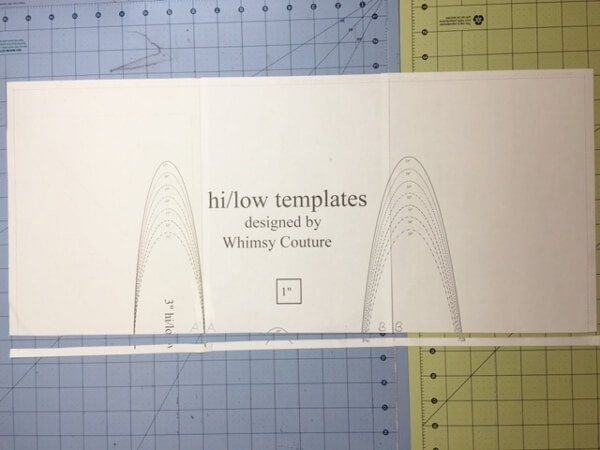
Next, you want to cut the bottom strip off, along the dotted line.
Now it’s easy to cut around each ellipse, or directly cut the size you need.
How to pick the correct template width:
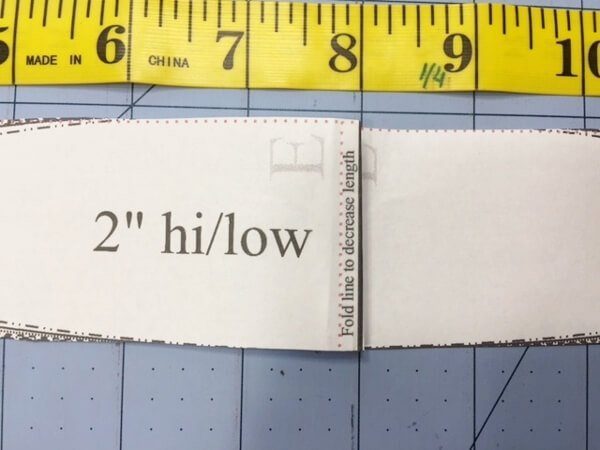
Select the hi/low difference for your project and check the width you need. Cut out the template. If you don’t find the correct width, take the one above. Meaning, if you need width 17.5” you want to take the 18” width. With help of the center line on the template you can decrease the width a little bit to your fabric width. Fold the template in half along the center line (or just pinch it like I did below).
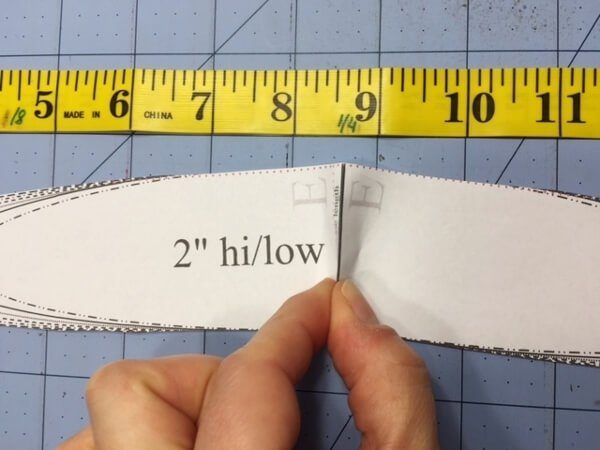
Fold the center line ¼” to the side, that will make up for the needed ½”.
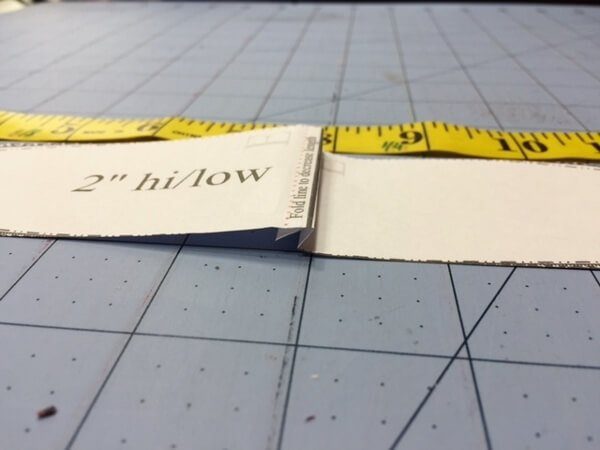
Now your template width is ½” shorter and you can use it now. You may want to pin it in place or just hold it in place when cutting around it.
How to use the high low template:
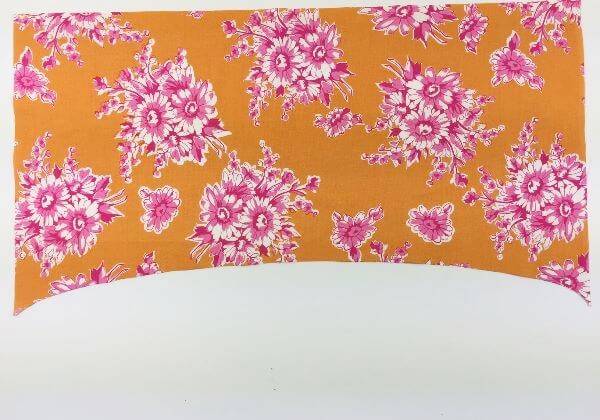
Place your front garment piece (either a top, dress or skirt) in front of you and pin the elliptical template to the bottom edge of the fabric, aligning the bottom edge of the template with the bottom edge of the fabric. Both edges should also meet with the sides. Draw around the UPPER template edge. 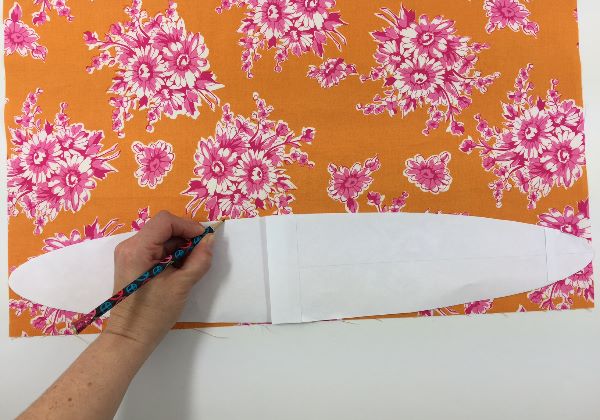
Remove template and cut along the drawn line.
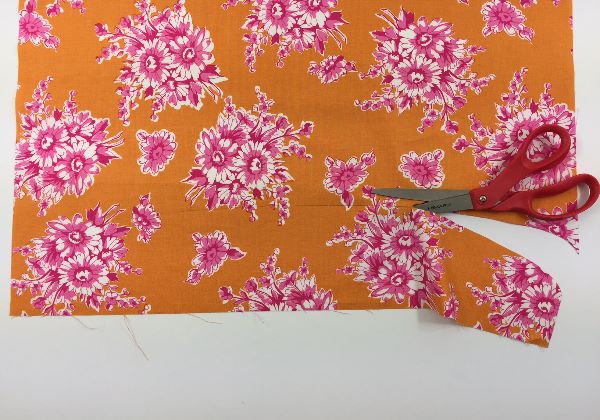
This is now your high front side:
Cut the back side:
Pin the template to the back side and draw a line along the BOTTOM template edge.
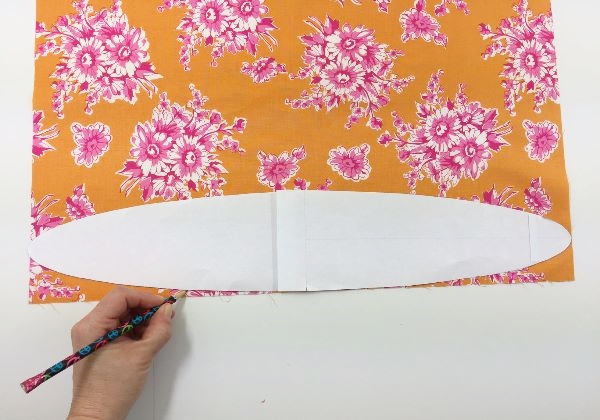
Cut along the drawn line.
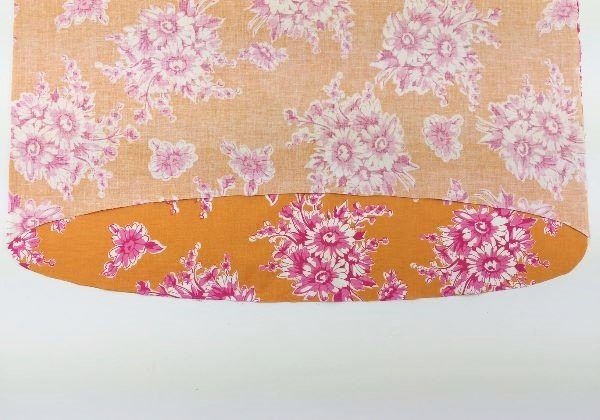
When you put both fabric pieces (with right sides) together, you now have a hi/low effect.
You can now proceed to follow along with your original pattern and finish your dress. This is how you would sew the side seams.
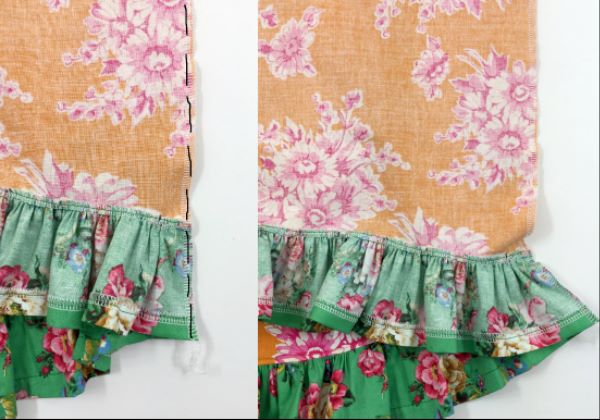
Enjoy your hi/low dress!
For instant download sewing patterns such as the Celebration dress pattern, please visit: Whimsy Couture on Etsy

- Free Snowflake Tumbler Wrap Designs for Download - September 24, 2023
- Free Welcome To Our Farm SVG File - July 17, 2021
- Professional Overthinker SVG File – Download Today! - July 8, 2021
Leave a Reply