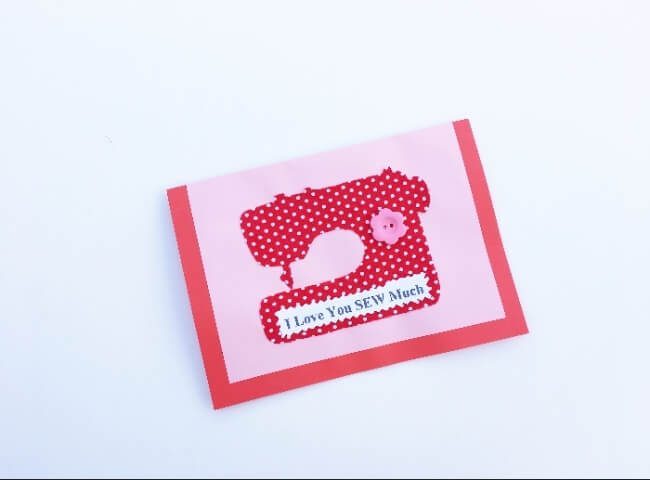
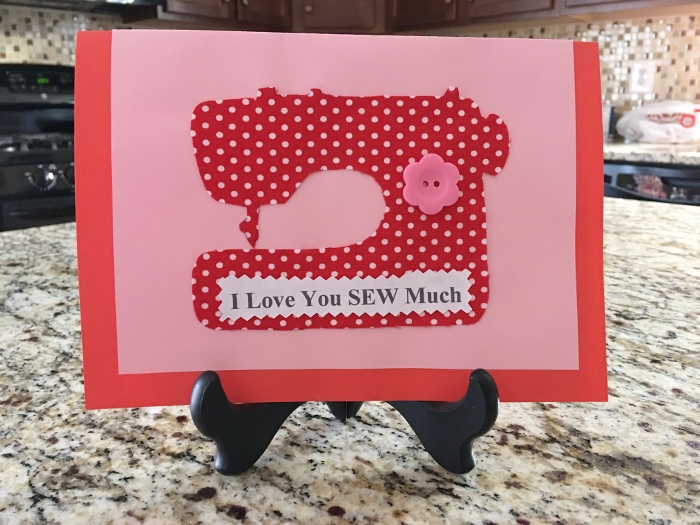
Make a cute DIY Valentine’s Day card for a sewing lover! This card is made with just a few supplies. It would delight any seamstress on Valentine’s Day. Download the sewing machine template and get started.
DIY Valentine’s Day Card
I’m super excited to be part of a Valentine’s Day challenge!
*This post contains affiliate links. Please see full disclosure here.
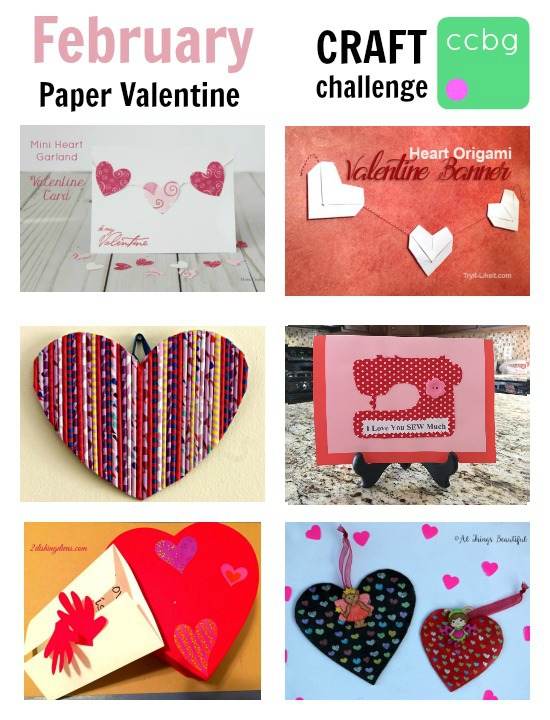
The start of the month means another fun #CCBG craft challenge is here! This month our theme for creating a new project was Paper Valentine. We wanted to use paper in different ways to create a Valentine project to share with you!
Check out the tutorial on how to make your own DIY Valentine’s Day card with a sewing machine cutout!
What you need:
- sewing machine (plus I love you SEW much) template <=====download!
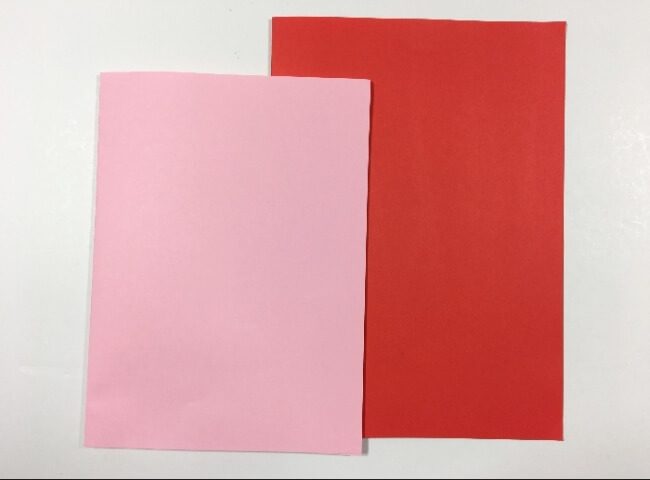
- craft paper or cardstock in size 8×11″ roughly
- fabric marker or Sharpie
- fabric
- cute button (I used a Riley Blake flower button, I buy those always from Etsy!)
You also need the following supplies:
- tacky glue (craft glue)
- glue stick
- scissors
- cutting mat
- rotary cutter
- lip edge ruler
Tutorial on how to DIY a sewing machine Valentine’s Day card:
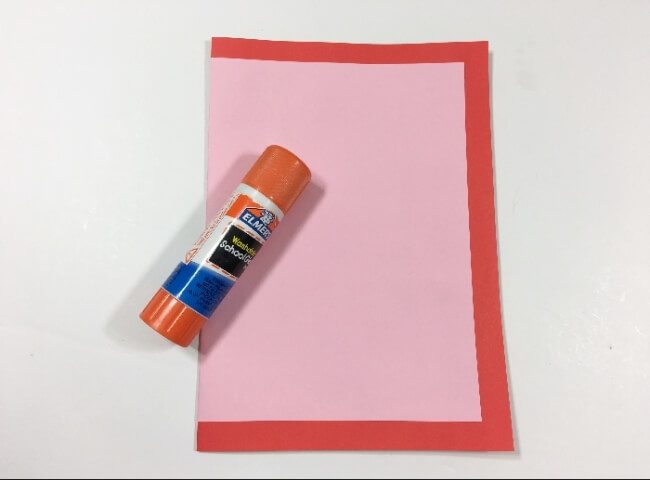
Gather all your supplies (some are not shown below)
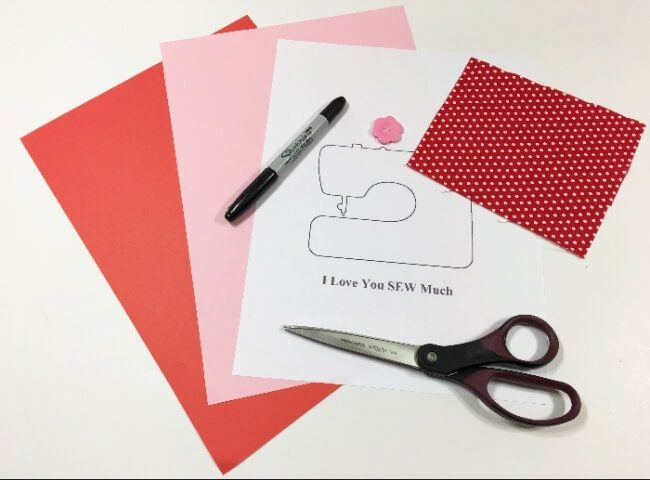
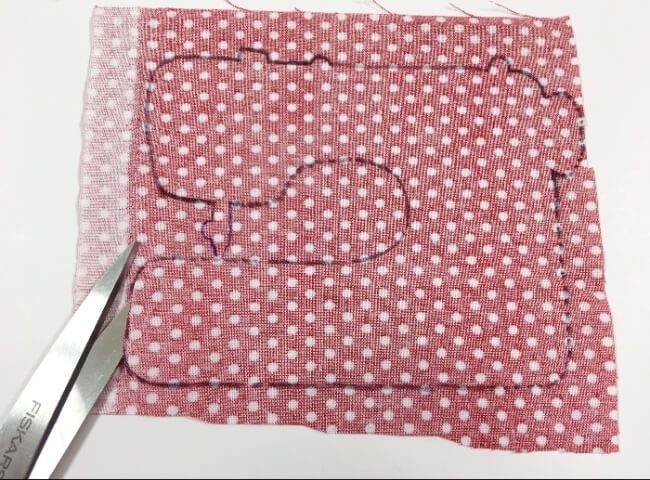
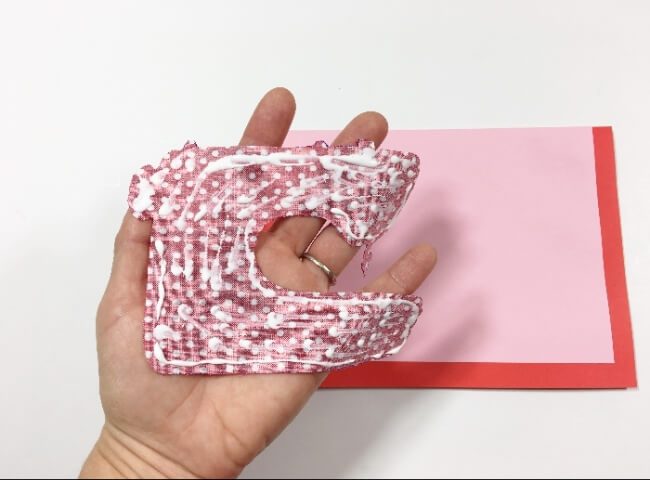
Print out the sewing machine template on 75%. The template is larger for other uses but for this card you want to print smaller. Cut out the template plus the words “I love you SEW much”. Trace the machine onto the backside of your fabric. I used a Sharpie but a fabric marker would work too.
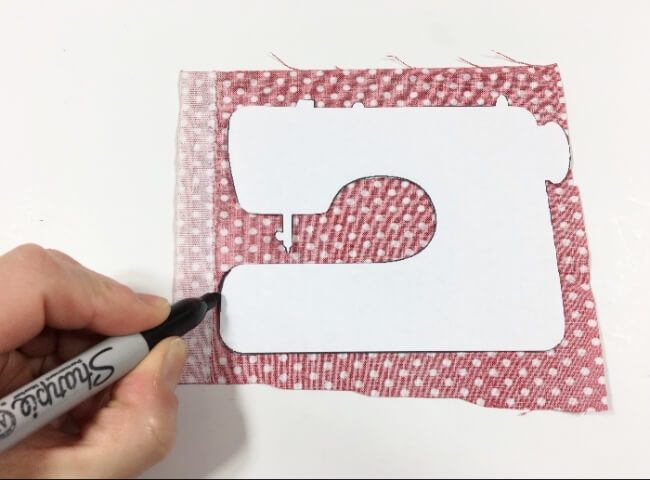
Cut out the sewing machine shape with scissors.
To make the card you want to cut down one page an inch on the short side and on the long side. That will give you a smaller page which is 1/2 inch smaller all around. I like using my cutting mat, lip edge ruler and rotary cutter. You can of course draw a line with a ruler and cut along the line with scissors.
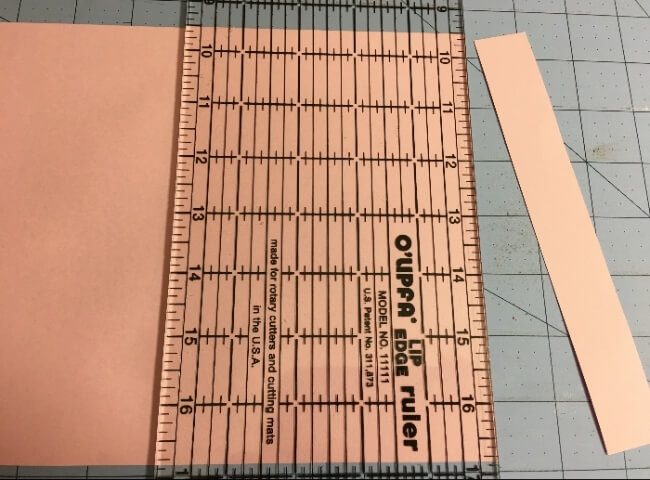
These are now the prepared card pages.
Apply glue to the smaller page. Be sure not to leave bulky glue spots as they will show once the pages get adhered to each other.
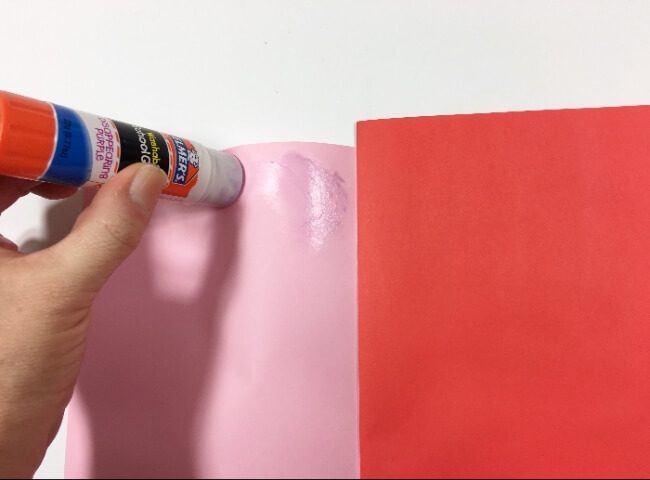
Once the glue is applied to one side, stick it onto the larger page so form a booklet. Then apply glue to the other side.
NOTE: while making my card I thought it was a good idea to use craft glue but I decided the glue stick would have been better as the craft glue left larger glue spots which then didn’t smooth out fully. Anyhow, apply glue to the underside of the sewing machine piece.

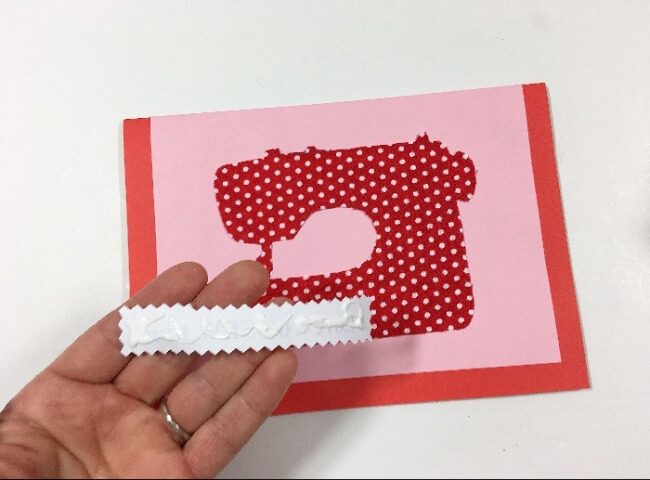
And quickly flip it onto the outside of the card. This step must be done as quickly as possible so that the craft glue won’t dry up that fast which was the case when I made this card.
Gently smooth out any bulky areas that were left by the glue. Then apply glue to the backside of the words and adhere it to the lower part of the sewing machine.
Last step is to glue the button onto the sewing machine. For this step I used the craft glue as it would have a much better hold versus a regular glue stick.
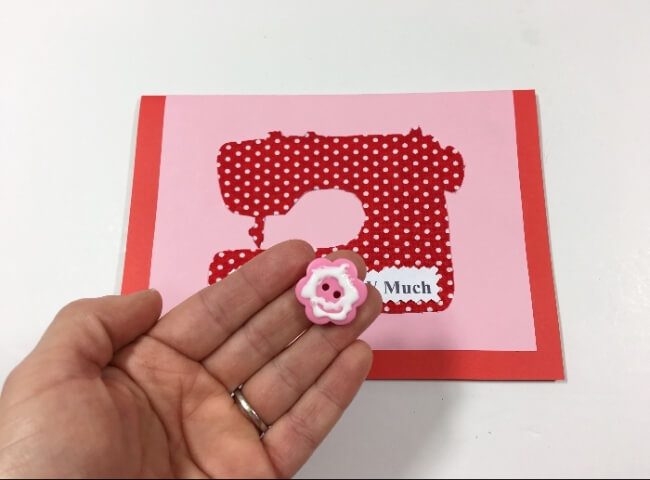
And the adorable sewing machine Valentine’s Day card is done!! I put mine onto a small frame easel to display it.
I hope you enjoyed this DIY Valentine’s Day card with sewing machine and will make some soon!

If you like this project, you might be interested in our Valentine’s Day DIY’S <= click this link!
Thank you for reading this post!
- Free Snowflake Tumbler Wrap Designs for Download - September 24, 2023
- Free Welcome To Our Farm SVG File - July 17, 2021
- Professional Overthinker SVG File – Download Today! - July 8, 2021
I would love to get a handmade Valentine’s Day card. This is such a cute project. I’ve noticed what you mean about the different glues. I have a decent collection for various uses myself!
Thank you so much for visiting today! Oh yes, I noticed that the craft glue just didn’t want to smooth out enough when I made the card the first time haha…
How cute! I love the sewing machine. I would think this was such a fun Valentine card if I got it. Are those special fabric scissors?
Hey thanks for visiting!! I use my fabric scissors for fabric only. Then I also have paper scissors 😉 Thanks for visiting!!