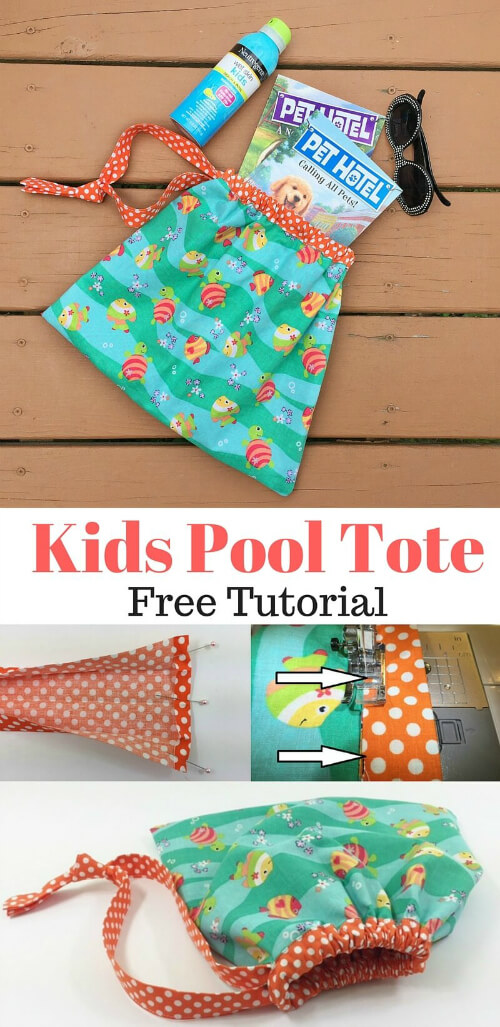
Sew a cute kids pool tote bag for only their stuff they need at the pool. I have always been stuffing everything that any of my family members need at the pool into a huge bag and carried it myself. Then the idea of at least my kids having their own tote bag to tote along their things, made myself sew up this little tote bag. This is the one I made for my daughter and she loves it because it holds plenty of what she “needs” at the pool such as her books, sunglasses and sun lotion plus a few other things.
Kids Pool Tote Bag
I am thrilled to participate in the summer sewing series again and to show you guys this free kids pool tote bag tutorial! Thanks Emily for having me join!
And now to the free tutorial:
*This post contains links to affiliates. Please see full disclosure here.
Let’s make this cute tote bag together, shall we?
Materials & supplies needed:
- 2 coordinating fabric pieces (see measurements below)
- sewing machine
- cutting board
- rotary cutter
- scissors
- ruler
- safety pin
- straight pins
- iron
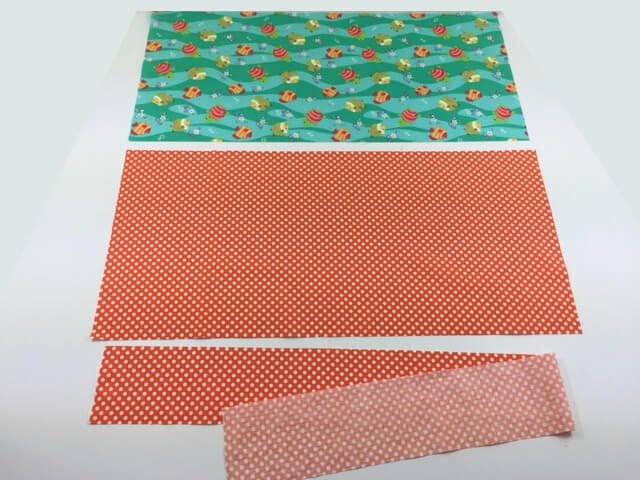
You can make this tote bag in pretty much any size but for today I’m sharing the small sized tote bag with you! You want to cut the following:
2x main bag pieces 27″ wide by 13″ long and 1x strap piece 4″ wide by 40″ long.
We begin with the strap: With the right side facing down, fold the strap piece lengthwise in half and press. Fold both long edges towards the center and press.
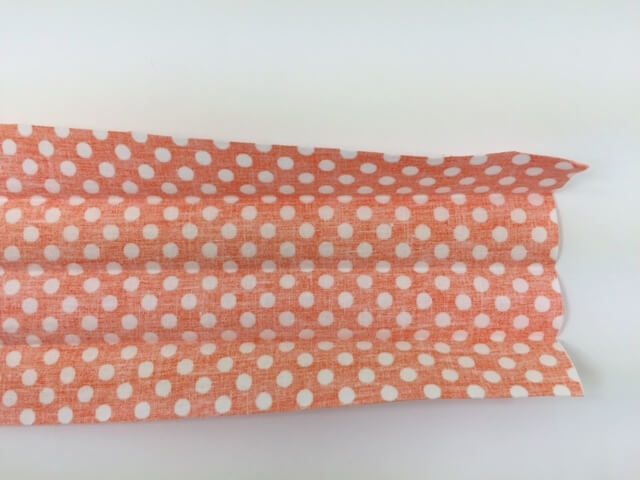
Fold both short ends in 1/4″ and press. I pinned it in place to show you the fold. You won’t need the straight pins.
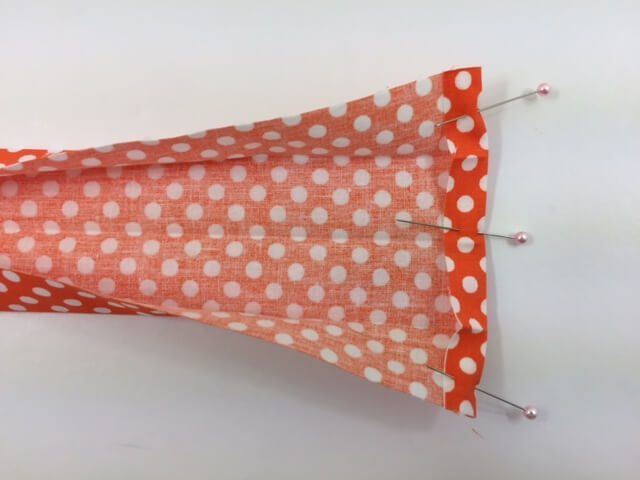
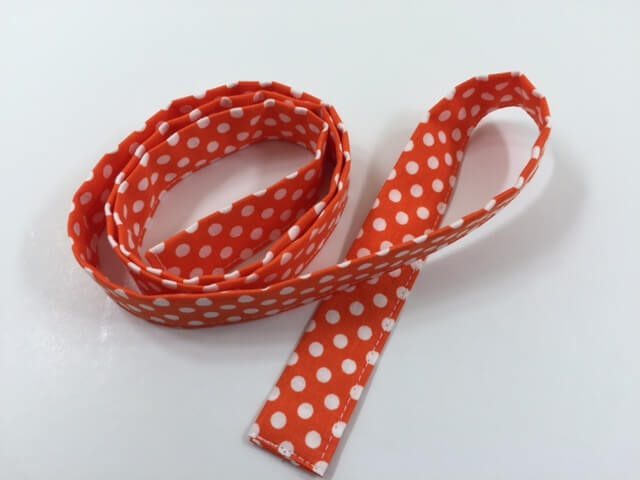
Refold the straps and sew the open edges closes with a straight stitch. Backstitch the beginning and the end. This is now your finished strap. Lay it aside.
>>>You might also like this free hobo bag tutorial or this towel beach bag DIY!<<<
We are now sewing the main tote bag: Fold one of the fabrics over lengthwise and pin then sew the left and the bottom edge closed. Repeat this step with the other main bag fabric piece.
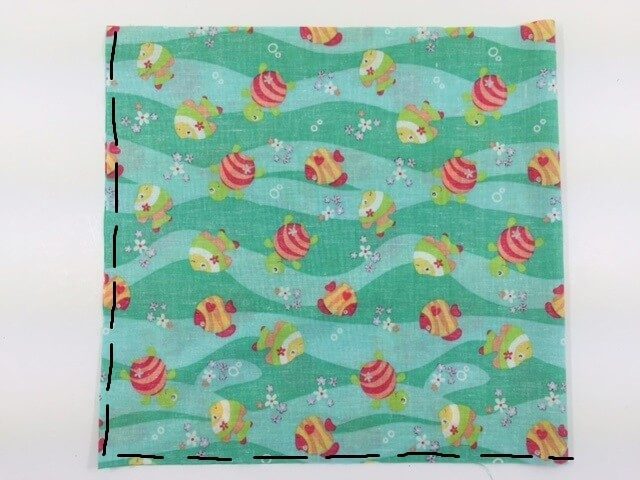
You can serge or zigzag stitch the raw edges.
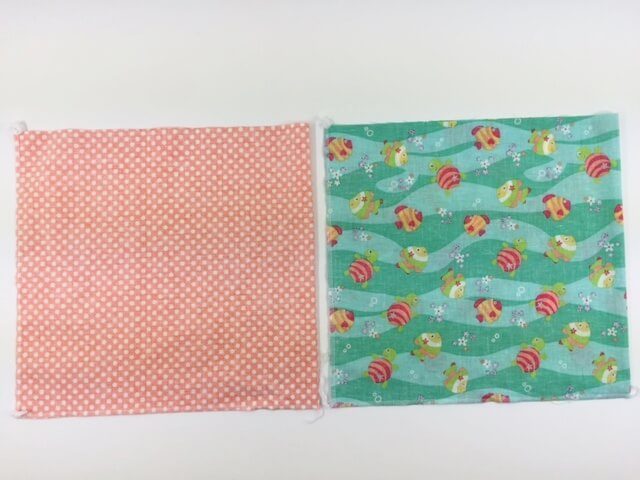
Now it’s time to sew both (inner and outer) of the bag together. Turn one piece with right sides out (that is my orange dotted fabric) and insert it into the other fabric piece.
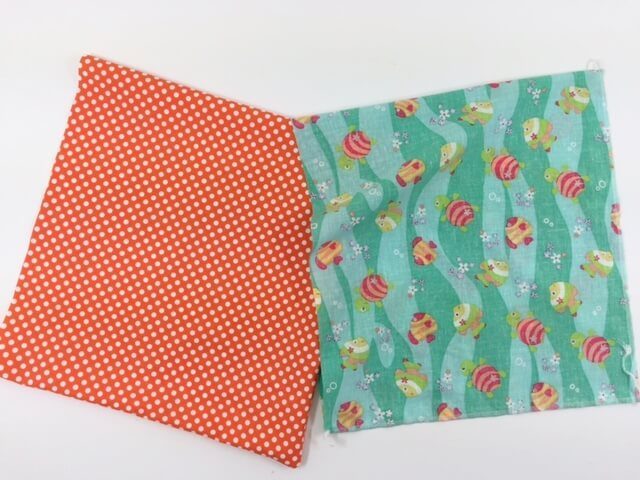
Line up the edges and pin in place. Sew along the raw edges and leave a 2″ opening somewhere. Backstitch the beginning and end.
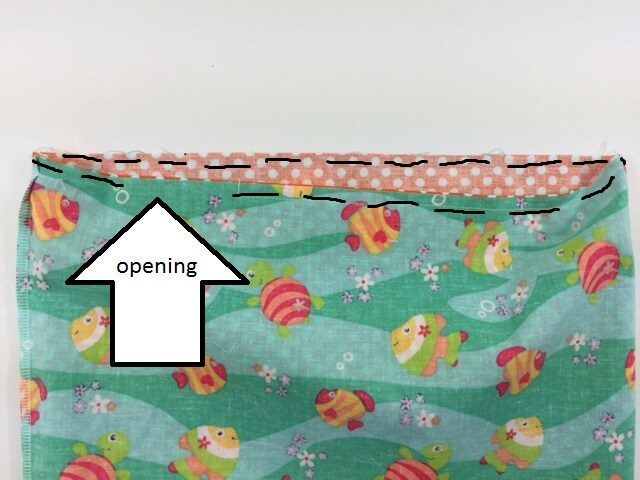
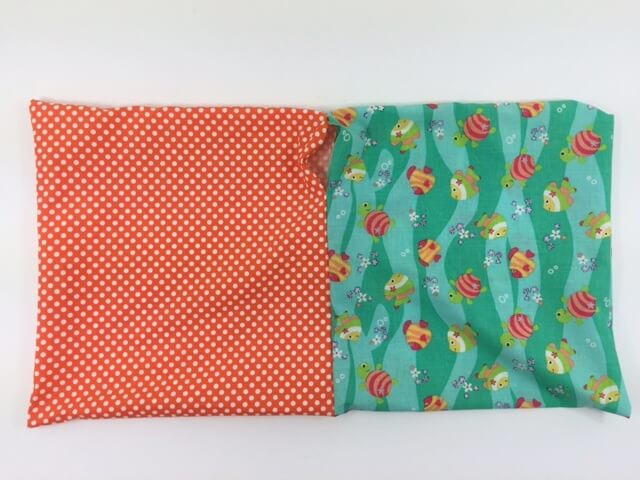
Pull one layer out through the opening so that your fabric print is on the outside.
To continue with the tutorial please click on page 2 below!
- Free Snowflake Tumbler Wrap Designs for Download - September 24, 2023
- Free Welcome To Our Farm SVG File - July 17, 2021
- Professional Overthinker SVG File – Download Today! - July 8, 2021
Luv this tutorial but cannot click onto page 2 can you help please
Sorry for the delay! Thank you for your interest in this free tutorial! Please go here for page 2: https://www.diy-crush.com/blog/kids-pool-tote-bag/2/