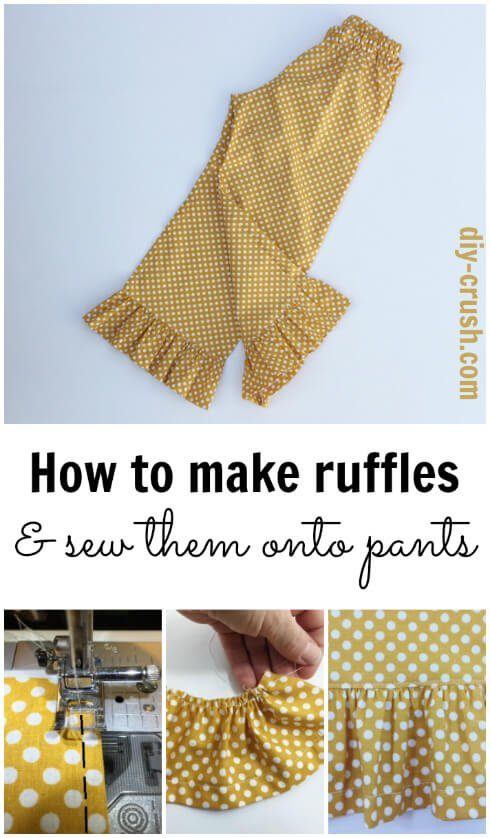
Ruffles, ruffles, ruffles! We love ruffles and this tutorial will show you how to make ruffles and sew them on the professional way. It’s easy and with just a few detailed steps you can make ruffles and sew them on to almost anything.
How To Make Ruffles And Sew Them On
There are several ways of sewing ruffles so I am not saying my way is the right way and others are wrong 😉 This is just my preferred way to sew ruffles. It’s the best way for me to make pretty ruffled clothing that can meet the high standard of boutique clothing.
>>>See our tutorial to sew ruffles to a plain bib overall!<<<
For today’s example I am using my own pattern, the Jump Around (or straight cut) pants pattern from Whimsy Couture. They are straight cut and perfect for adding ruffles!
Instructions to measure for the ruffles
Place your project (in my case the pant leg) in front of you and measure the bottom hem width. Before adding ruffles to anything that normally does not give that option, be sure to take off the amount of fabric from the hem area to accommodate the ruffle length. For my pants I actually shortened them a tad more to make them capris.
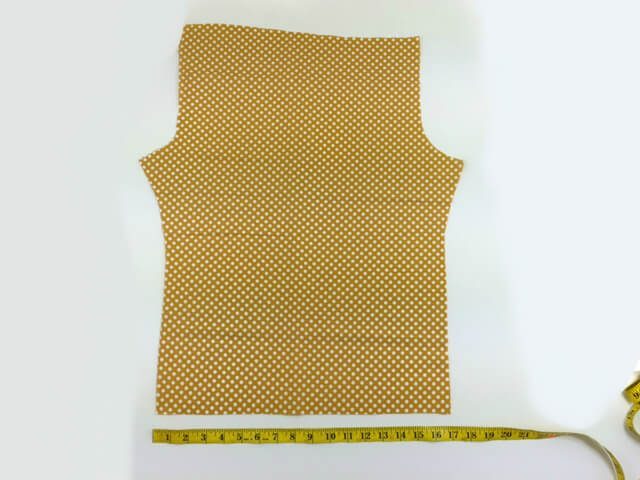
Determine how long you want the ruffles to be from top to bottom. My ruffles should ultimately be 3″ long so I cut my length (measured from top of ruffle to bottom of ruffles) to 4″.
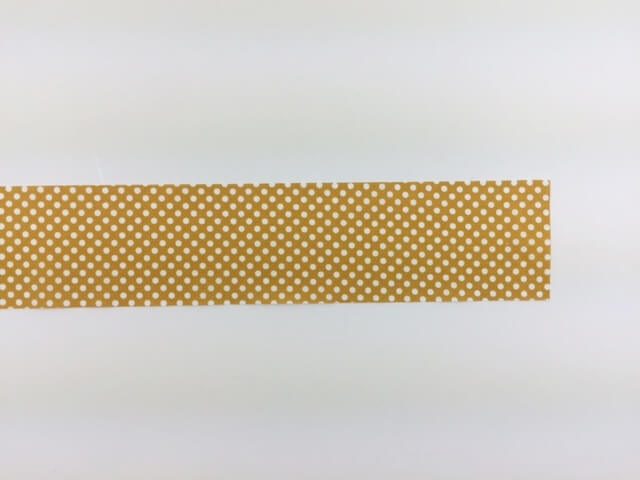
I calculated 0.5″ for the seam allowance for sewing the ruffles on and 0.5″ for the bottom hem which I serged and folded up 0.5″, then sewed the hem down.

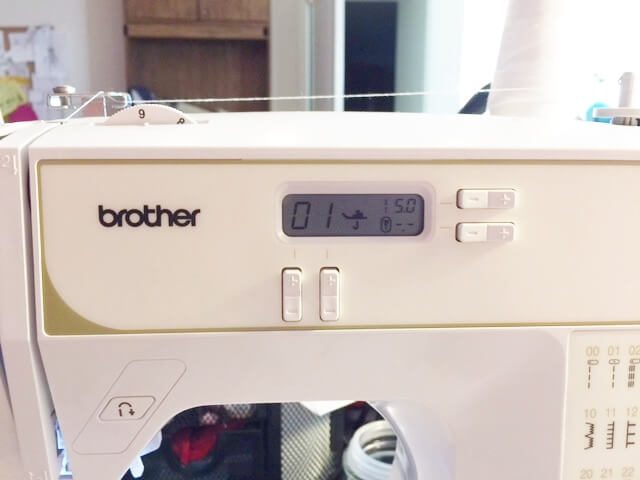
Set your machine to a gathering stitch
Not all machines are able to gather fabric that way but most do. I use my brother machine and it gathers so well. Set your tension to the higher number and the stitch length to the longest stitch.
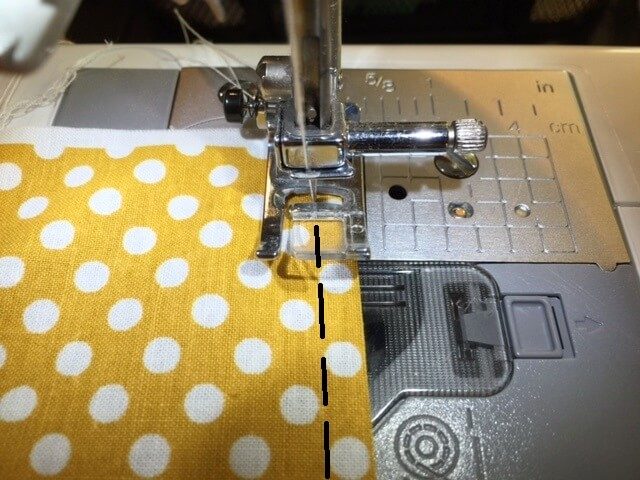
Place your ruffle strip down with the raw edge under the presser foot, leave a thread tail of 10″ and start sewing with a seam allowance of 1/4″. Sew along the dashed line as shown below.
>>>See our tutorial to sew ruffles to a onesie!<<<
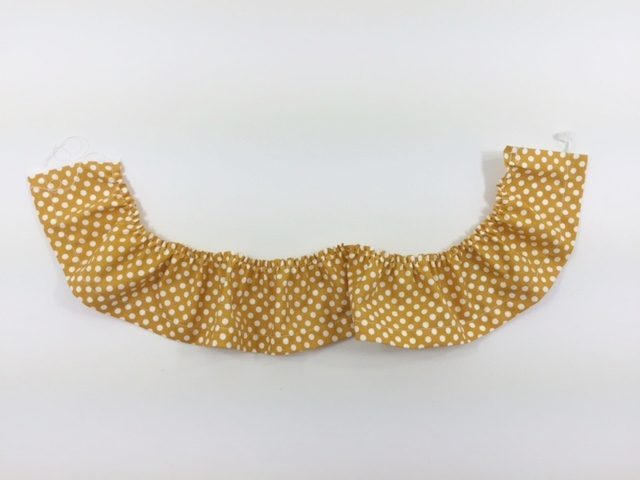
Once you finish sewing, leave 10″ of thread on the ruffle and trim off the thread. This is what your ruffle looks like now. It will naturally curl.
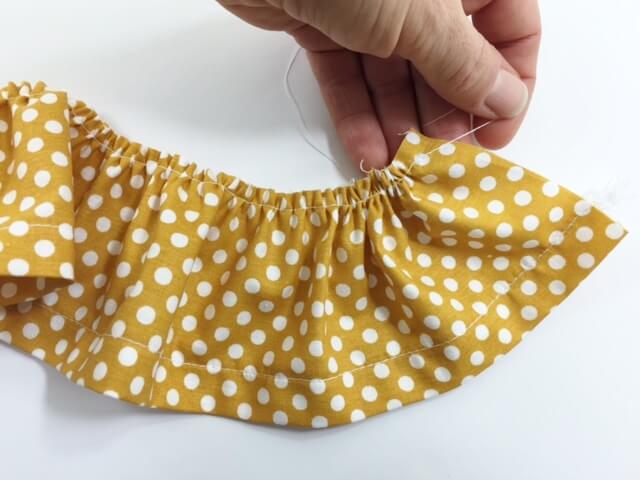
Pull gently on one side’s thread to gather the fabric even more.
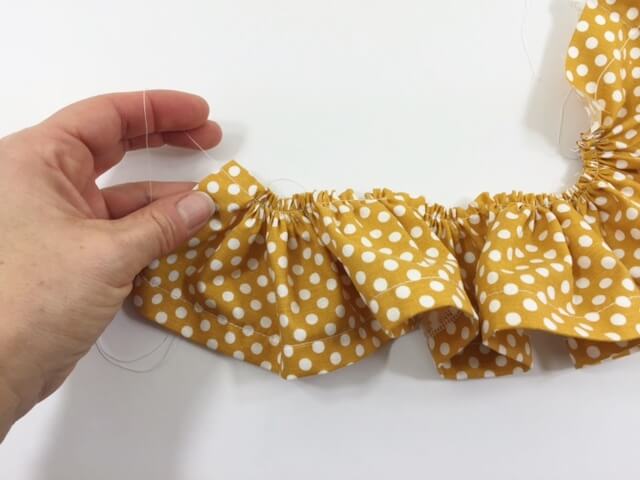
Now pull on the other side’s thread as well until your fabric is evenly and tightly gathered. Be sure to gather it as much as possible without breaking the threads.
To continue with the tutorial please click on page 2 below!
Another great tutorial, Denise. I love ruffles on little girls pants and dresses. I’ve featured your tutorial and your blog today.