This is how your ruffle looks now. Tightly gathered.
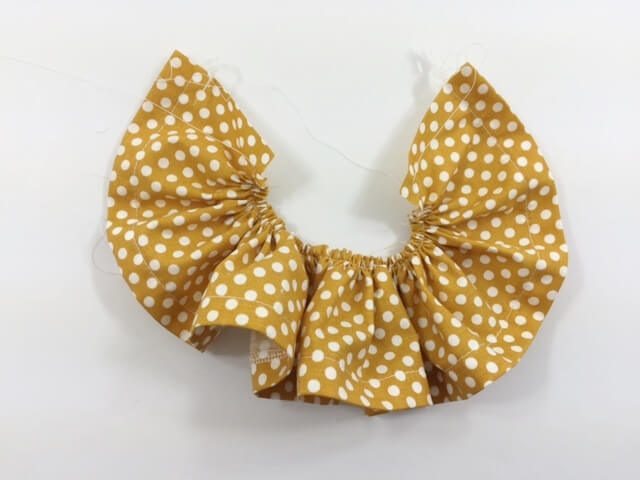
Press the ruffle
Now comes my tip which is not all too often known. Arrange the gathers so that the fabric looks almost completely pleated. Pull on the hem to help get all the gathers lined up as much as possible.
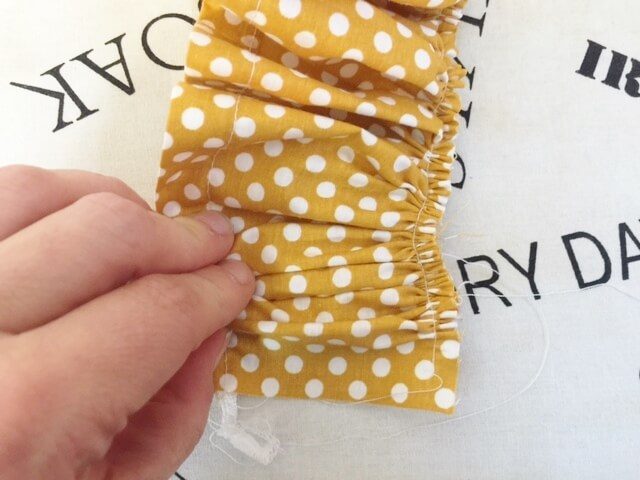
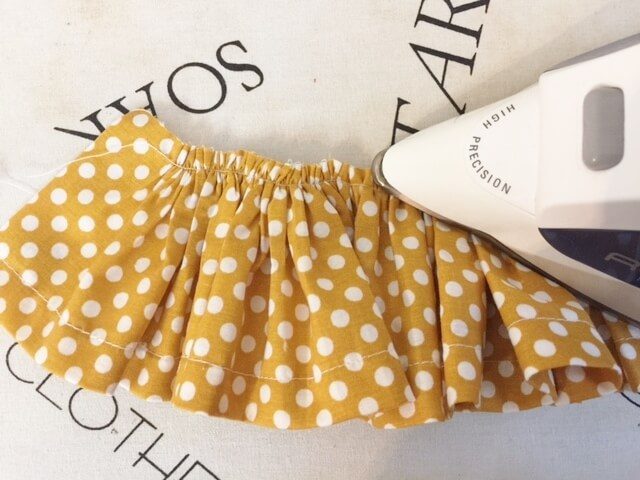
Press the gathered area flat but ONLY the area where the thread runs through. I tend to go down on the ruffle about half to three quarters way which is fine but I make sure not to steam that area and only steam the upper edge.
Sew the ruffle on
Take your tightly gathered and pressed ruffle and place it underneath the pants, both with right sides up.
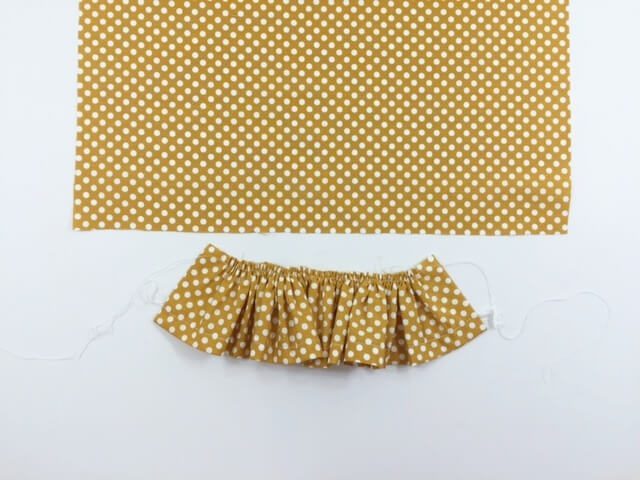
Gently spread out the gathers so that the ruffle meets the pants edges.
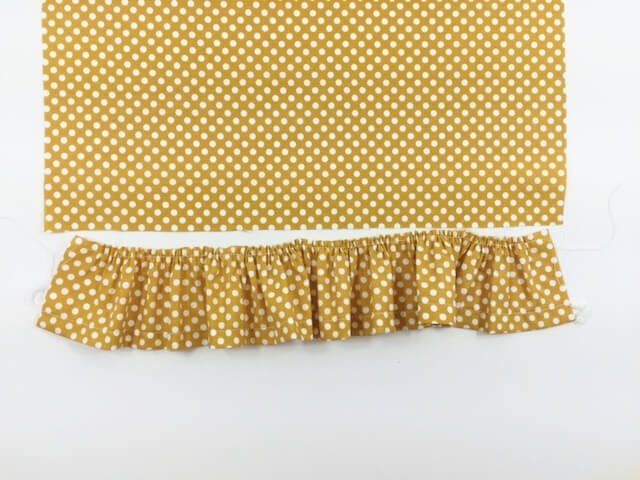
Flip the ruffle up and over the pants, pin and sew them on. Be sure to sew slightly above the gathering stitches so they won’t show on the right side. Then finish the raw edges.
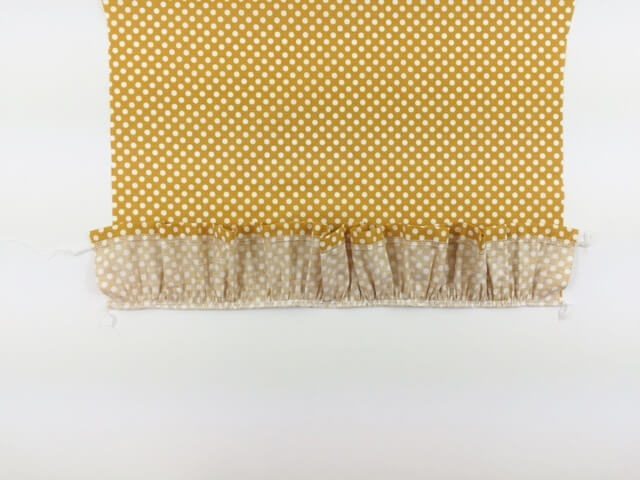
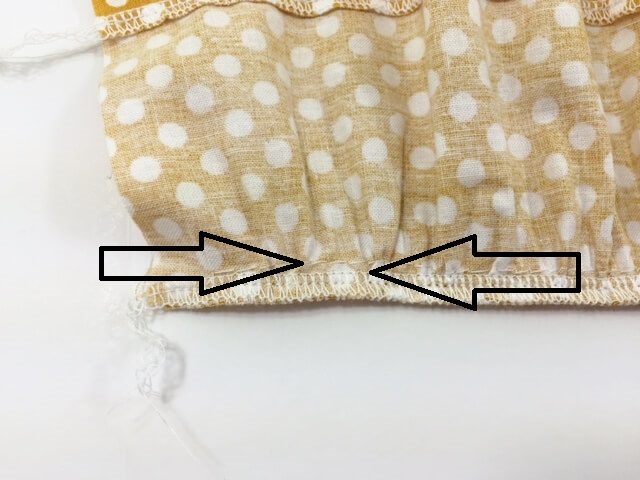
Check if your gathering stitches (top row, pointed to by the left arrow) are visible from the outside which in my case they are.
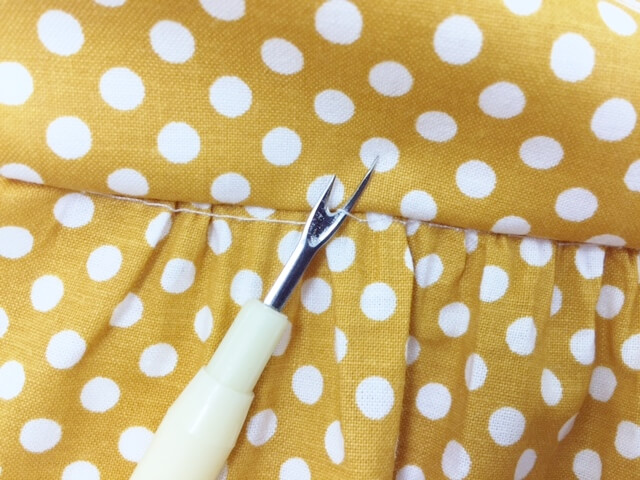
Using your seam ripper, gently break those stitches from the right side. Then press the area and top stitch on the right side about 1/8″ above the seam.
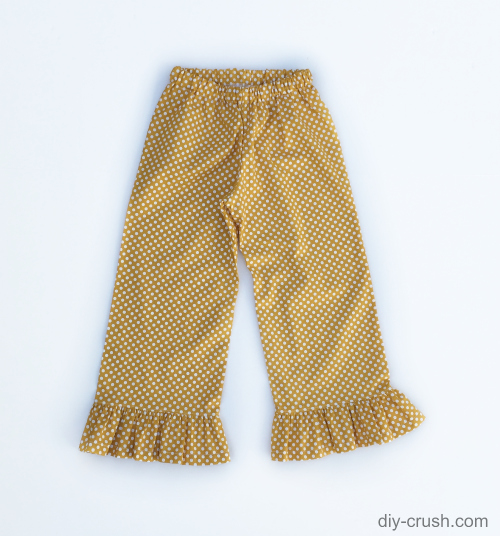
And your ruffled pants are done!
If you will be sewing bias tape soon, share some pictures in our facebook group! We’d love to see them!

- Free Snowflake Tumbler Wrap Designs for Download - September 24, 2023
- Free Welcome To Our Farm SVG File - July 17, 2021
- Professional Overthinker SVG File – Download Today! - July 8, 2021
Another great tutorial, Denise. I love ruffles on little girls pants and dresses. I’ve featured your tutorial and your blog today.