By adding side inserts to shorts (as well as pants, skirts, dresses etc.) you can not only change the look of them but also increase the size and add interest. Use decorative top stitching to make it even more unique. Today’s free tutorial shows you how to add a side insert to shorts, using a pattern for shorts that has a border at the bottom hem.
How To Add A Side Insert To Shorts

*This post contains links to affiliates. Please see full disclosure here.
Materials used:
- the cute star print fabric is poplin called ” Big Stars ” by Mabel Madison.
- The apple green fabric is a generic broadcloth.
- The shorts pattern is Whimsy Couture’s Puffer Shorts Pattern
- I further used straight pins (my favorite ones are these heart shaped pins)
- My beloved Fiskars cutting mat
- A Rotary Cutter
- A sewing machine
- Fabric scissors
- An iron
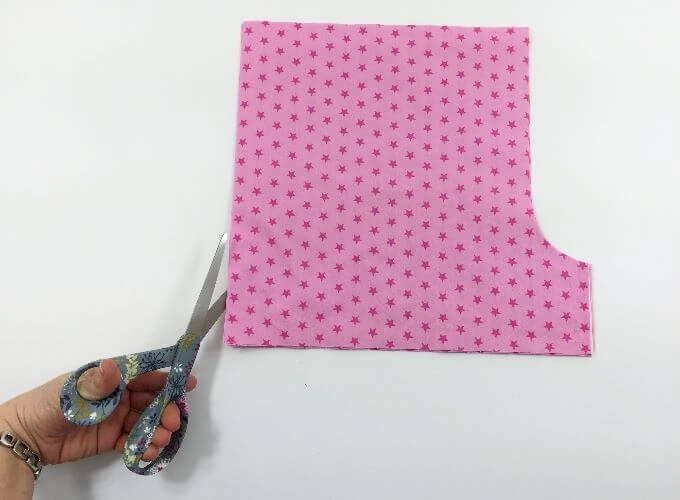
I am using my Puffer Shorts Pattern which has a casing along the leg hems for adding elastic. I omitted the casing and elastic but really love how the border looks. Since the shorts pieces don’t have a side seam I simply cut the them along the sides by folding the fabric over sideways and aligning the crotch edges.
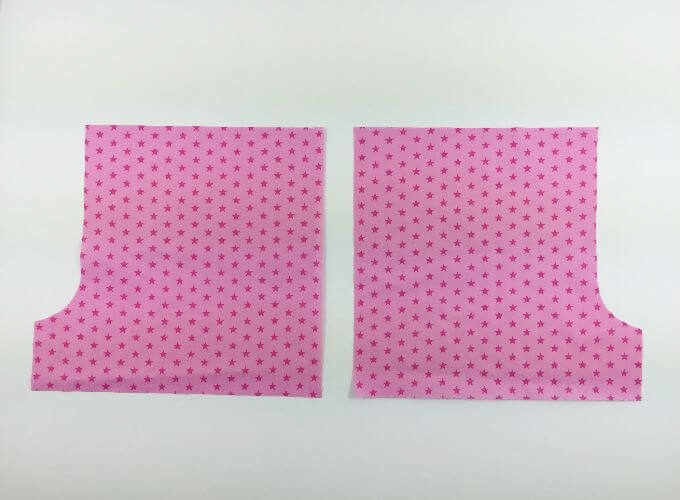
Now I have two shorts pieces, one for the front and one for back. I repeated this step with the other shorts piece.
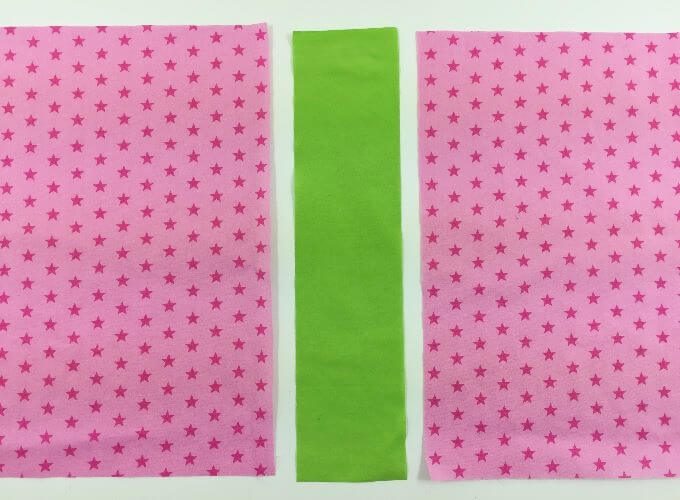
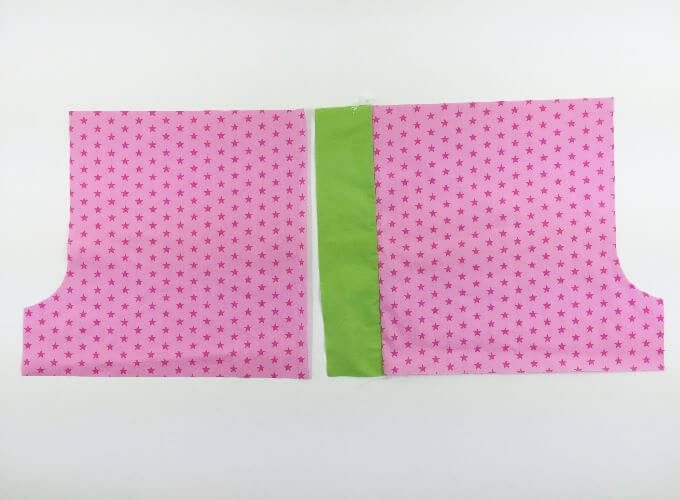
The shorts pattern is for really wide shorts so I didn’t want to increase the width even more by adding a side insert. I took about the width of the shorts border off of the sides of the shorts. For my size 9 shorts, the bottom hem fabric which is labeled “leg ruffle” in the tutorial measures 6″ in width. Once it’s sewn on, it will measure about 2.5″ since it’s folded. I figured my side insert should match so I cut this side insert strip to 3.5″ and to the length of the shorts pieces. Once I would sew the side insert into the shorts with a seam allowance of 1/2″, I should end up with a side insert width of 2.5″. This would nicely match the leg hem border!
Ok, so here is one of my insert. In order to make the main shorts pieces fit correctly, I trimmed off 1.75″ from each side to compensate the insert and so that my shorts wouldn’t end up being wider than originally planned for.
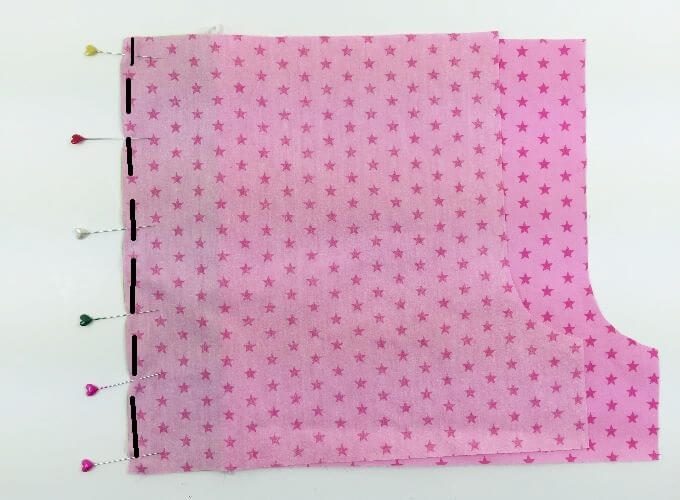
To sew the insert on, I pinned one side to one side of the shorts (right sides together). Pinned and sewed it on. Then I finished the raw edge with my serger but you can also use a wider and narrow zigzag stitch on your regular sewing machine.
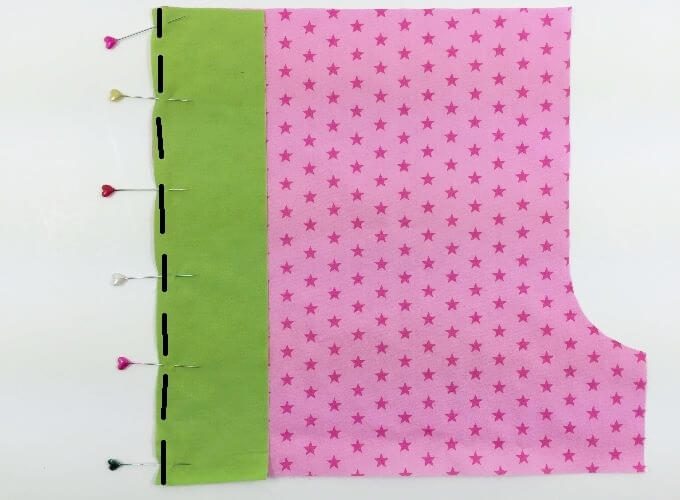
This is how the insert looks after I unfolded it.
This step needs to be repeated with the other shorts side.
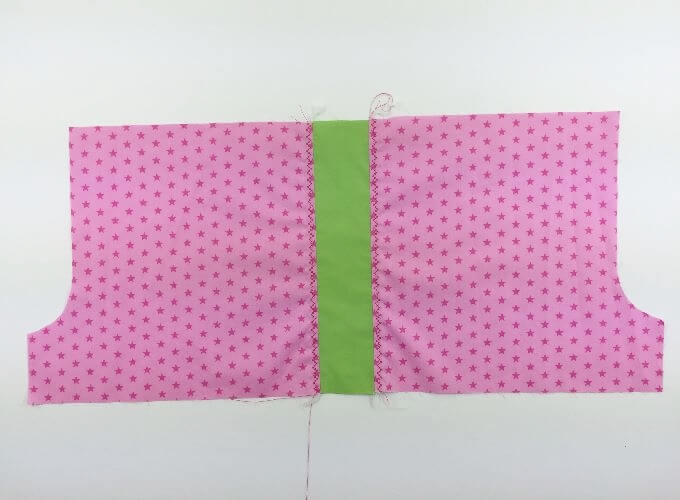
Once the raw edges are finished on the underside, it was time to top stitch. I chose a pretty, decorative stitch which resembles the cute stars in the fabric. You can of course choose your preferred top stitch.
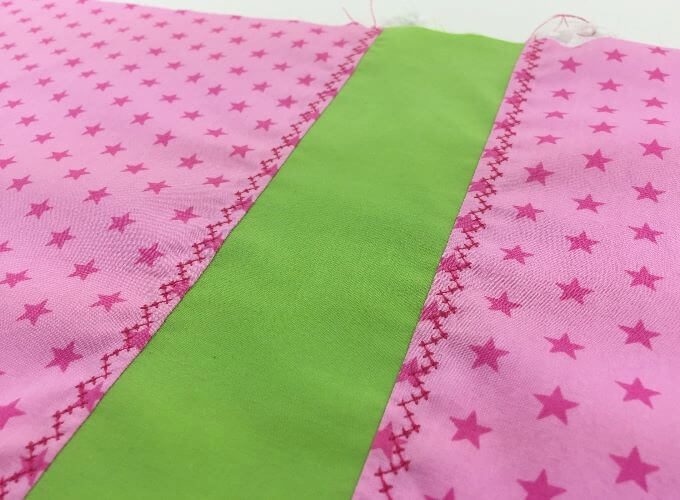
Here a close up of how the insert looks like. I repeated the above steps with the second insert and sewed it between the other shorts pieces. Then I followed through with the tutorial of the Puffer Shorts Pattern.
Here is my finished outfit! Oh and I embellished a matching green tee I purchased from Wal-mart, with a matching star! You can download the free star template in different sizes from this post I did for a patriotic tee.
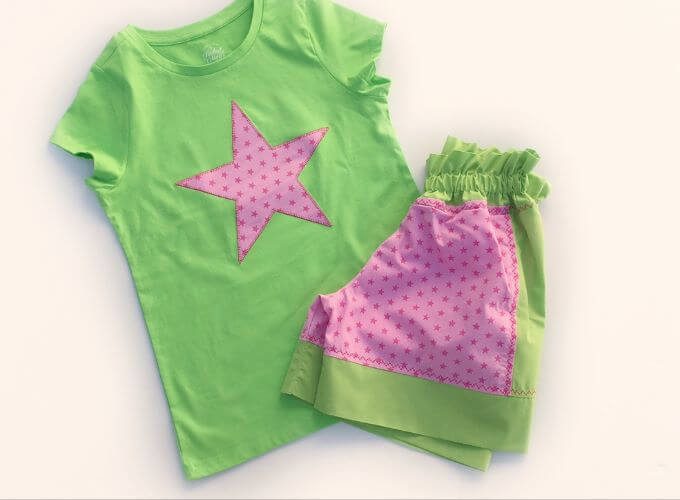
This outfit is so great to wear for summer because poplin is an amazingly light weight material. See this post about all the benefits of poplin.
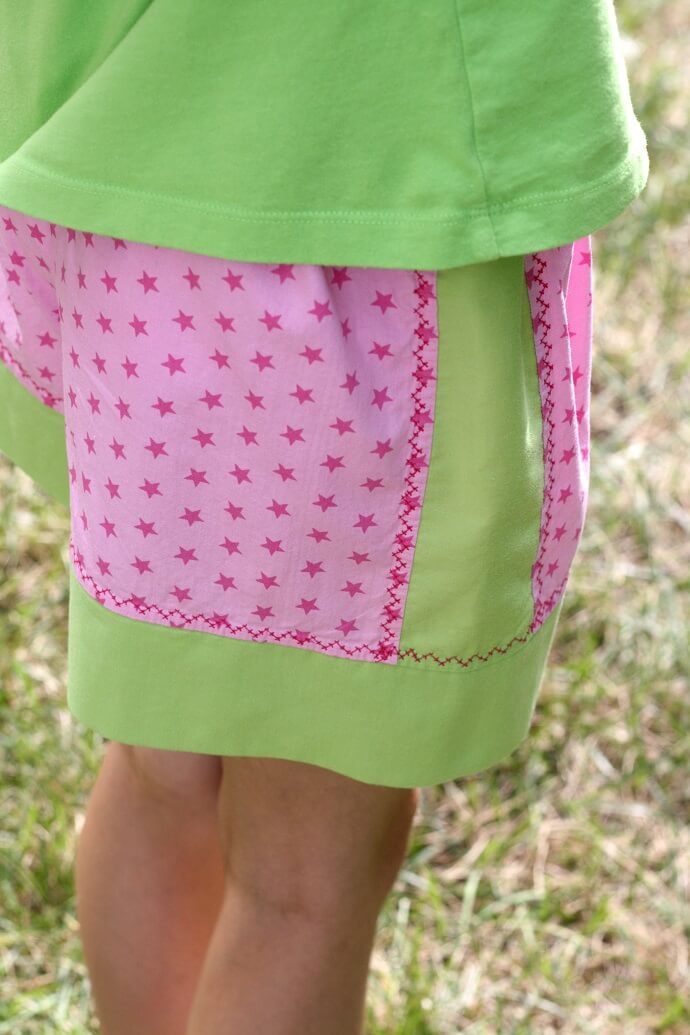
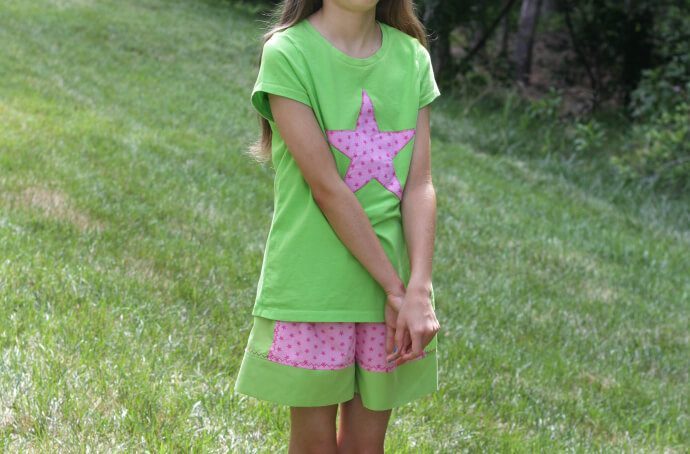
I love this color combo on my daughter! She also loves colorful and fun colors.
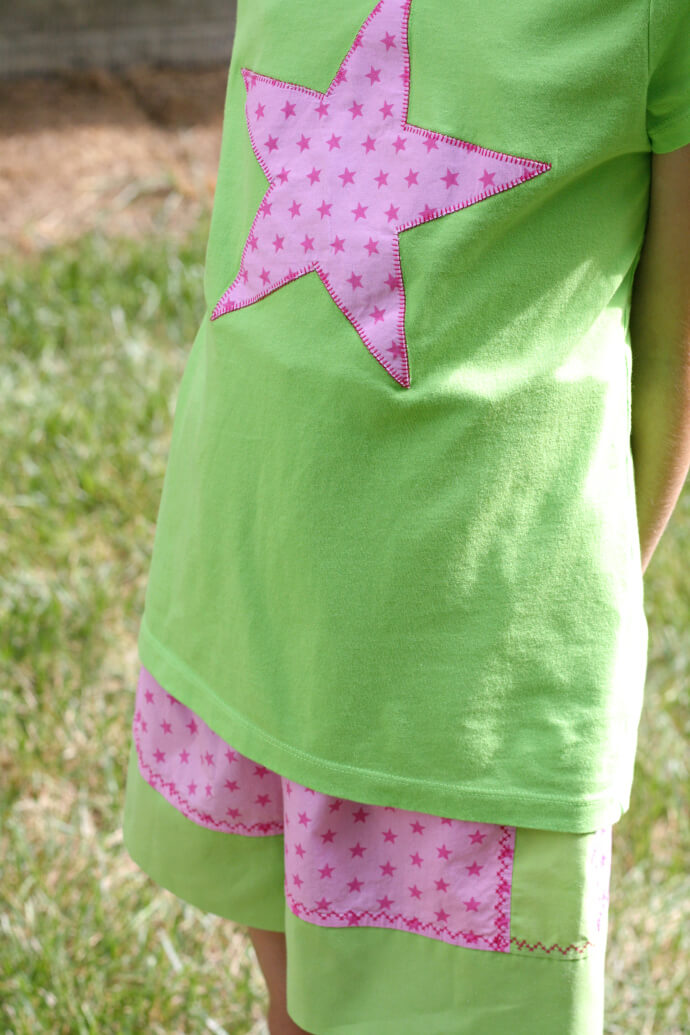
I used a blanket stitch from my sewing machine to sew around the perimeter of the star. I think it makes it look so pretty!
Thank you so much for reading this post! Oh and I wanted to point out the matching skinny headbands in pink and green! lol…..Sandals are from Target!

————-
- Free Snowflake Tumbler Wrap Designs for Download - September 24, 2023
- Free Welcome To Our Farm SVG File - July 17, 2021
- Professional Overthinker SVG File – Download Today! - July 8, 2021

Denise, I love how this turned out. The colors look great together and I love the gathered top. The 2 decorative top stitches that you added are really cool! They make the outfit look even more special. I can see why your daughter loves it!
Thank you so much, Nikki!! I can’t get enough of making cute outfits for her!