This free patchwork skirt tutorial shows you how you can use fabric squares that are precut. I am showcasing 6″ squares that will make a size 4t skirt. You can of course make a bigger or larger skirt using bigger or smaller squares. See this picture tutorial and watch the video for visual assistance.
Patchwork Skirt Tutorial
Precut fabric squares are widely available in different measurements and quilt squares comes various sizes, see this detailed post from Sew4Home. I also made a video to help with visual assistance and to clarify some of the steps, so be sure to watch it as well!
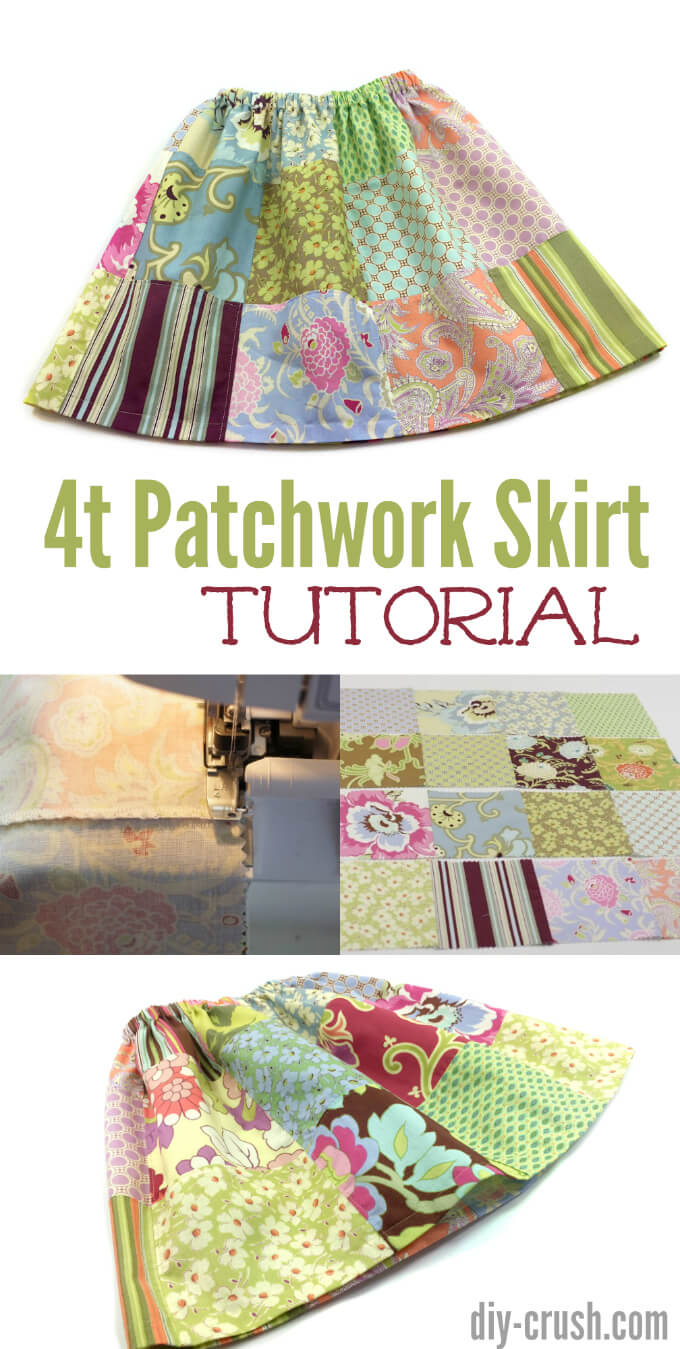
Materials needed:
- 6″ precut fabric squares (I used Amy Butler’s Gypsy Caravan)
- sewing machine
- serger (optional)
- scissors
- straight pins
- 3/4″ band elastic (20″ for size 4t)
- safety pin
Watch this video below:
I had this bundle on hand with 6″ squares, the edges were already zigzagged which wouldn’t require finishing but since I love my serger, I used it on all raw seams on the inside of this skirt. This skirt will have an ultimate length of 14″.
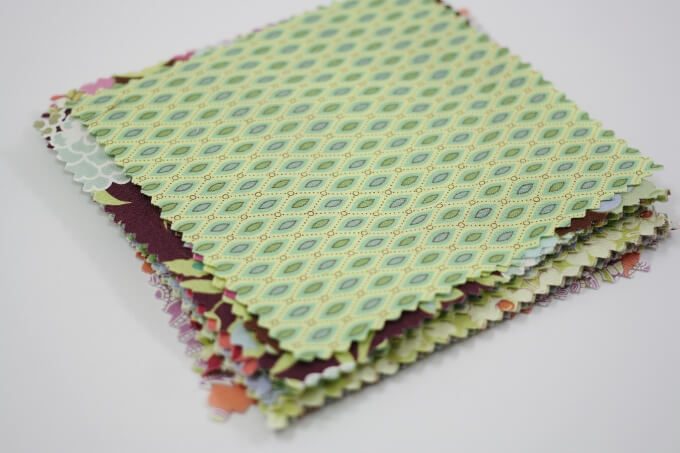
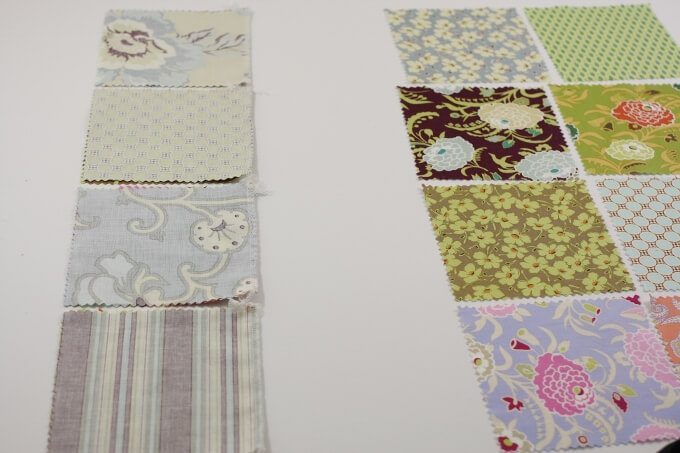
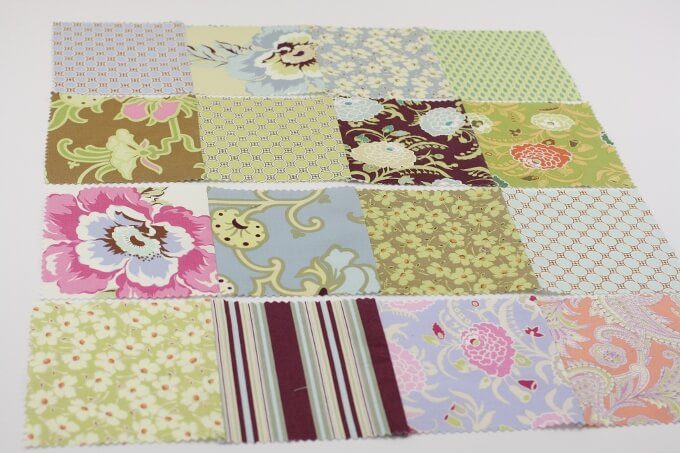
First, I laid out all my squares the way I liked the print/color line up. For my size 4t skirt I only needed 12 squares per skirt side as later determined, although I made this tutorial showing 16 squares of 6×6 inches.
>>the video has the correct amount of squares 😉 <<<
I laid the other squares aside from the assortment you see below.
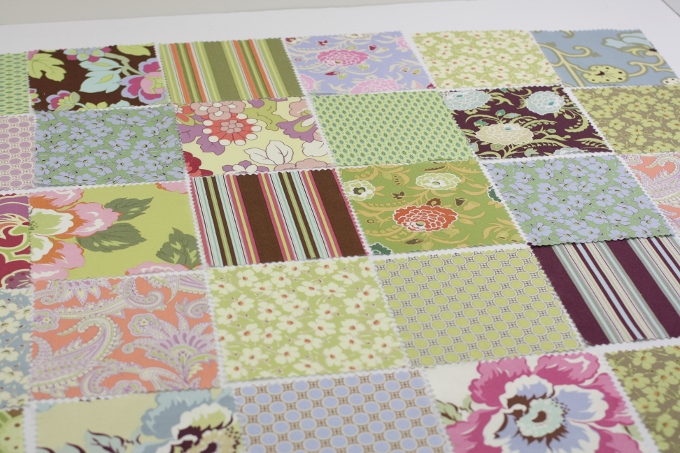
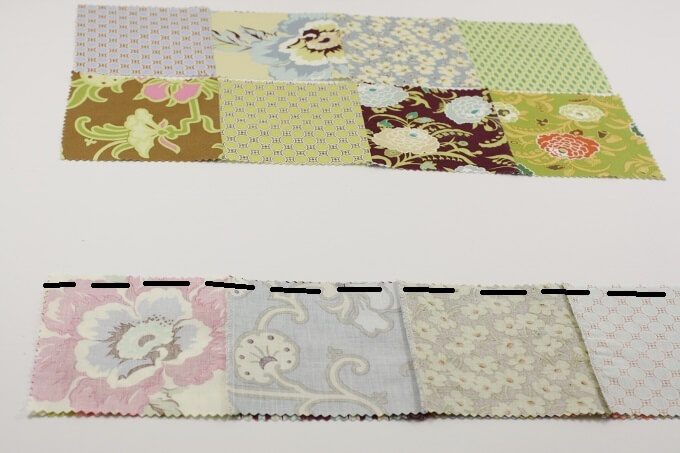
From my laid out 16 squares (later on I decided to only use 12 squares to make this 4t skirt so the upper row of the squares will show in the following pictures at first). I started on the bottom left and flipped the second square of the last row over the first square. Then I pinned and sew/serged the edges along the dashed lines.
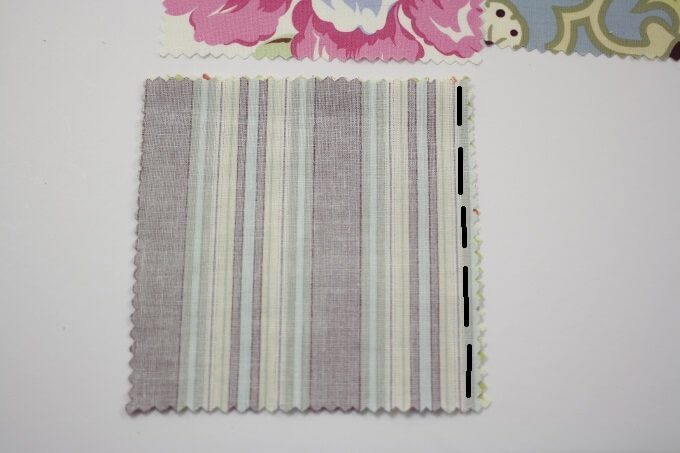
I repeated this step with all rows, sewing just the first two squares together.
Then it was time to repeat with the remaining squares number 3 and 4 (on the left in the image below)
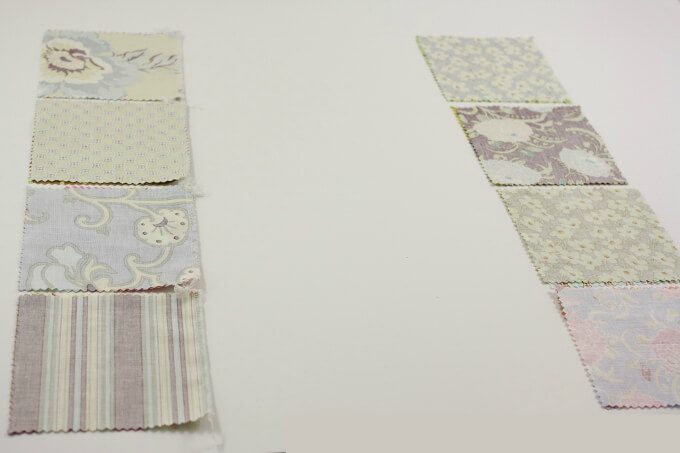
Here are all squares with each 2 columns sewn together so far.
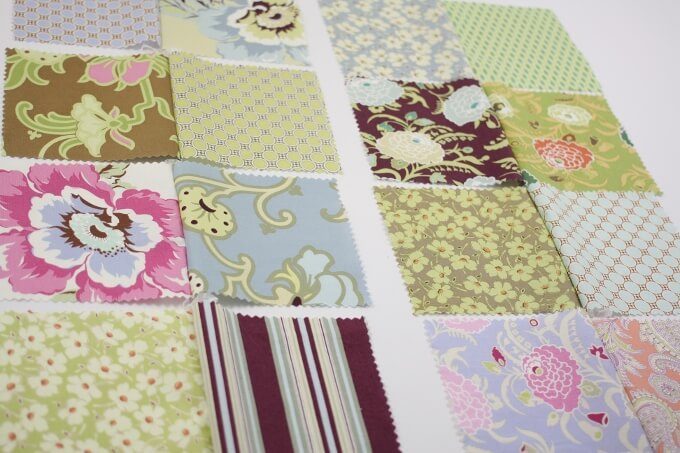
I was left to sew one more seam to connect the 2 sets by flipping one side over the other, then pinning and sewing along the dashed lines.
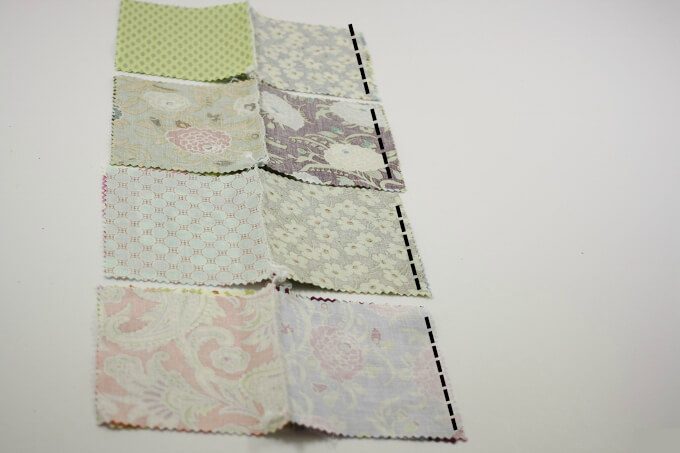
Press the seam allowances flat and to one side before continuing. Unfolded, this is what my 16 squares looked so far.
Now it’s time to sew the rows together.
To continue with the tutorial please click on page 2 below!
- Free Snowflake Tumbler Wrap Designs for Download - September 24, 2023
- Free Welcome To Our Farm SVG File - July 17, 2021
- Professional Overthinker SVG File – Download Today! - July 8, 2021
Can you tell me how to make a smaller or larger skirt? Would I use smaller or larger squares or just more or less 6″ squares?
You would have to use a similar skirt pattern as a sizing guide. Then you can calculate how many squares you would need. You can use any size squares really. I have a simple skirt tutorial with baby and girls sizes here: https://tidd.ly/5f3c534e
This is an adorable skirt, Denise. I’ve showcased it today…
Thank you so much, Pam!! I appreciate it!
Sorry for the delay!! Thank you so much, Pam!!