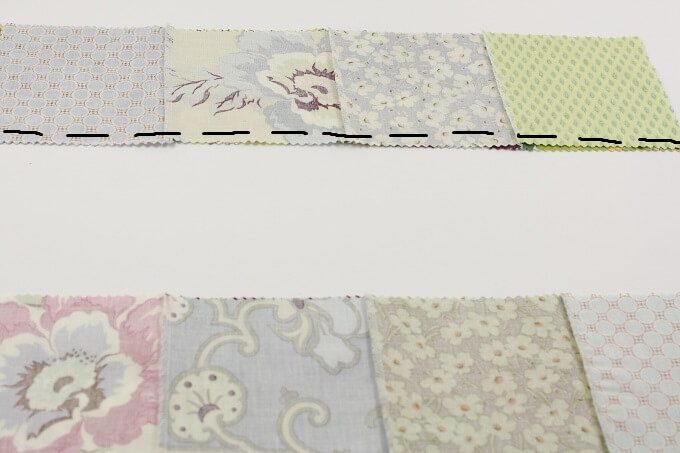
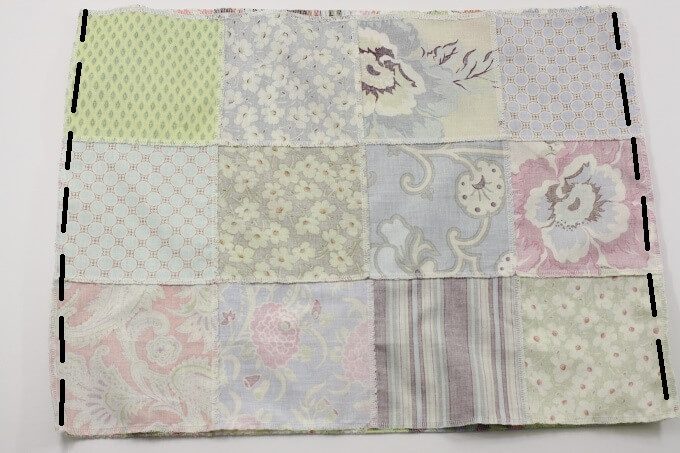
I unfolded this row and all I had left was to connect the two sets or rows.
Once all rows are sewn together it was time to press the seam allowances on the backside to one side.
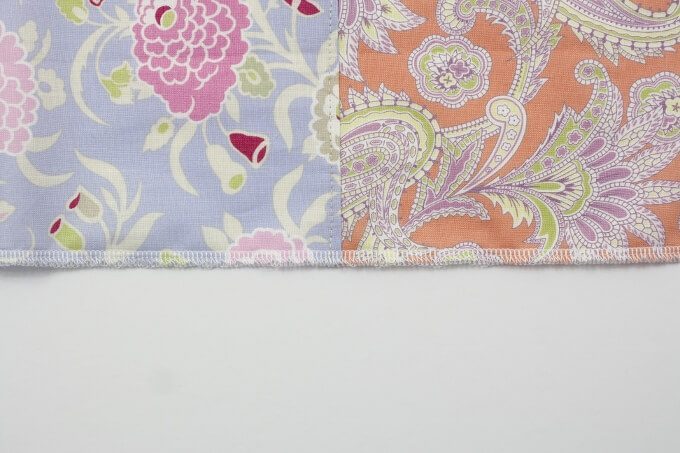
I top stitched on the side that the seam allowance was pressed to underneath. The top stitch allowance should ideally be 1/8″ from the actual seam.

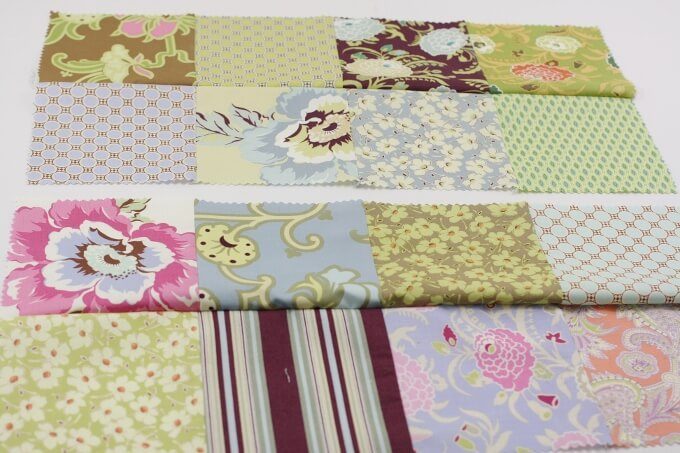
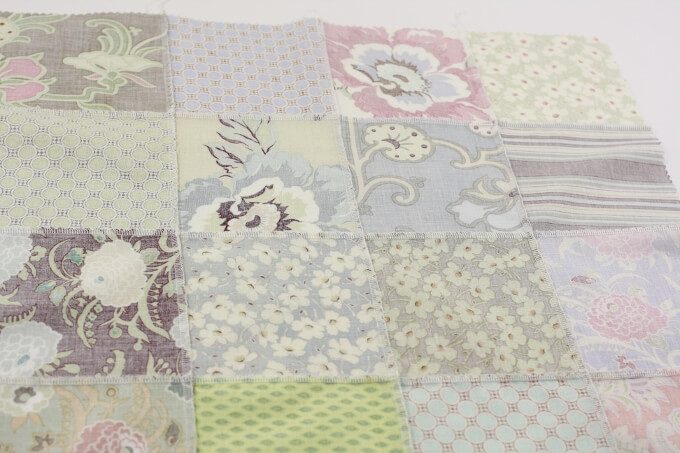
Repeat all above steps to create a second skirt piece.
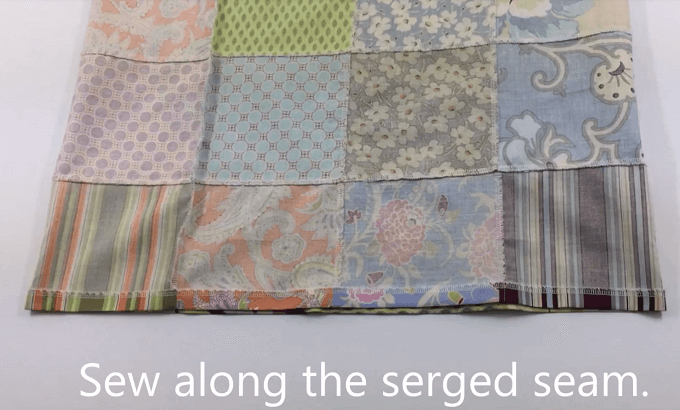
Serge the bottom (and top edge of both skirt pieces).
Pin both skirt pieces with right sides together and pin, then sew along the sides.
To create the bottom hem, I folded mine up 1/2″ and pressed it. Then I machine stitched the hem down along the serged stitches. I backstitched the beginning and the end.
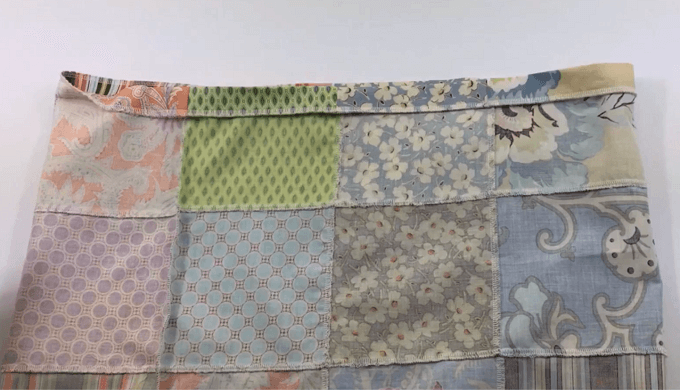
To form the waist casing for the elastic I folded the top edge down 1″ and pressed it. Then I sewed in down along the serged stitches, leaving a 1.5″ opening in the center of my skirt back side.
Last step is to insert the elastic using a safety pin.
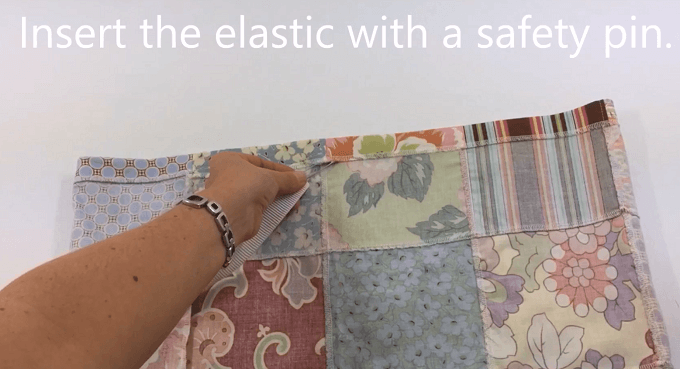
Once the elastic was fully inserted, I overlapped it 3/8″ and hand stitched it together. Then I added a size tag and closed the opening with the machine and my 4t patchwork skirt was done!
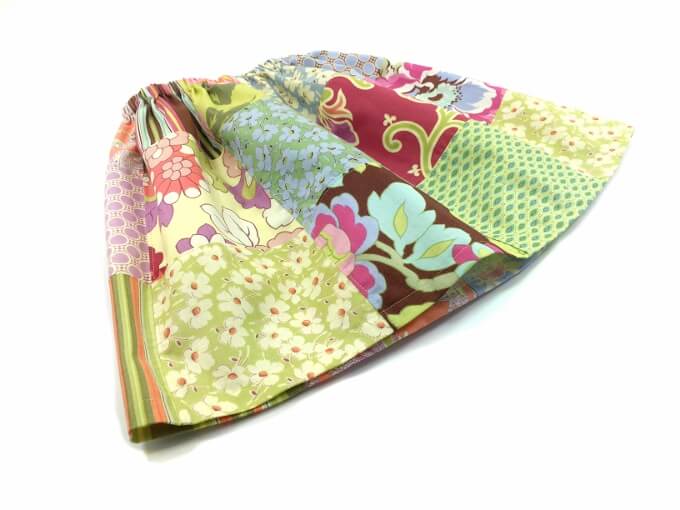
I hope you enjoyed this tutorial and will sew a patchwork skirt soon!

Can you tell me how to make a smaller or larger skirt? Would I use smaller or larger squares or just more or less 6″ squares?
You would have to use a similar skirt pattern as a sizing guide. Then you can calculate how many squares you would need. You can use any size squares really. I have a simple skirt tutorial with baby and girls sizes here: https://tidd.ly/5f3c534e
This is an adorable skirt, Denise. I’ve showcased it today…
Thank you so much, Pam!! I appreciate it!
Sorry for the delay!! Thank you so much, Pam!!