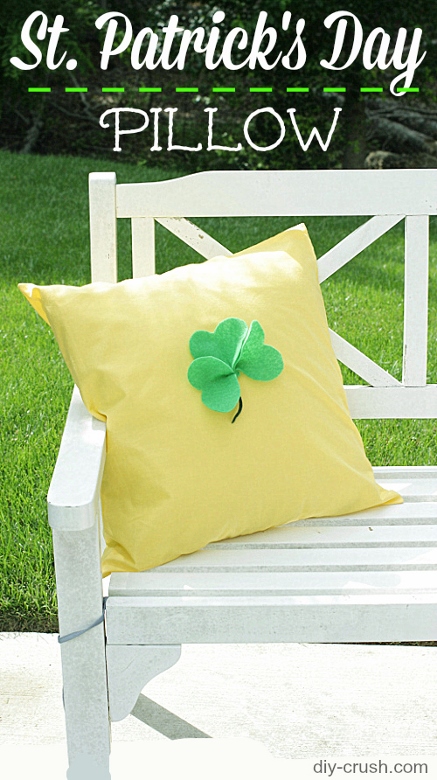
It’s early March and the next holiday coming up is St.Patrick’s Day or as some might call it “St.Paddy’s Day”. I thought to bring you not one but two free tutorials in one post for that occasion! Are you ready to see the Free St.Patrick’s Day Clover With Pillow Tutorial?
⇓ – – – – PIN THIS – – – – ⇓

*this post contains affiliate links. See my policy about that.
First we have the free felt clover DIY for you! It’s actually a 3-dimensional applique’, sort of! It’s a fun and fast project if you want to make this with your kids or just don’t have time for a bigger project. This felt clover takes only 10 minutes to make!! Woohoo!!
Got 10 minutes? Come and craft with us today!
Download the clover template
It’s so fun to use hearts to make this clover with so I made a heart shape and the stem which you can download (my newsletter subscribers can download the templates. Sign up to ‘sewing’ below and once you receive the email, click on the link and look for no.3) Print it out at 100% and cut out the shapes.
If you love pillows, check out my Valentine’s Heart pillow pattern!
Gather your materials
- kelly green felt (a piece that measures about 7×7 inches)
- dark green felt (a tiny piece is enough)
- scissors
- double threaded hand sew needle
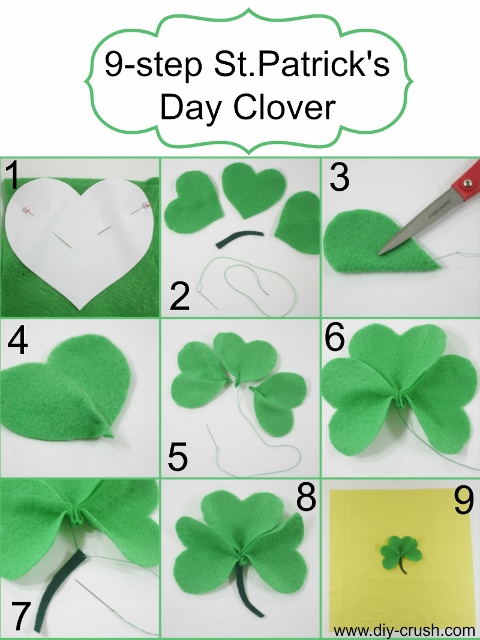
Follow this 9-step clover picture tutorial

- Pin the heart to the kelly green felt and cut around it. Repeat 2 more times.
- Cut out the stem. You should now have 3 hearts, 1 stem and a threaded hand sew needle
- Fold a heart in half and sew the bottom tip with a few stitches and a fold allowance of 1/4 inch. Cut your thread.
- This is how your heart looks now from the underside. Repeat with 2 other hearts.
- Place your 3 hearts side by side with the bottom tip facing and sew them together where you stitched before.
- This is how your (almost) clover will look like now.
- It’s time to sew the stem on.
- And your clover is finished!! Yay!
- Last step if of course up to you but I sewed it to my new pillow (picture shows the front side of the pillow still unsewn)
Ready to make a pretty pillowcase? I love having removable pillowcases for obvious reasons so I opted to use a pillow from which is from Fairfield and poly-fil(led). It measures a nice 20×20 inches and has a zipper to adjust the firmness of the filling if you desire. I left it as is because it’s nice and soft.
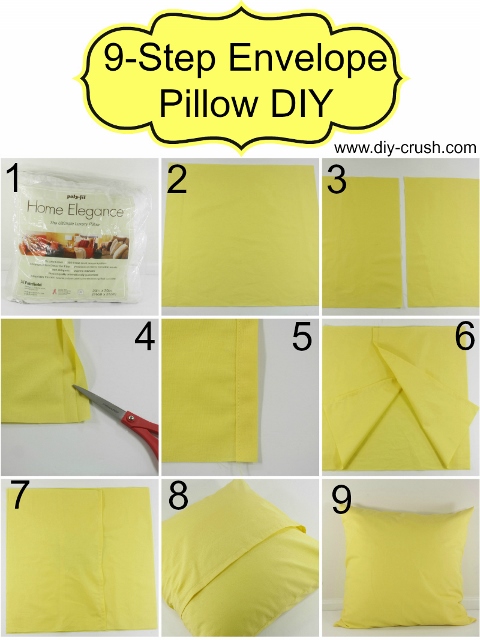
Here is your 9-step pillowcase tutorial
And for even more convenience, it’s an envelope style pillowcase!
You need these materials
- 1 1/4 yard fabric (I used the awesome Lemon Yellow Bella Solid)
- scissors
- iron
- sewing machine
- 1x 20×20 inch pillow form
- 10 minutes

- Select your pillow form (mine is from Fairfield) and measures 20×20 inches
- Cut the front pillowcase to 21×21″ (note: if you are adding the cute felt clover from the above tutorial now is the time to do that)
- Cut 2 backside pillowcase pieces to 21×15″ each
- Fold the inner long edges of each backside pillowcase 1/2″ in and press, then fold again 1/2″ and press
- Sew the fold down on both pillowcase sides
- Place the inner pillowcase sides with right sides down onto the front pillowcase side which is right side up
- Pin and sew along all 4 sides and sew over each backside overlap twice to reinforce those (seam allowance = 3/8″)
- Insert your pillow form into the envelope pillowcase (insert into the bottom envelope layer first)
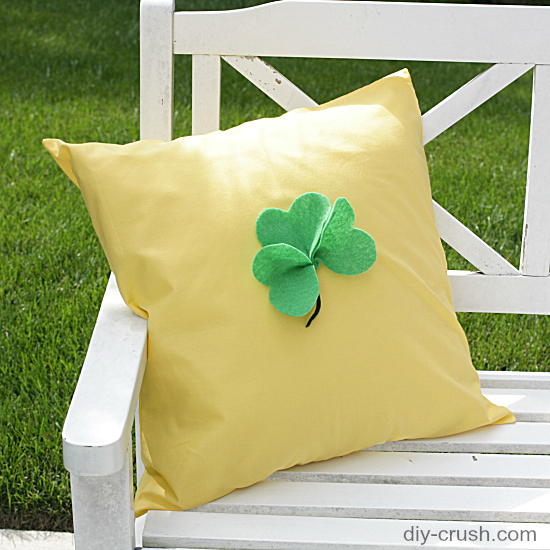
- Admire your finished pillow! 🙂

We would love it if you would follow us through our social media channels:
And please leave us a comment below!! We will love your forever!! ♥ ♥ ♥
- Free Snowflake Tumbler Wrap Designs for Download - September 24, 2023
- Free Welcome To Our Farm SVG File - July 17, 2021
- Professional Overthinker SVG File – Download Today! - July 8, 2021

This is so cute! I love the shamrock and the tutorial for the pillow sounds great and easy to follow! I would love if you would drop by and share this at Celebrate It! blog party! It is where you can share how you celebrate the everyday things you do!
https://thefreshmancook.blogspot.com/2015/03/celebrate-it-blog-party.html
Great tutorial for both the pillow and the clover! love the way the clover turns out soft and 3-d! Thanks for sharing with us at Snickerdoodle Sunday!
Thank you so much for visiting!!
That is super cute! Thanks for haring at HSH!
Thank you for visiting today!!
Cuteness! I’ll get this done too late for this St. Patrick’s Day but it will be cute in my son’s room for next year.