This patchwork heart pillow pattern is perfect for Valentine’s Day and for everyday! You can mix and match the squares up to your liking. Go wild with multiple colors and prints. Today’s free heart pillow sewing pattern shows you how I made this 2 print patchwork heart.
Valentine’s Patchwork Heart Pillow Pattern
I had this cute heart print fabric in my stash and was determined to use it up this Valentine’s Day. Since I wanted to make a cute patchwork pillow I needed a coordinating print so I chose this fun black/white stripe print which has tiny dots lining the black stripes. Both fabrics are from my local fabric store.
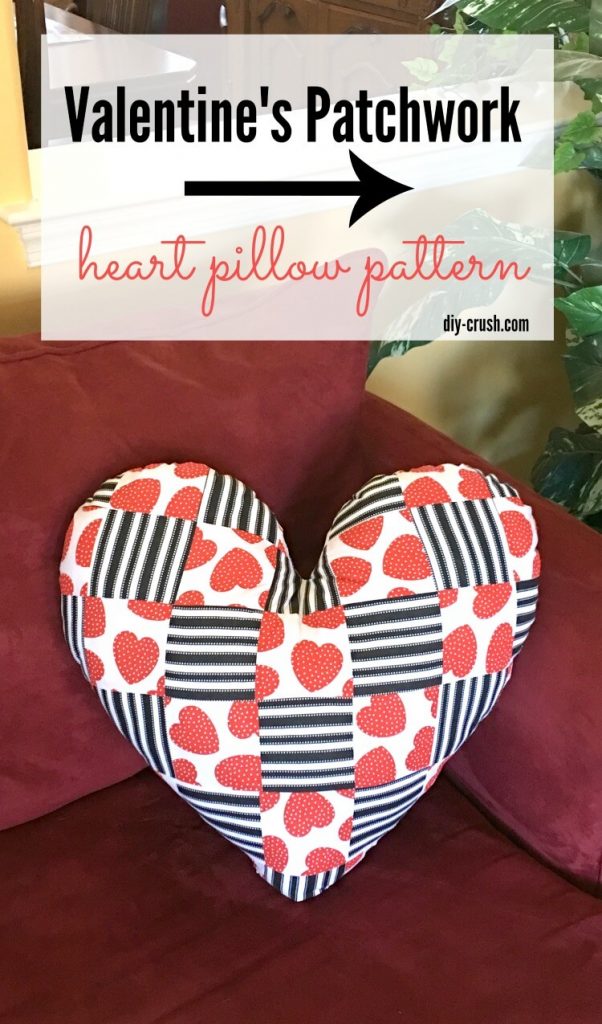
How to make a patchwork heart pillow
You need these supplies:
- cotton fabric (or precut 4×4″ squares)
- heart pillow template (download it for free from this post)
- small bag of fiberfill
- cutting mat
- rotary cutter
- straight pins
- iron
- scissors
- sewing machine
- double threaded hand sew needle
Seam allowance: 3/8″ to sew the squares and 1/4″ to sew the heart together.
Instructions:
The size of the squares is 4×4 inches which fills out this heart pillow nicely. I cut a bunch of 4×4’s as shown.
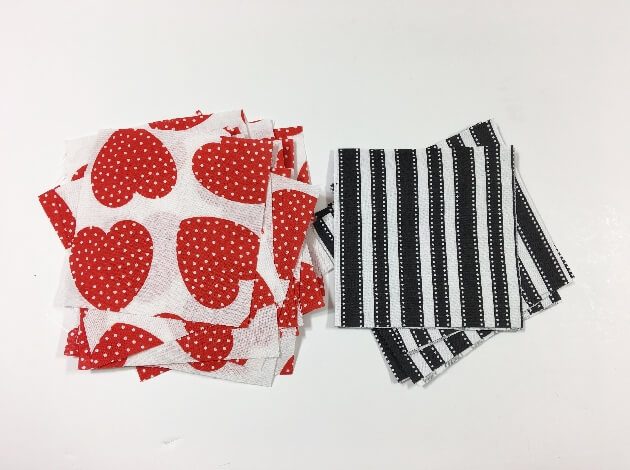
I ended up with 38 squares and when I placed my half heart template onto the laid out squares, I noticed that 2 of the squares weren’t needed.
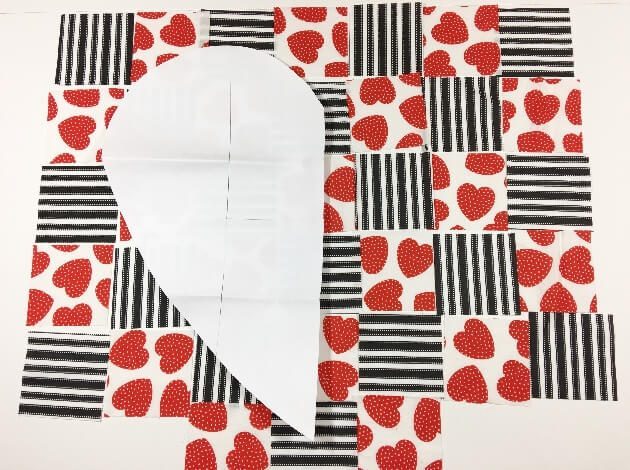
To start sewing all those squares together, I folded the two bottom squares with right sides together.
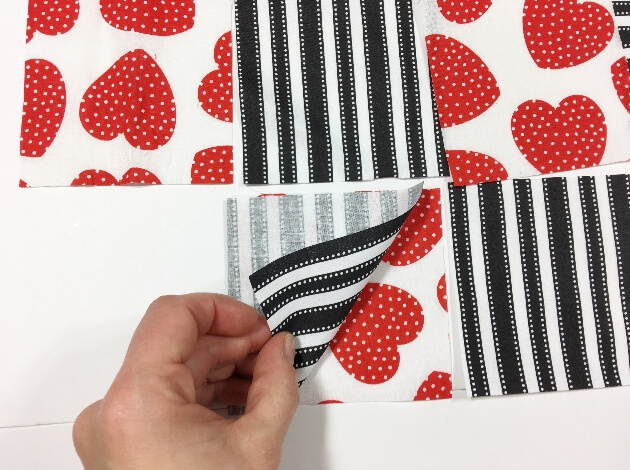
I went up the row but shown below are two of the sets to be sewn together.
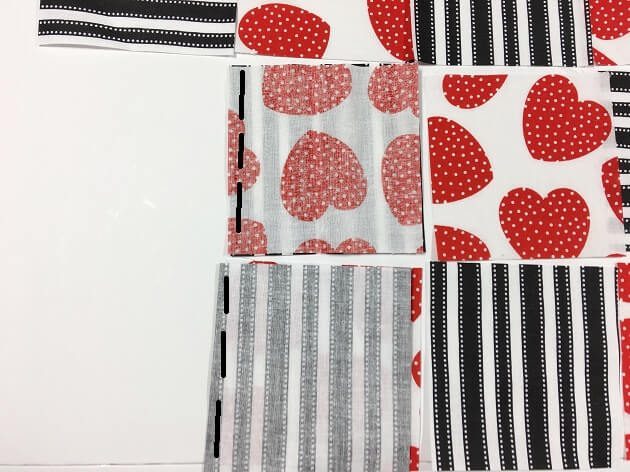
With a seam allowance of 3/4″ I sewed sets of two squares together.
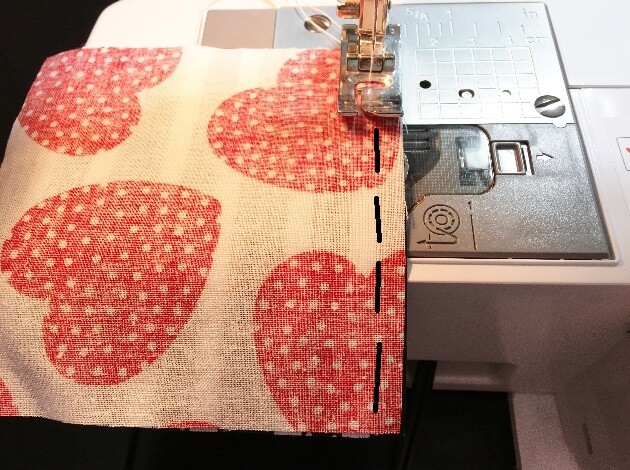
After all my sets of 2 squares were sewn together, I pressed the seam allowance open. I omitted finishing the raw edges which may or may not be a good idea (because normally I finish all raw edges, but don’t pin me down asking why not with this project LOL). I figured since it will be a decorative pillow which probably won’t get washed, it should be ok. But for the record, ALWAYS finish your raw edges! 😉
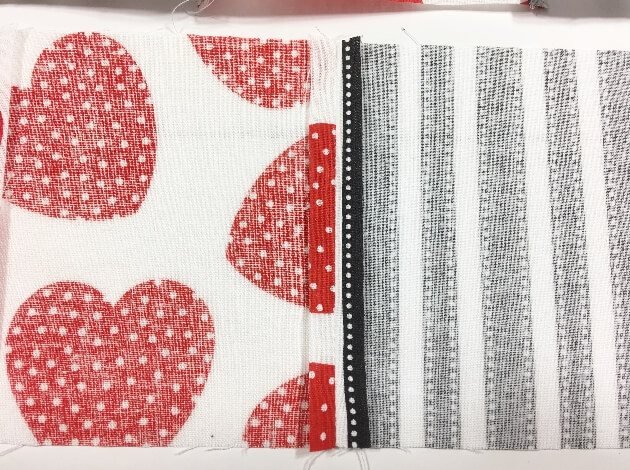
Here are my sewn together single rows now.
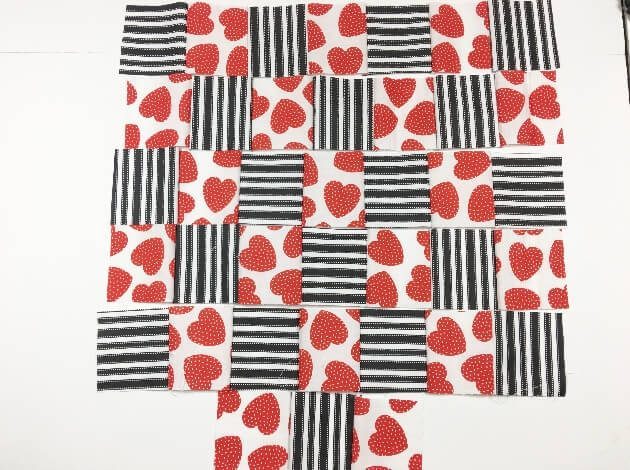
Now it’s time to sew the rows together to make a large piece of sewn squares. I flipped down the top row (image is actually upside down). I pinned and sewed these two rows together. Then I proceeded to connect the rest.
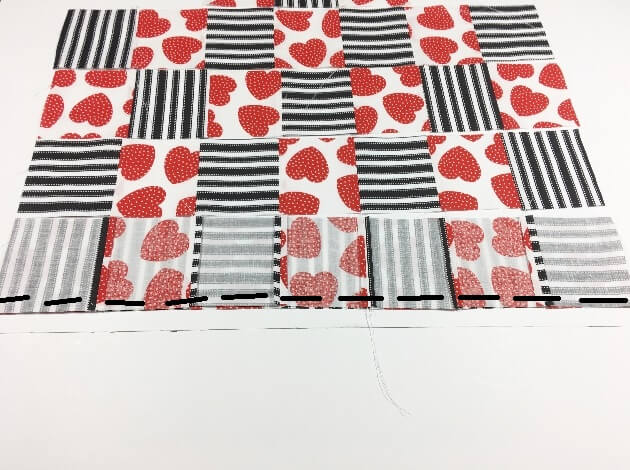
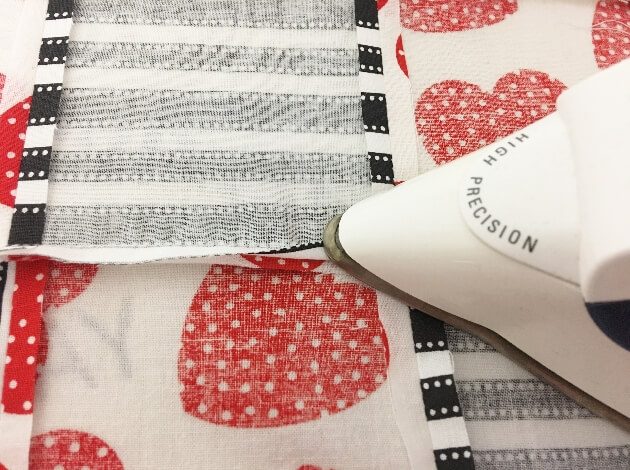
Here is a close up of my project, showing you how to treat the seam allowances. The top seam allowance will nicely stay put which is pressed open.
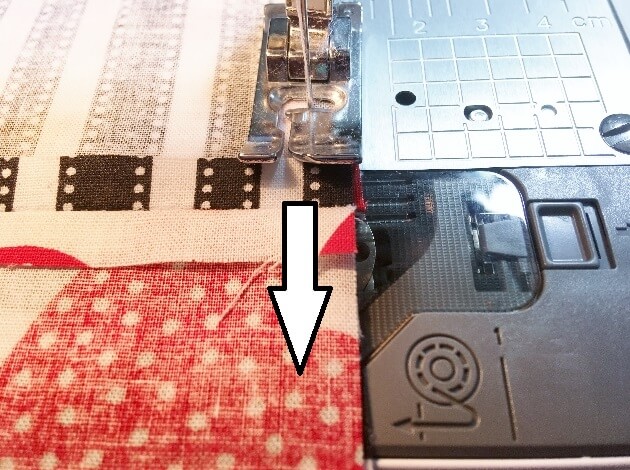
In order to keep the seam allowance on the under side open as well, I lift my presser foot right before I sewed over the open seam allowance to make sure it will remain open. Then I lowered my presser foot again and proceeded with sewing.
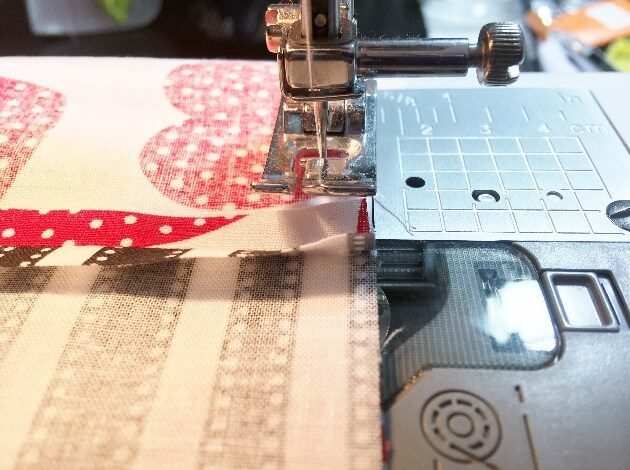
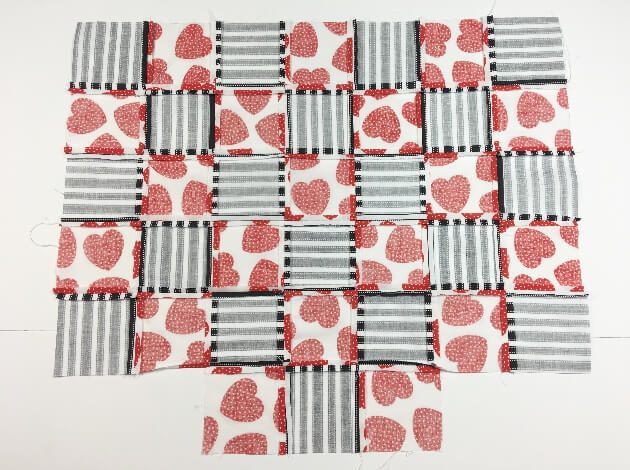
Here is my finished top of the patchwork fabric.
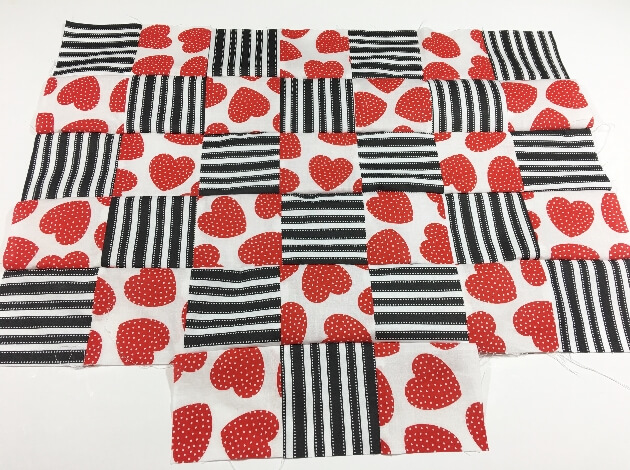
I pressed all seams open on the underside.
And here is my finished patchwork pillow top.
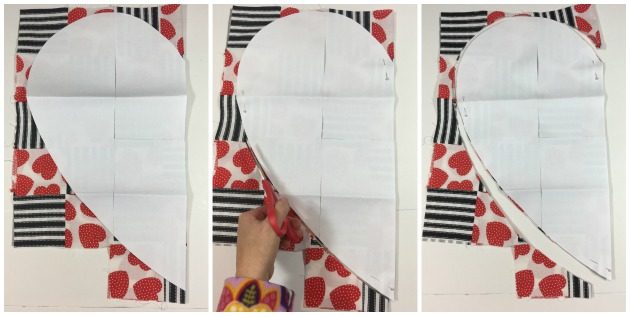
It’s finally time to cut the heart shape out of the patchwork piece. I folded the fabric over and placed the half heart template onto the fabric. I aligned the template fold with the fabric fold. I also made sure that both fabric layers match the patchwork seams. Then I pinned the template to the fabric and cut out the heart shape.
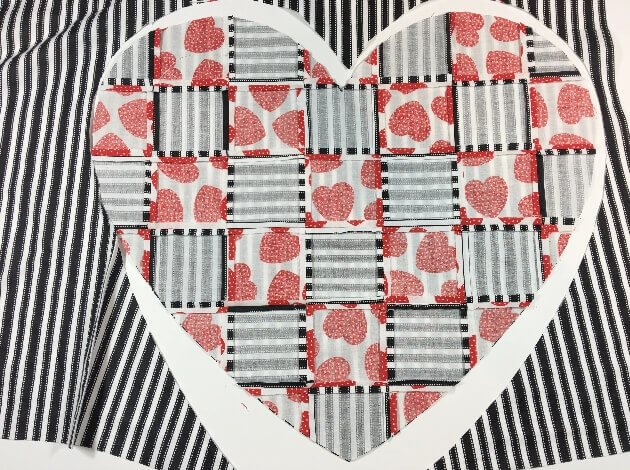
For my pillow backside I used the black/white fabric. I placed the heart patchwork piece with right side down onto the backing fabric and cut around the heart. You can of course pin both layers together if you want to make sure both sides will end up matching well. I omitted the pins.
To continue with the tutorial please click on page 2 below!
- Free Snowflake Tumbler Wrap Designs for Download - September 24, 2023
- Free Welcome To Our Farm SVG File - July 17, 2021
- Professional Overthinker SVG File – Download Today! - July 8, 2021
Leave a Reply