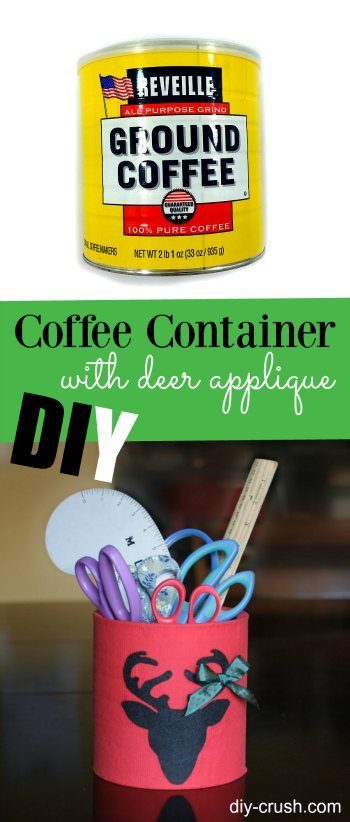
I love coffee and hate throwing away the large metal containers. That’s how I came up with the idea of turning those into storage containers. I mean, they are pretty big and would hold a bunch of things. Since it’s Christmas time I thought to bring some holiday cheer into my work room with a cute deer appliqué. Here is my pretty coffee container DIY.
⇓ – – – – – PIN THIS – – – – – ⇓
>>this post contains affiliate links – see my disclosure here.<<
My husband always looks at me funny when I open another coffee tin and quietly put the empty one away lol…now I can finally present him with my new sewing scissors and rulers container with Christmas inspired deer design! Phew, one down….15 more empty coffee containers to go! lol
I ordered this amazing assortment of felt pieces and just love the quality. Further I used my spray adhesive
which I had on hand and my favorite ultra hold iron on adhesive
.
Coffee container DIY with deer appliqué
What You Need
- large coffee metal container or other tin
- fabric
- felt
- printer
- paper
- scissors
- iron adhesive
- iron
- spray adhesive
- ribbon (optional)
Step by step instructions to make this coffee container DIY
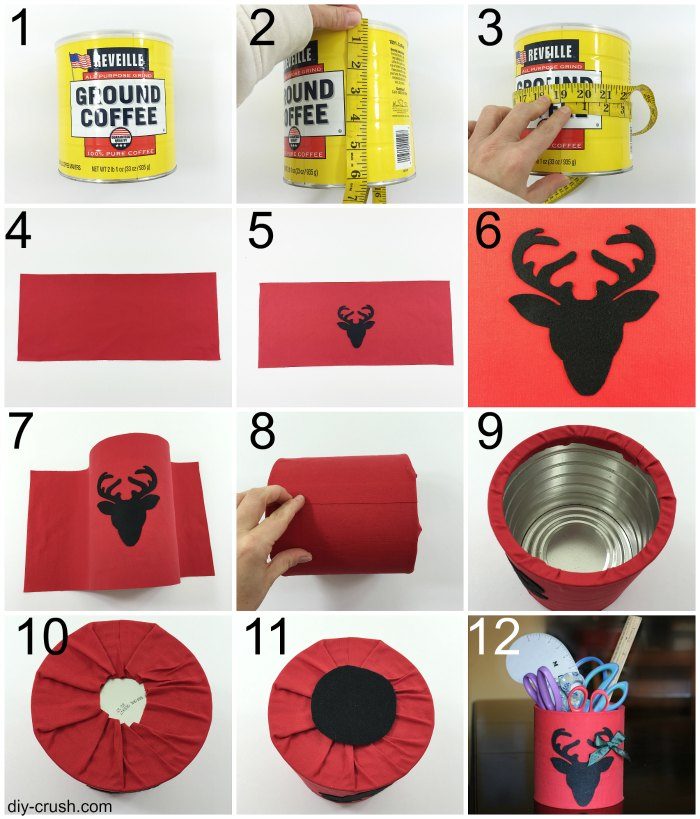
- Take a large coffer container (metal or plastic)
- Measure the length
- Measure the girth
- Add 4″ to the length and 2″ to the girth and cut a piece of fabric
- Download the deer applique in the preferred size (download here) , cut it out and trace it onto iron on adhesive (see full applique instructions HERE). Make the deer applique out of felt and peel off backing.
- Place onto center of fabric with adhesive side down and press according to instructions.
- In a well ventilated area (best outside) spray the tin with adhesive glue and apply the fabric making sure it’s centered. Work in small sections starting with the center where the deer is first. Make sure you won’t get any bubbles while gently pressing the fabric onto the tin. Corrections are hard to do because of the stickiness.
- Work your way around the tin and once you reach the back overlap the fabric and apply one more spray of glue.
- Spray the top area of the inside and fold down the fabric into the container
- Repeat this with the underside of the container
- Cut out a big enough circle of the felt to cover the underside, spray some glue onto the open center and press the felt circle against it.
- And you are done! Get your things and display your beautiful Christmas inspired coffee container DIY!
Or use it as a pretty container for your Christmas decoration as I am using it here for my artificial greens!

If you enjoy free sewing patterns & tutorials, would you like us to email you when we have a new post up? Subscribe on the right side!
- Free Snowflake Tumbler Wrap Designs for Download - September 24, 2023
- Free Welcome To Our Farm SVG File - July 17, 2021
- Professional Overthinker SVG File – Download Today! - July 8, 2021


Leave a Reply