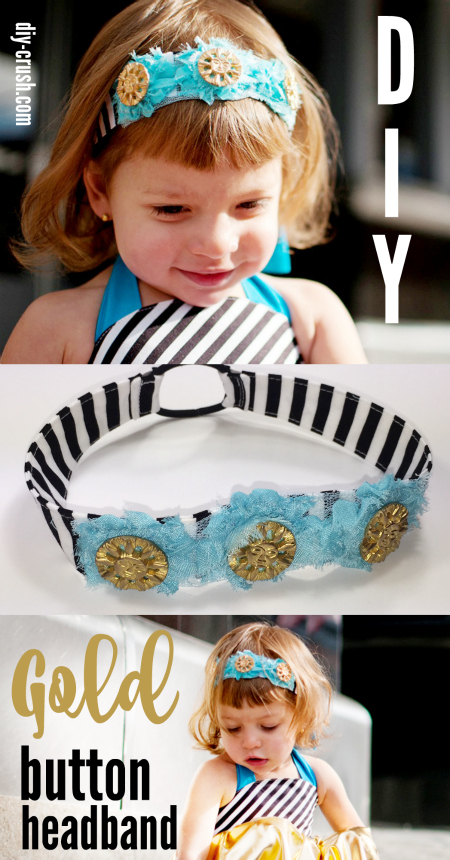
This headband features pretty gold buttons I have had for a while now and thought to add it to a simple 10-minute headband. See how easy it is to jazz up a plain headband that you can whip up in no time with a piece of frayed rose trim and 3 buttons. I have used this free headband tutorial.
⇓ – – – – – PIN THIS – – – – – ⇓
Gather Your Materials:
- 3 buttons of your choice (both, shank or the ones with holes)
- 3 frayed roses trim (can be single roses or on a band which is what I used)
- Headband, which I made from this free tutorial
Follow This Headband Tutorial:
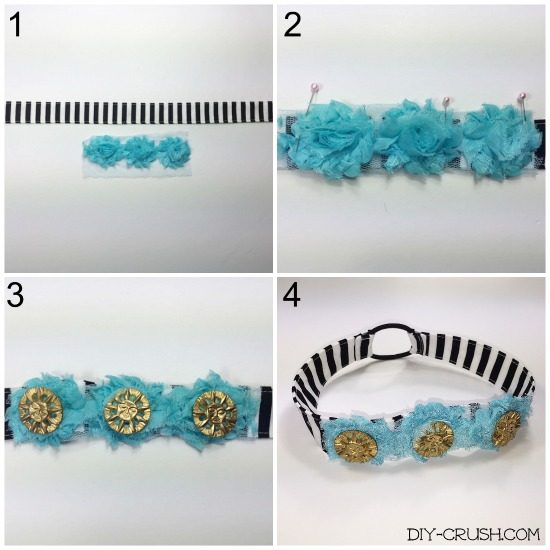
- Sew the headband as instructed in this tutorial until you would sew the pony-O on. Have your 3 frayed rose trim ready.
- Tuck the overhanging mesh material from the trim band under and pin the frayed rose trim to the center of the headband and sew it on along the outer edges. Backstitch the beginning and end.
- Sew the three buttons to the center of each of the frayed roses.
- Continue with the headband tutorial and sew the pony-O on. Done!
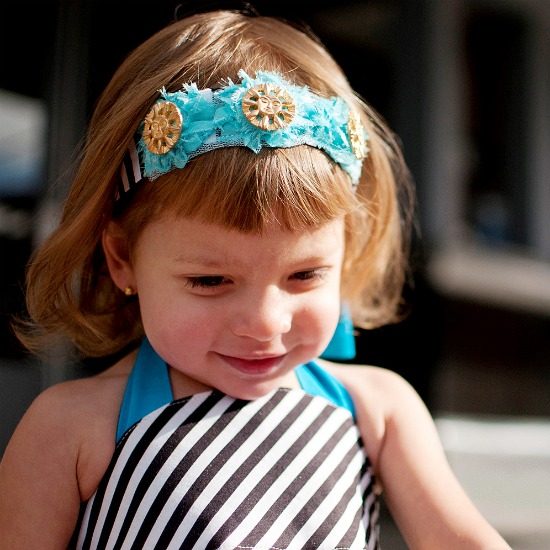
This took maybe 30 minutes all in all, right? Get your little princess and try it on! (image credit: Rebekah Sews Photography)
If you liked this free tutorial, would you like us to email you when we have a new post up? We have another adorable headband tutorial here.
You can choose what interests you! Then hop on the list by entering your email below! We promise, we only send you 1-2 emails per week!
We are linking up to some of these awesome blogs! Check them out to find more amazing DIY inspiration and come over to our link party on Thursdays at 7pm EST!