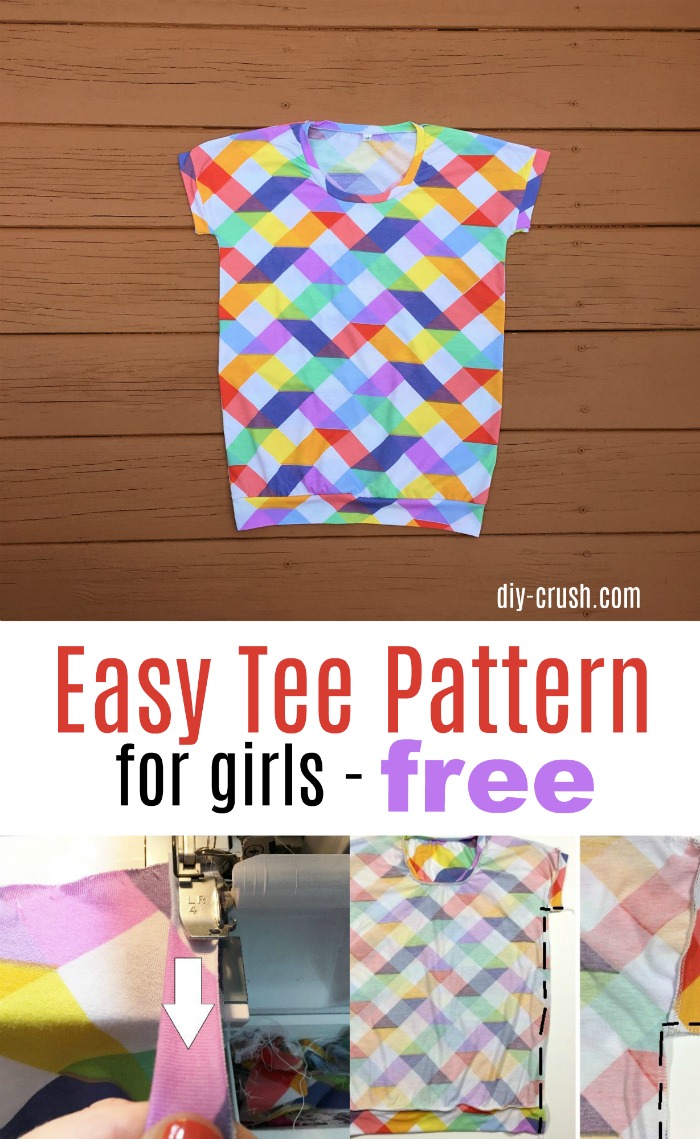
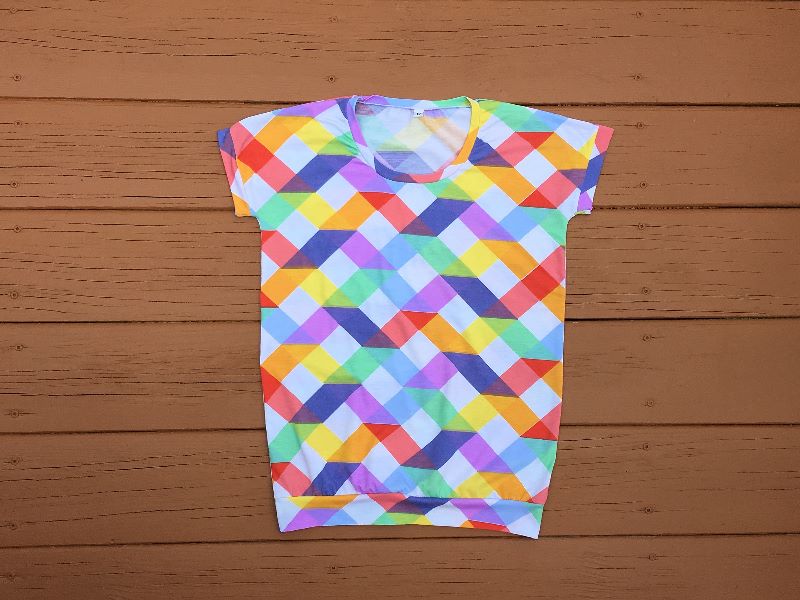
Looking for an easy tee pattern for girls? Here is the “Easy Tee” pattern! This pattern is such a quick sew and perfect to pair with just about anything. It is easy to sew and looks so cute on!
Easy Tee Pattern For Girls
Sew this super easy and fun t-shirt with no set in sleeves right on your serger! You don’t HAVE to serge it but it makes this project so fast to complete. The following instructions are for using a serger only but you can easily sew it on your sewing machine using a stretch stitch or small/narrow zig zag stitch to keep the elasticity of this shirt.
Pattern details:
- girls sizes 6 months through 12 youth
- easy cut with a boxy fit
- no set in sleeves to sew
- bands on neckline, sleeves and bottom hem
- uses knit fabric with moderate to good stretch (you can also use sweater knit as long as it’s stretchy!)
- easy to adjust length by simply trimming off
Tutorial:
To print the templates, set your printer to no scaling or 100%. There is a 1 inch box on the template to measure to make sure your templates have printed correctly.
Download the Easy Tee templates on PDF. NOTE: since the front and back are mostly the same you can omit printing the entire back because you only need to the top two pages. In case you want to save some paper and ink, print only pages starting at 5! Omit the first 4 pages.
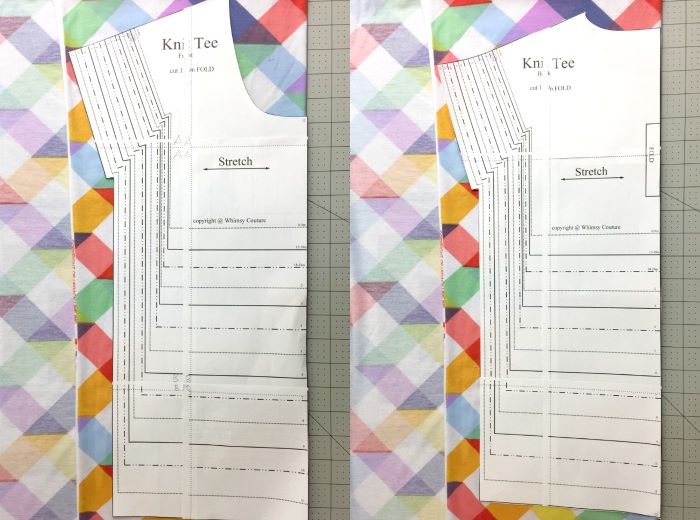
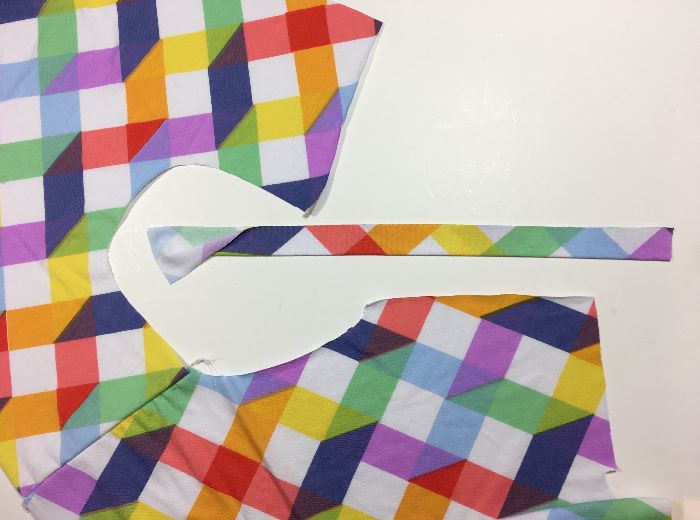
Once you have printed the templates, trim around the perimeter or simply tape together without trimming. Match the letters to piece the correct pages together. For the back template you only need the top two pages and could easily tape those together and place them over the front template as shown below:
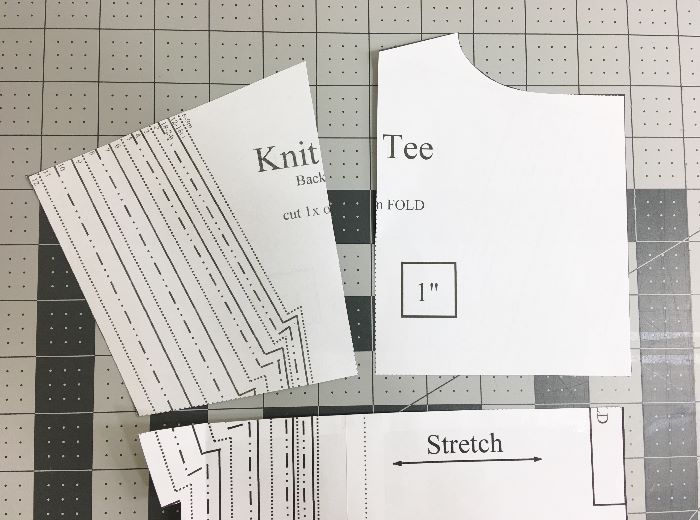
The templates are now labeled “Easy Tee” and not “Knit Tee” anymore.
Sizing/fitting chart/yardage chart:
Pick the correct size according to this chart plus see the measurements to cut for the bands. 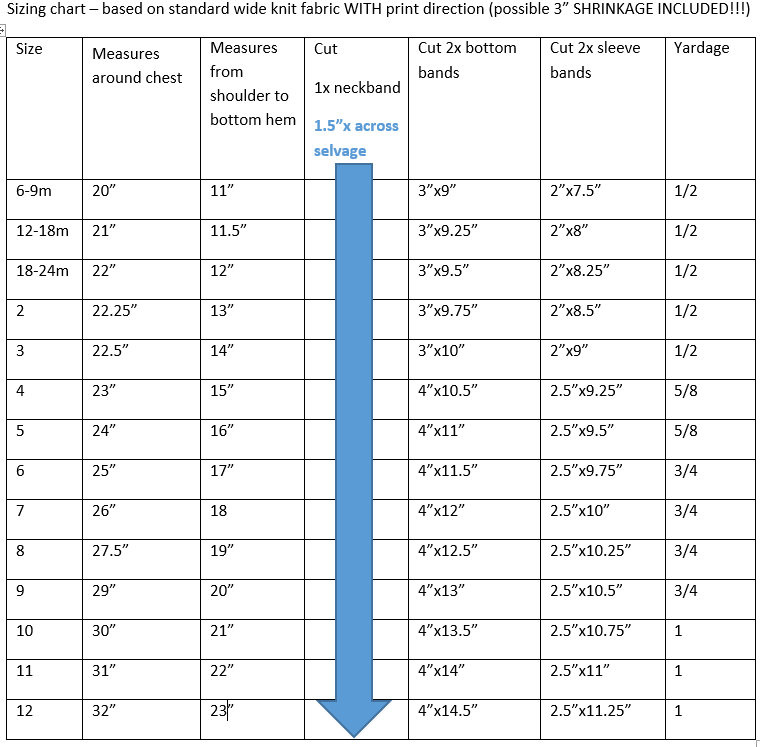
Once you have prewashed/dried your knit fabric, fold the fabric over sideways and have your print direction (if applicable) go down. Place each tee template along the fabric fold as shown:
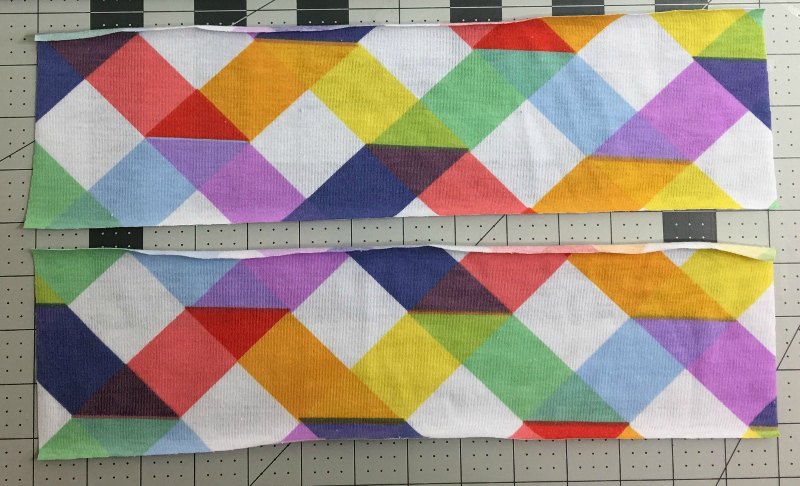
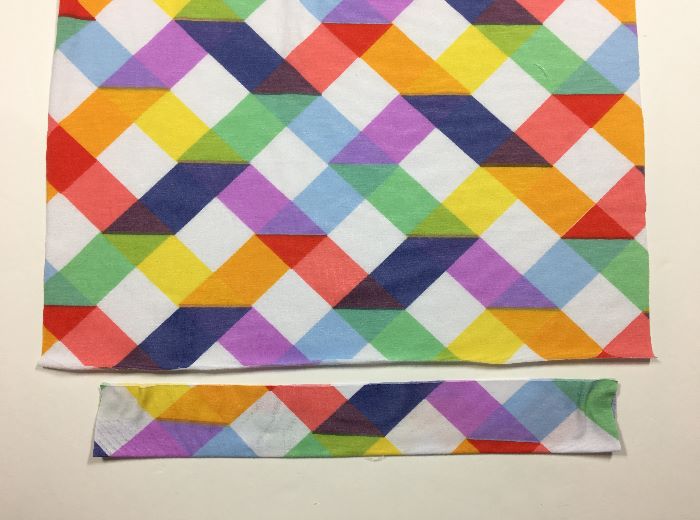
Cut around each template and lay shirt pieces aside. Now cut your bands. Shown below are two sleeve bands.
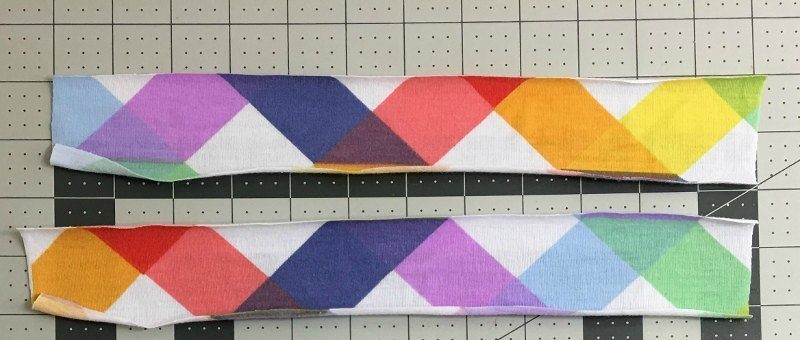
And two bottom bands.
You will also have one neck band which is being cut over the entire selvage. You can trim off any access later after the band is serged on.
First step in the construction of this easy tee:
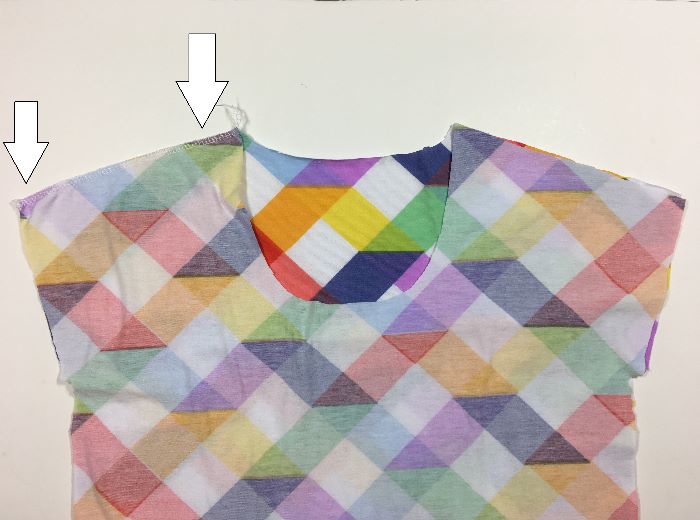
Place both bodice pieces with right sides together and pin, then serge (or sew) one shoulder area. Don’t do the other shoulder area yet.
For more information on using the right knit fabric and how to sew on the neck band perfectly, please watch this video. It is a bit lengthy but I wanted to make sure to explain as best as possible!
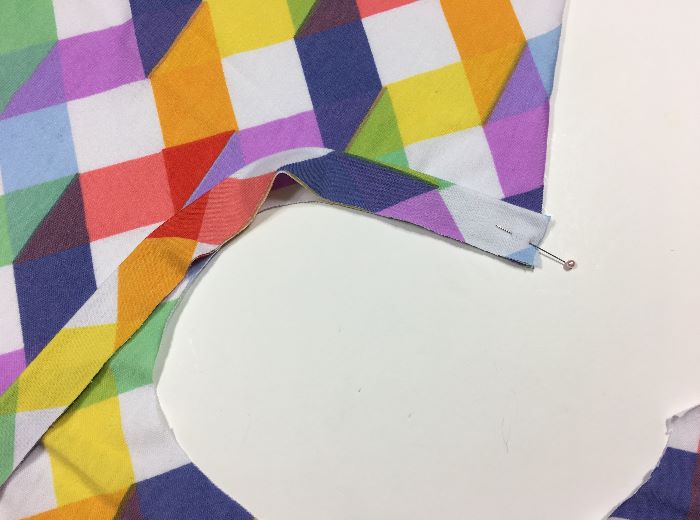
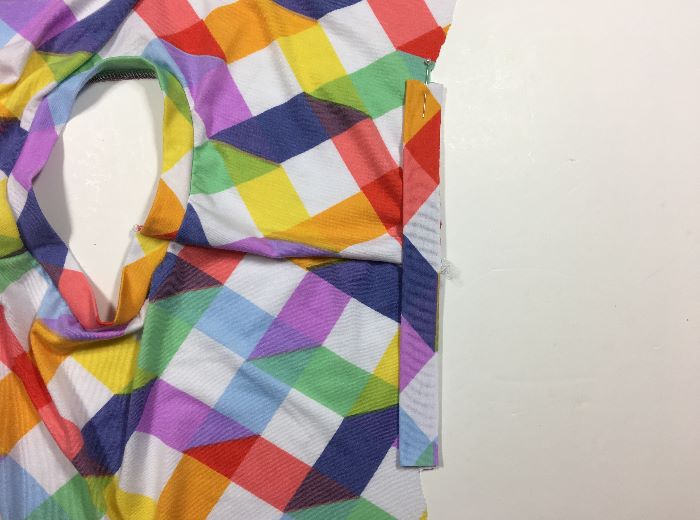
Spread out the tee and take your neck band, fold it over lengthwise (press if desired).
The reason I am doing the neck band in a different way and not provide exact length measurements is because knit fabric can vary quite a bit in stretch! The amount of stretch is incredibly important when sewing a rounded neckline as this one! If your knit fabric only has very little stretch, you might even consider using rib knit instead of the knit fabric for the rest of the shirt. Your neckline fabric has to have a generous amount of stretch so it lays even and won’t flip over.
With this information, simply cut a long strip of knit fabric in the width of 1.5″. I usually go a tad wider but it will yield a much flatter outcome when the neck band is cut at 1.5″ width. Once it’s folded over, you want to pin it to the open (unsewn) shoulder area with the cut edges together.
Serger settings: 1) differential feed at one step above 1.0 – 2) stitch length at 3 – 3) stitch width/cutting distance at 7 which makes for a nice wide serged area. I am using 4 threads. See my settings below:

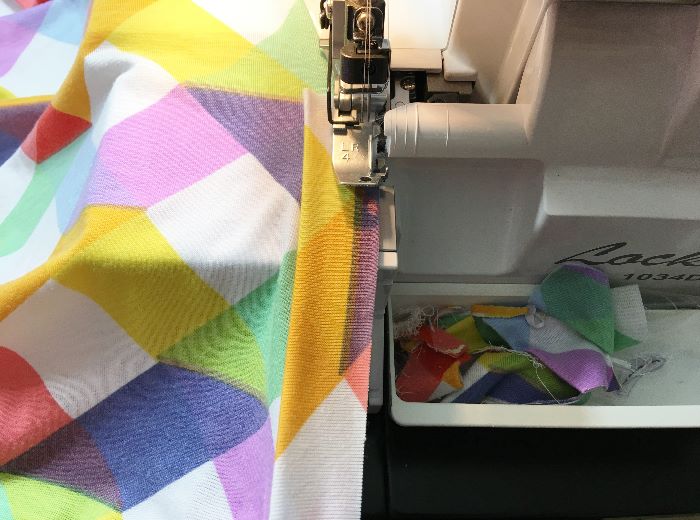
Insert your tee with the pinned neck band, into your serger and start to serge the first few stitches so you will have some material coming out the back.

Here comes the important part of serging the neck band on without further pinning. I do this because it is so easy. Let the tee material (on the under side) feed freely into the serger but grab the neck band and pull it moderately over the tee fabric. Serge in small steps and keep adjusting the neck band. Be sure the t-shirt underneath is not getting stretched!!!

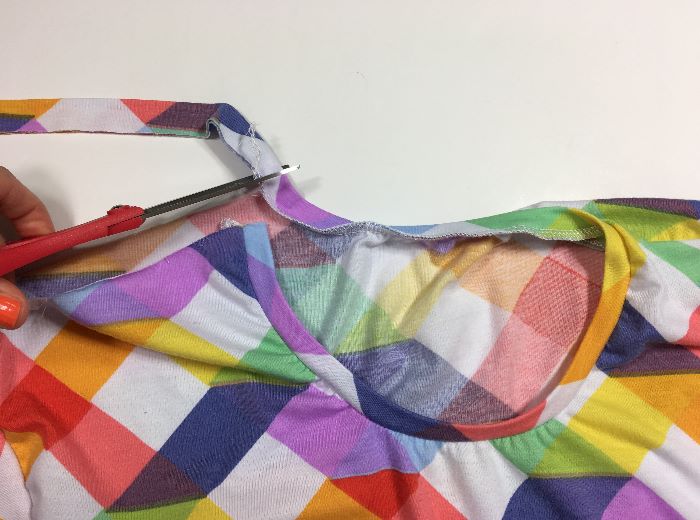
You want to pull the neck band a bit more going over the more curved area in the front center of the shirt. Once the neck band is serged on you can now trim off the access neck band fabric.
Now pin the other shoulder area together, with right sides matching. Serge this area.
Next step is to serge the sleeve bands on. Spread out your tee and fold one of the sleeve bands over lengthwise.

The edge of the sleeve is tiny and provides just enough space for the sleeve band. Pin the sleeve band to the top with just one pin. Have the cut edges meet.
Serge the sleeve band on in the same way you did with the neck band. Only stretch the band very slightly over the sleeve edge of the tee!! There should be no access left over to trim off. To be sure you cover the entire arm opening with the band, you can of course pin the band to the tee all the way and just remove the pins before you serge over them. NEVER serge over the pins!! 😉
Repeat this step with the other sleeve and sleeve band.
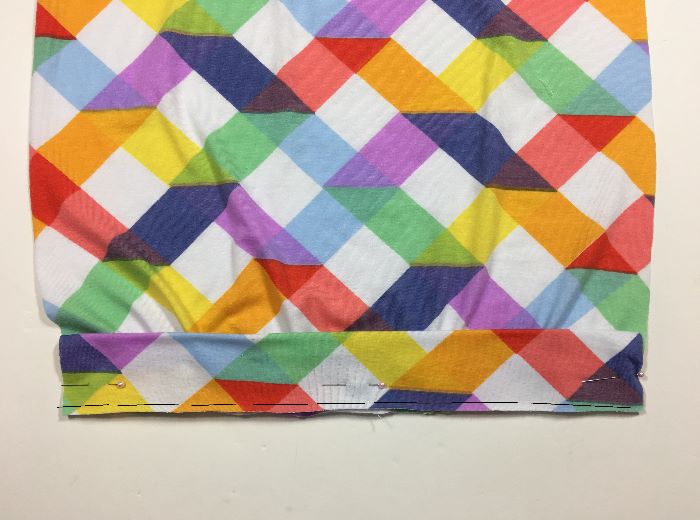
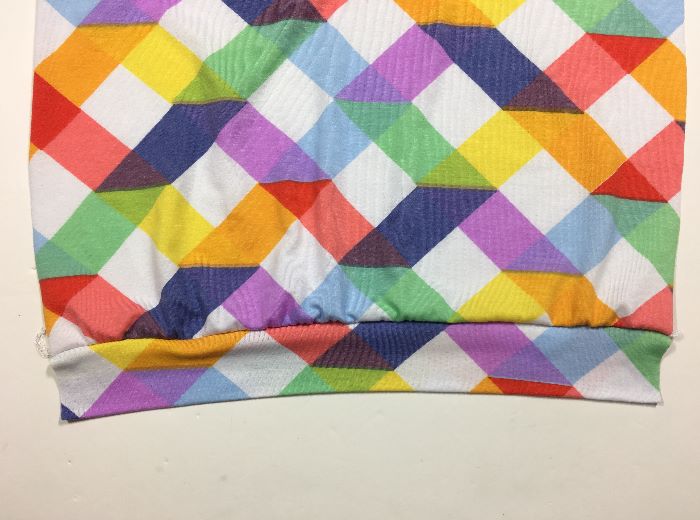
Now it’s time to serge the bottom bands on. Place one of the bottom bands, folded in half lengthwise, underneath the tee.
Pin the band to the tee in sections so you will cover the entire bottom edge of the tee with the band. Stretch the band slightly.

Serge the band on the same way you did with the sleeves.

Repeat with the other bottom band and serge it to the other side of the tee.
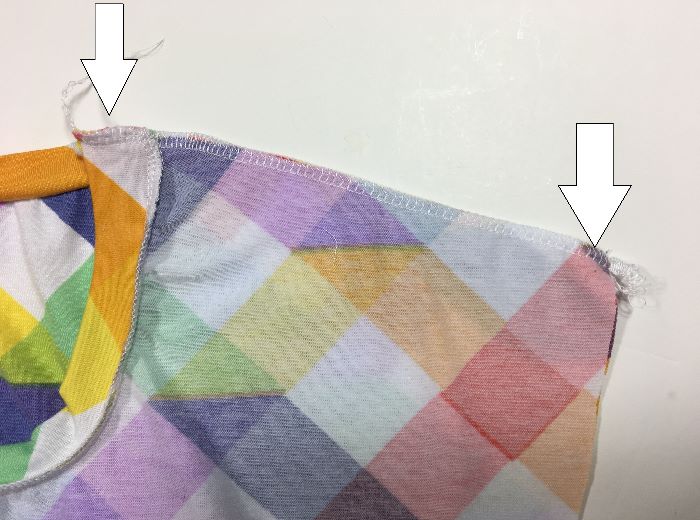
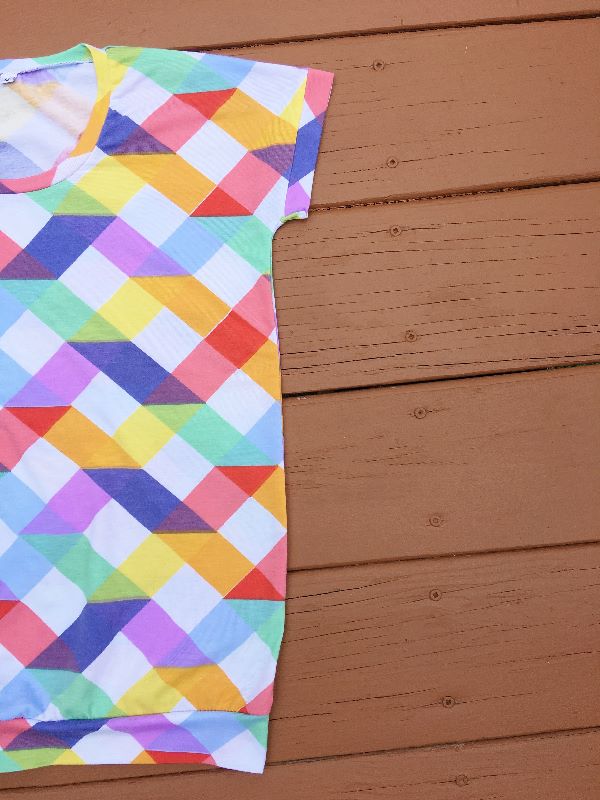
Now we only need to sew the t-shirt’s sides! Place the tee with wrong sides out in front of you and pin both sides. Serge the sides and go very slowly around the corner of the armholes. I like to either use my sewing machine to reinforce this area or I hand stitch the corner. Often times the serger will miss sharp corners like those.

Last step is to finish the threads on neckline, underside of sleeves and the bottom bands. Hand stitch those in place and you are done!
Thank you so much for checking out this Easy Tee pattern!
Great T Shirt, I love the bright colours. Thank you for the fantastic tutorial.
So happy to hear you like it!! Thank you for stopping by!
This step by step GUIDE helps to make a nice T-shirt definitely!
Thanks for sharing!
Thank you so much for visiting!
The bands are a great idea, Denise. I find them so much easier than hems on knit fabric. Love your choice of bright, fun fabric.
Thank you, Pam!! Glad you find this helpful! 😉
Hands down for this post Denise, with the instructions being clear and concise any beginner sewist can feel like a professional sewist in no time. Thanks for sharing. Looking forward to have more posts like this.
xxx
Hannah