This cute Easter chick sewing pattern is perfect for your décor or as a sweet plushie for kids. Download the chick template and follow the free tutorial. I had so much fun designing this little cutie and I’m sure you will be delighted sewing some as well. Check it out!
Free Easter Chick Sewing Pattern With Tutorial
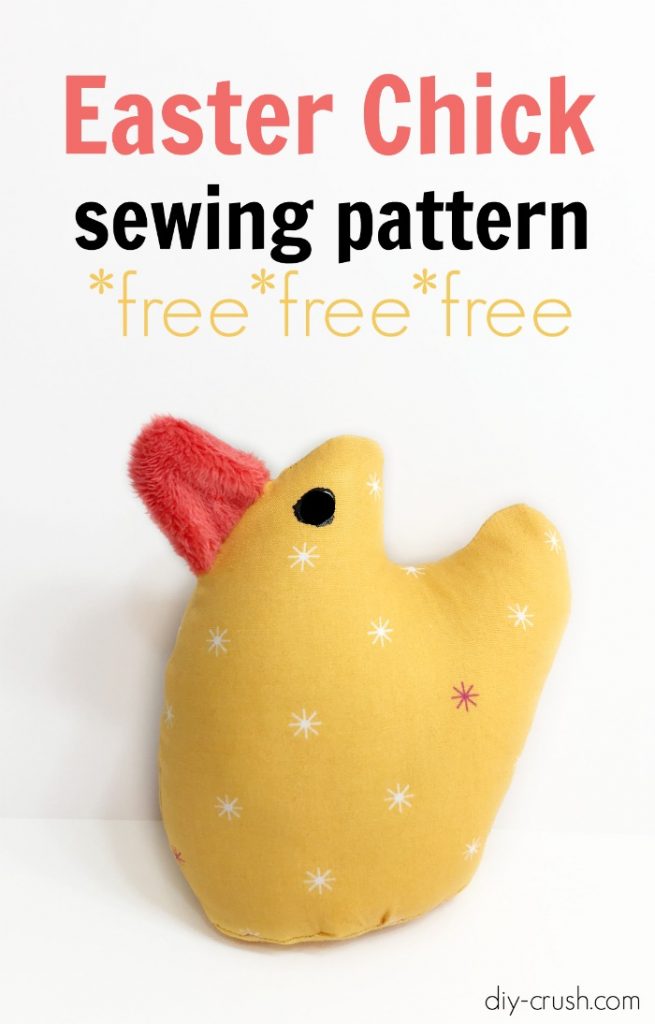
Chicks are not really only for Easter because they look adorable as part of your rustic home décor, baby nursery or as kids plushies! This chick is really easy to sew with only three templates. It would make a great fabric scrap buster as well! Although I really love chicks in yellow 😉
Okay, let’s get started! Here is what you need to make this cute chick. Oh and it measures only about 4.5″ tall! Perfect for little hands!
How to sew a chick
- less than a fat quarter woven fabric (you can also use fleece!)
- 3×3″ piece fleece or minky fabric
- fiberfill
- pellets (optional for better bottom weight)
- black puff paint
- download the free Easter chick template <<==== click this link!
- sewing machine
- straight pins
- scissors
- double threaded hand sew needle
- iron
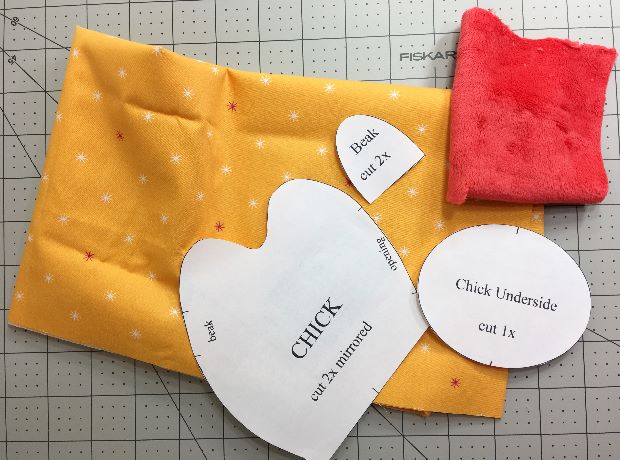
Let’s sew this little chickie! Print the template page and cut out the three shapes.
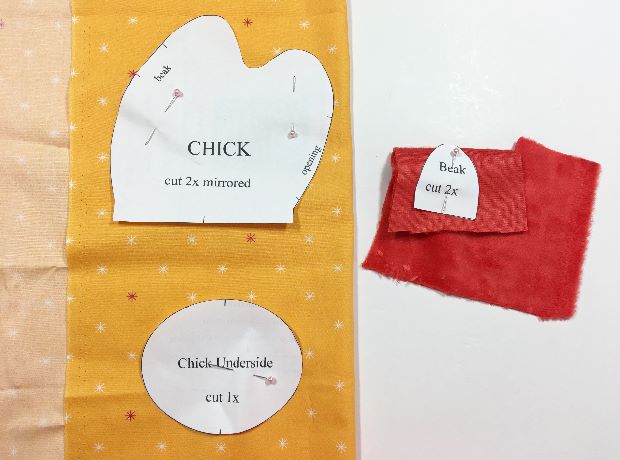
Fold over the main fabric and pin the chick template on. Also pin the chick underside template, but you only need one piece (picture below shows it on the folded fabric). Pin the beak to the folded over fleece or minky fabric.
Cut out each template. Transfer the markings onto the fabric. This is an important step that ensures a beautiful result.
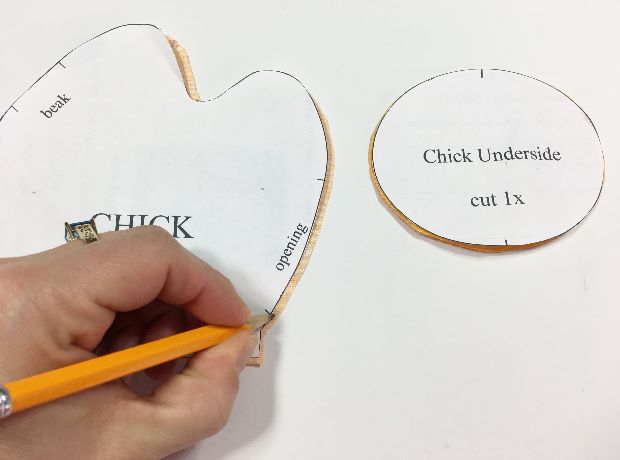
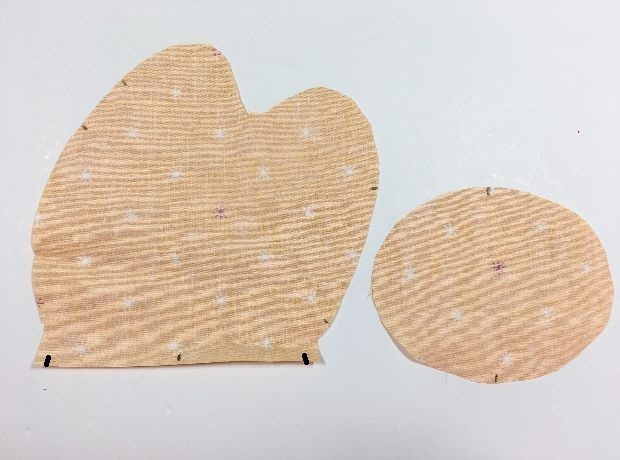
Below are the main piece and the underside shown with the markings.
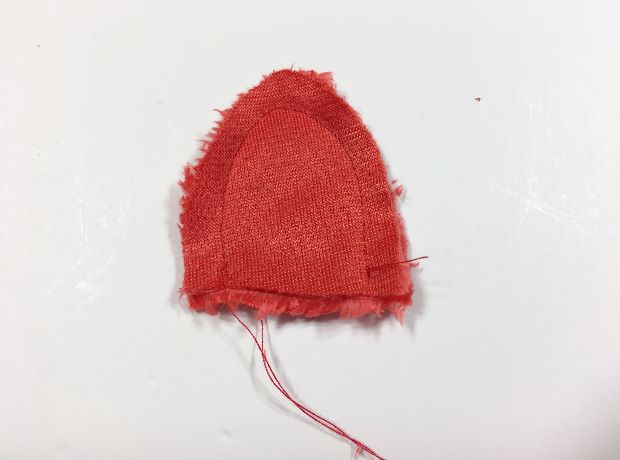
Begin by pinning the two beak pieces with right sides together. Then sew along the curved edge with a 3/8″ seam allowance. Backstitch the beginning and the end.
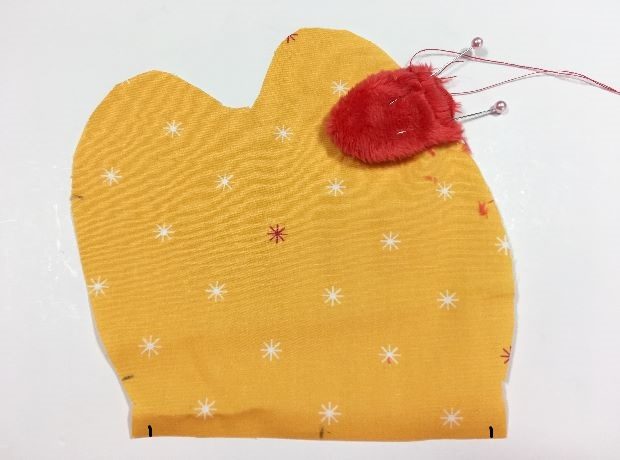
Turn the beak with right sides out and pin to the main chick fabric. The main chick fabric’s right side should face up and the beak’s open edge should align with the fabric edge. Pin beak right into the beak markings. Sew beak on with a 1/4″ seam allowance.
Turn the main chick piece upside down and right side facing up. Place the underside piece with right side down onto the main chick fabric piece. Align the center markings and place a pin.
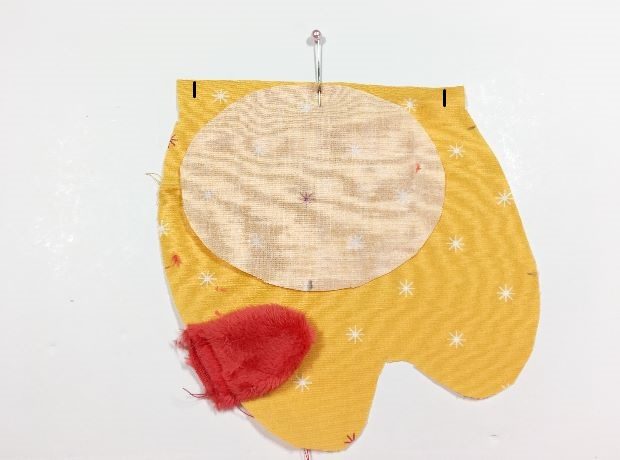
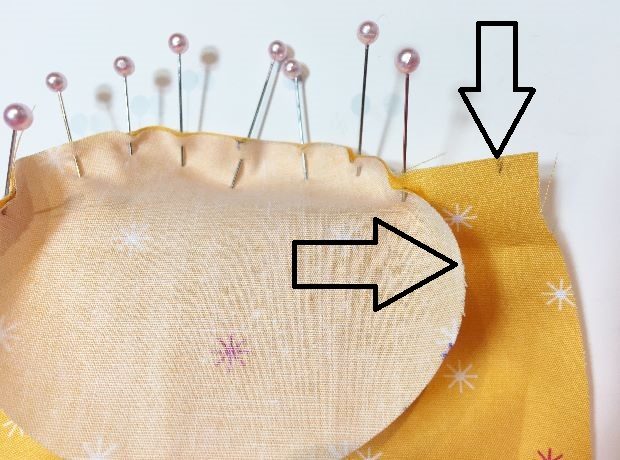
Carefully pin the curve of the underside to the main chick fabric piece. Stop pinning when you reach the marking (as shown with arrows).
To continue with the tutorial please click on page 2 below!
- Free Snowflake Tumbler Wrap Designs for Download - September 24, 2023
- Free Welcome To Our Farm SVG File - July 17, 2021
- Professional Overthinker SVG File – Download Today! - July 8, 2021
Leave a Reply