Back to school Appliqué
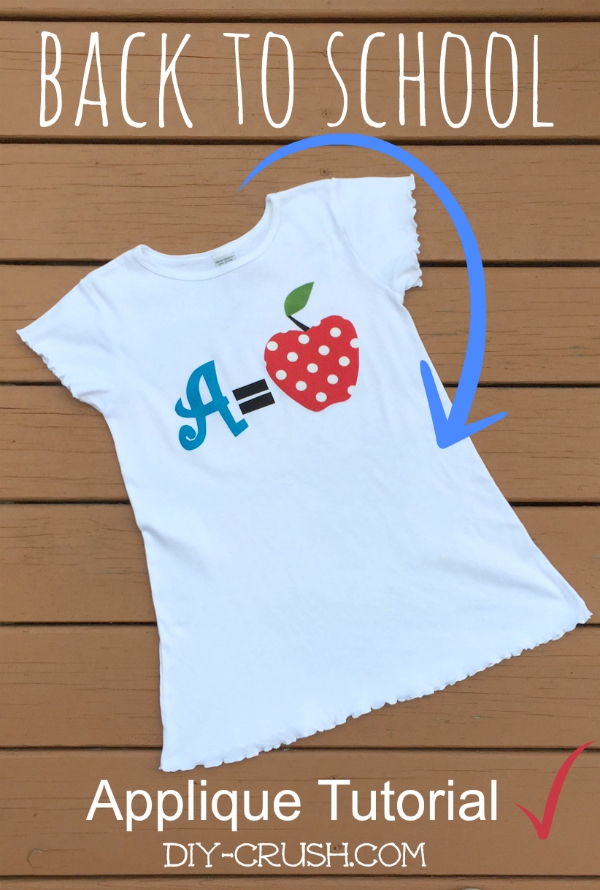
Here is a cute and fast DIY for her to wear on her first day of school! A = Apple. You can iron it onto a t-shirt, skirt, tote bag or as here in this tutorial onto a dress.
⇓ – – – – – – – PIN THIS – – – – – – – ⇓
Let’s get started on this fun project!
We will be using strong iron on adhesive which is most cases won’t require to be sewn. Unless you really want to sew around the templates of course;)
Gather Your Materials
- a blank or solid colored t-shirt dress in cotton (no mix please!)
- print and cut out the templates (my newsletter subscribers can download the templates. Sign up to ‘sewing’ below and once you receive the email, click on the link and look for no.7)
- Iron-On Adhesive (strong)
- different cotton fabrics
- iron
- ironing board
- press cloth (such as a cotton fabric scrap piece)
- scissors
||| Join our facebook group so you’ll never miss a freebie anymore |||
See the youtube tutorial here:
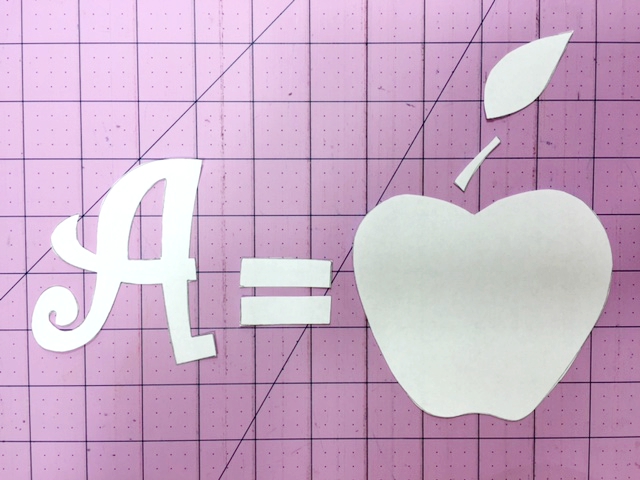
Cut out the templates
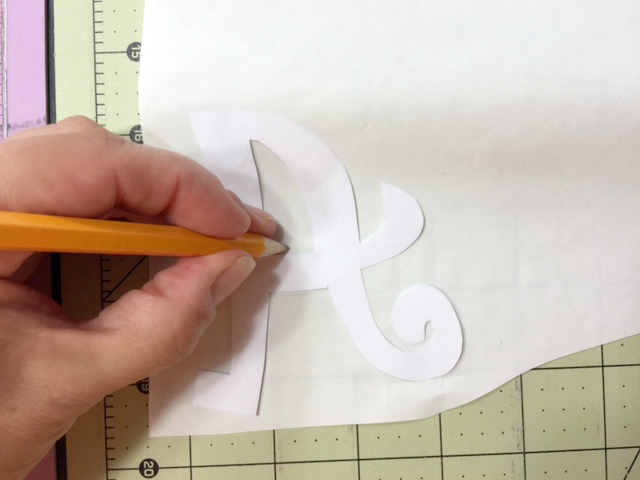
Trace each template upside down so the letter is facing the smooth side of the iron on adhesive.
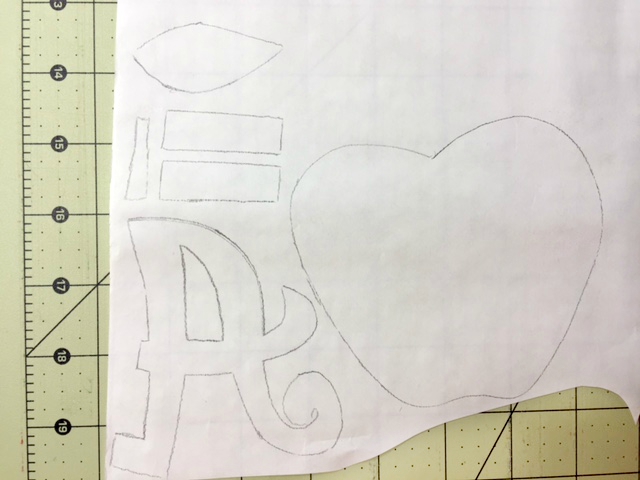
All templates are traced.
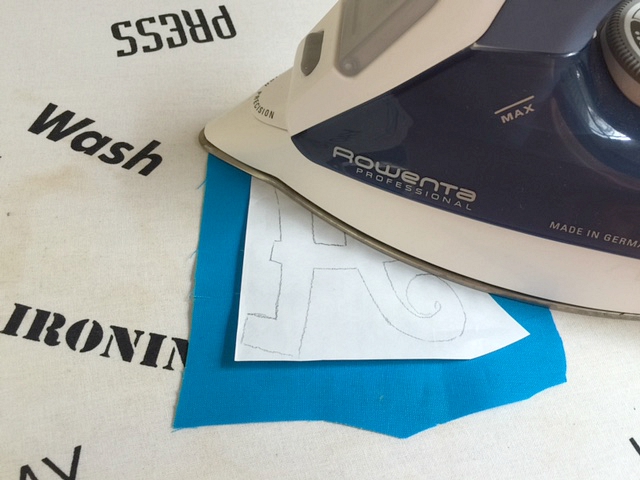
Set your iron to the highest heat and without steam. Place each template with the rough side onto the wrong side of the fabric and press about 10-15 seconds or according to the iron on adhesive.
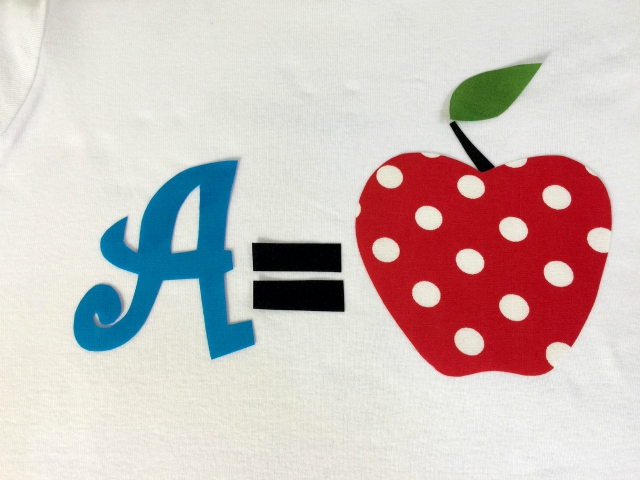
Peel of the backing of each template and position them onto the dress (or other project) as shown.
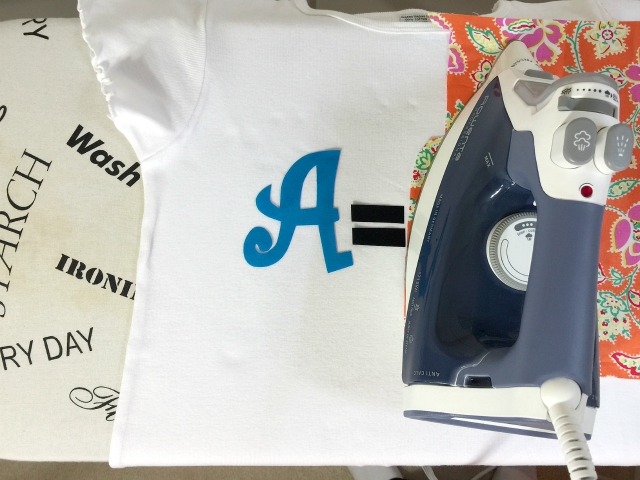
Carefully place a pressing cloth or scrap fabric onto one section of the templates, being careful not to shift them. Press 15-20 seconds or according to the iron on adhesive. Make sure not to move the iron! Once one section is pressed, reposition the pressing cloth and press the remaining area.
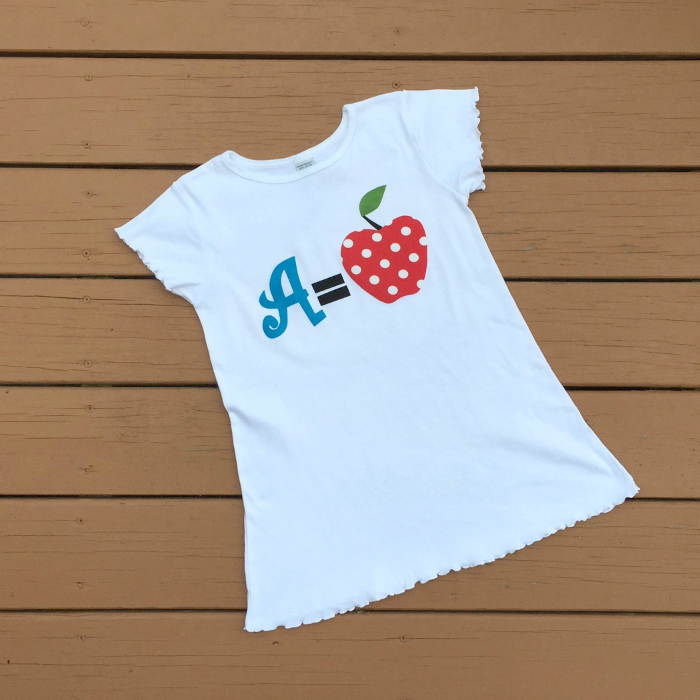
The project is done! All without sewing a stitch!
I hope you like this tutorial and will check out the other free craft tutorials!
- Free Snowflake Tumbler Wrap Designs for Download - September 24, 2023
- Free Welcome To Our Farm SVG File - July 17, 2021
- Professional Overthinker SVG File – Download Today! - July 8, 2021
What a cute idea 🙂
Hey, thanks for visiting!!
This is so cute. Thanks for the great instructions!
You are very welcome! Thank you so much for stopping by!!
I love the template. It’s so cute! I’ve never tried to do an iron on before. It’s nice to see how simple it is. Thank you for sharing on #HomeMattersParty.
So cute and adorable. Thank you for sharing at Share It One More Time. Cathy
Thank you!! I appreciate your visit!
I loved your tutorial. Everything is very clear and I’m sure I can easy do this craft. Thanks for sharing on Snickerdoodle Sunday.
Thanks, Maria! I appreciate you stopping by today!
This is so cute! I used to be a teacher and would have loved one of these shirts! Thanks so much for sharing at Share The Wealth Sunday!
xoxo
Lisa
Oh thank you, Lisa!! I appreciate you stopping by!!
So absolutely cute!
Oh thank you so much for visiting and liking this quick DIY!!
I’m ready to do some applique. This is perfect for a back to school tee shirt for a little girl. It turned out so lovely. Thanks for sharing your tutorial at the Inspiration Spotlight Party! PInned & shared. Always great to see what lovely projects your creating!! Hope to see you again soon.
Thank you very much!! So nice to have you visit today!
So cute! Love the apple! Thanks for sharing at the Submarine Sunday Link Party!!
This post is featured over at Diana Rambles today as part of a Back to School Round Up and has been pinned in the Featured at Diana Rambles board at Pinterest and Twitter.
Oh thank you so much!!! I’ll stop by now!!