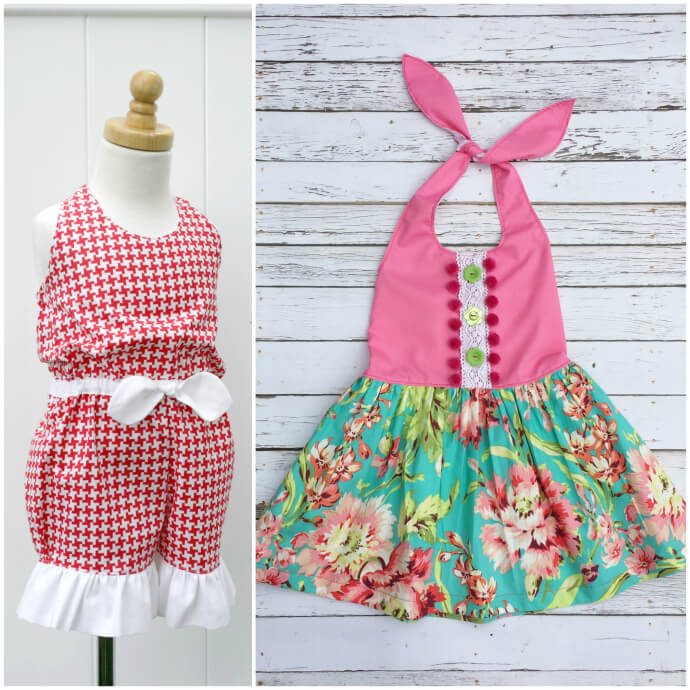
Patterns with bodice and ties in one piece look beautiful but what if you don’t have enough fabric on hand or just want to save some fabric? Such a continuous bodice sucks up lots of fabric and leaves you with awkwardly cut remnants that can’t really be used for much else. Here is a great sewing hack about how to divide long ties.
Sewing Hack: How To Divide Long Ties
If you have a halter top or dress pattern which has the ties seamlessly connected to the bodice you might be getting tired of wasting a lot of fabric. Cutting out such a continuous piece of fabric leaves you with a lot of unusable fabric left over. I had designed two patterns which have such long ties. These patterns are mainly loved because of the nice, clean look such a halter garment provides plus it is faster to sew up. I did however, receive questions about how this enormous fabric wasting could be stopped so I thought of making this quick tutorial for you.

*This post contains links to affiliates. Please see full disclosure here.
Here are the two mentioned patterns, the Beach Comber Halter Romper and the Fiorella Halter Dress Pattern. Both have almost the same bodice with continuing halter ties.
How to divide long ties:
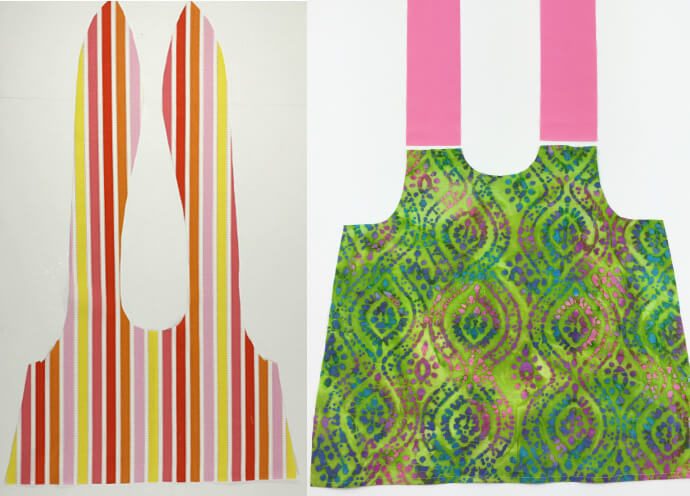
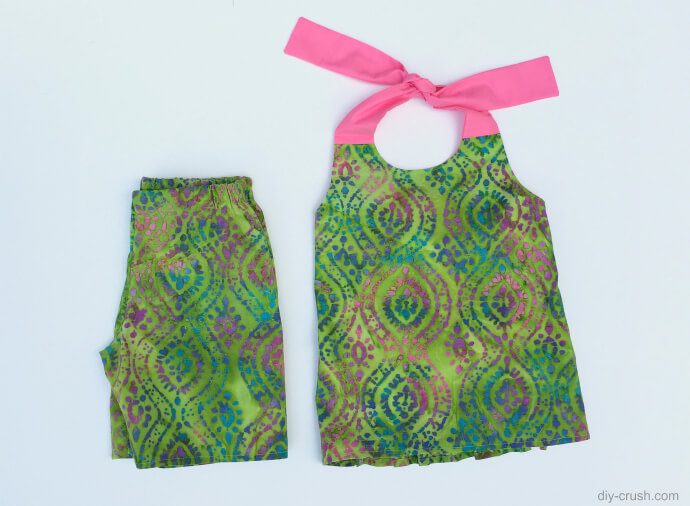
Here I have the cut out bodice of the halter romper pattern and beside it on the right is my example project of a top I am making from the Fiorella dress pattern. I have already divided the ties by simply cutting the template of the bodice a few inches up from the neckline. You can decide where you want to make the cut but I thought it would be a great place. Then I cut out the remaining ties from the template from another fabric, I also added 1″ to that fabric to make for the seam allowance.
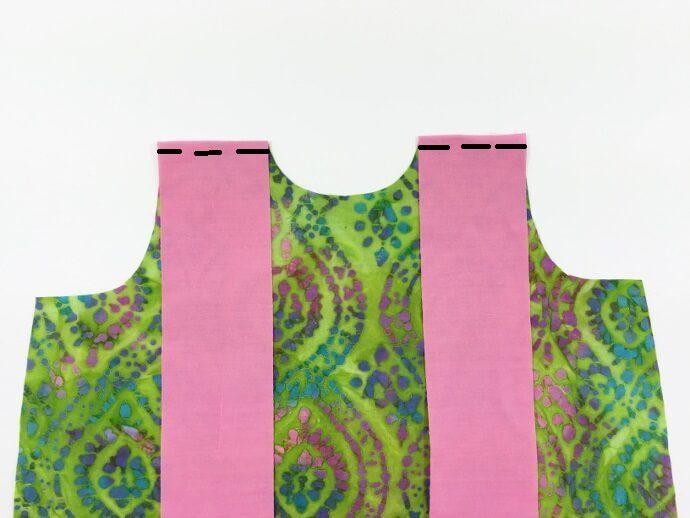
Sew the fabric pieces together:
I flipped the separate tie pieces over the bodice and pinned them into place. Then I sewed them down with a 1/2″ seam allowance. My added 1″ provides exactly enough for the 1/2″ seam allowance.
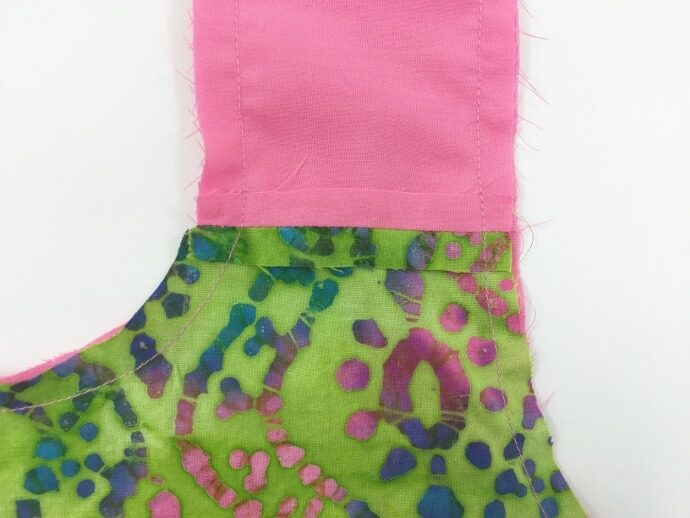
Once I flipped the ties up again, I pressed the seam allowance open as shown below. Then I followed through with sewing the bodice.
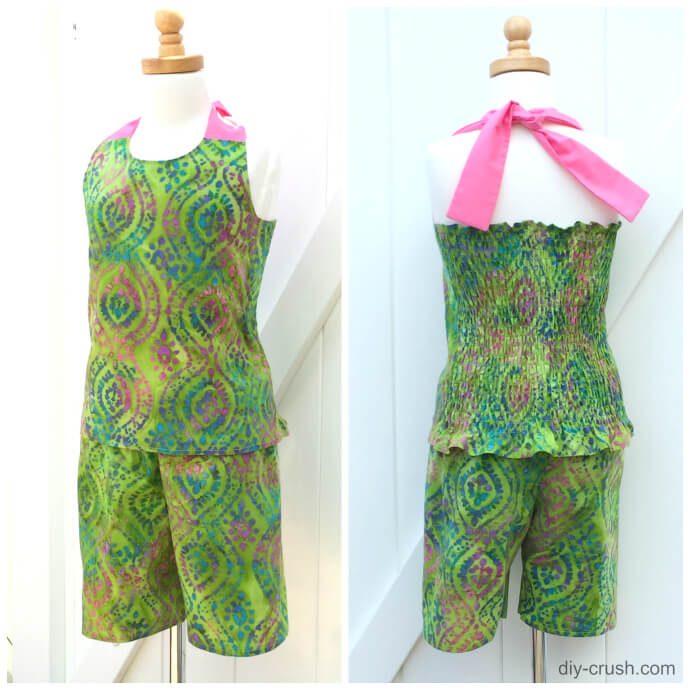
And here is my finished halter top plus some matching shorts in this ravishing batik fabric! 😉 I want to share another tip with you for making a top from a dress pattern. See below!
I love making tops for my daughter since she likes tops and bottoms more than dresses. Sigh! Anyways, so when making a top from a dress pattern it’s important to measure how long the top should be and either cut off the original dress pattern or make a new template by using freezer paper or a big poster. Then add seam allowance and start sewing it. My top is lined as the original pattern I’m using so I had to finish the bottom hems separately before sewing the sides. That way my lining was not connected to the outer top fabrics’ hem.
I chose to match the hot pink in this beautiful batik print (purchased at Hancock Fabrics). I love how it turned out!
You might also like my tutorial on how to make a regular knot dress into a halter dress!
Would you like us to email you when we have a new post up? You can choose what interests you! Then hop on the list by entering your email below! We promise, we only send you 1-2 emails per week!
We are linking up to some of these awesome blogs! Come over to our link party on Thursdays at 7pm EST!