Let’s talk about Inkjet printers first:
If you’ve ever printed a beautiful design on your inkjet printer, only to watch the colors smear or bleed the moment you apply decoupage glue — you’re not alone. This is one of the most common frustrations for crafters, artists, and DIYers who print their own decoupage paper at home.
*This post contains affiliate links. Please see full disclosure here.
The issue usually isn’t your glue or your technique — it’s the type of ink your printer uses. Dye-based ink and pigment ink behave very differently when they come into contact with moisture, and knowing the difference can save you time, money, and a lot of ruined projects.
In this post, I’ll break it down:
- The difference between dye-based and pigment ink
- Which printers use which type of ink
- Why some colors bleed more than others
- And the best options for clean, professional decoupage results
Whether you’re sealing prints, making handmade gifts, or creating art to sell, this guide will help you choose the right printer — or the right workflow — with confidence.
Dye Vs Pigment Ink Printers – Craft & Decoupage Guide
Dye-Based Ink vs Pigment Ink – What Crafters Need to Know
If you print your own designs for decoupage, paper crafts, or mixed media, understanding ink types is essential. Dye-based ink and pigment ink are NOT the same, and they behave very differently when exposed to water-based glues and sealers.
What Is Dye-Based Ink?
How it works:
- Color is fully dissolved in liquid ink
- Ink soaks into the paper fibers
Pros:
- Very bright, vibrant colors
- Smooth gradients (great for art, florals, cards)
- Lower-cost printers and ink
Cons:
- Reactivates when wet
- Prone to bleeding with Mod Podge or decoupage glue
- Reds, purples, dark blues, and black bleed the most
- Less UV-resistant (can fade over time)
Craft impact:
- MUST be sealed before decoupage (spray acrylic recommended)
Common dye-ink printers:
- Epson EcoTank ET-2800 / ET-2850 / ET-3850
- Epson EcoTank Photo models
- Canon PIXMA home printers
- Most budget/home inkjets
What Is Pigment Ink?
How it works:
- Tiny solid color particles sit on top of the paper
- Binder locks pigment in place once dry
Pros:
- Water-resistant once dry
- Minimal bleeding
- Better UV resistance (longer-lasting prints)
Cons:
- Colors may look slightly less vibrant than dye ink
- Printers and ink usually cost more
Craft impact:
- Often safe to decoupage WITHOUT sealing
- Much more forgiving for wet techniques
Ink Type Comparison
| Feature | Dye-Based Ink | Pigment Ink |
|---|---|---|
| Color vibrancy | Very high | High |
| Water resistance | No | Yes |
| Bleeds with Mod Podge | Yes | Rare |
| UV resistance | Lower | Higher |
| Best for decoupage | Needs sealing | Usually safe |
Printers That Use Pigment Ink
Epson (Pigment Ink Models)
- EcoTank Pro Series (ALL pigment):
- ET-5150 / ET-5170
- ET-5850 / ET-5880
- WorkForce Pro Series (DURABrite pigment):
- WF-3720 / WF-4820 / WF-7840
- WorkForce ST-C2100 / ST-C4100
Note: Epson ink labeled DURABrite is pigment-based.
Canon (Pigment or Hybrid)
- Canon MAXIFY series – pigment ink
- Canon imagePROGRAF PRO series – professional pigment photo printers
- Canon MegaTank / PIXMA G series – pigment BLACK only (color inks are dye)
HP (Pigment / Business Lines)
- HP OfficeJet Pro series – pigment black + durable color inks
- HP PageWide series – pigment ink
Professional Photo Pigment Printers (High-End)
- Epson SureColor P700 / P900
- Canon imagePROGRAF PRO-300 / PRO-1000
These offer excellent archival quality but are larger and more expensive.
Important Notes for Crafters
- Many printers use pigment black + dye color inks — better than all-dye, but color prints may still bleed
- Very few refillable tank printers use FULL pigment color ink unless they are business/pro models
- Laser printers use toner (plastic-based) and are completely waterproof
Best Options for Decoupage Artists
Option 1 (Most Common):
- Keep a dye-ink printer
- Spray-seal prints with acrylic
- Decoupage normally with no bleeding
Option 2:
- Use a laser printer for decoupage prints
- A must when using Vellum paper
Option 3:
- Invest in a pigment ink printer
- Less prep, more durability
Key Takeaway
- EcoTank does NOT automatically mean pigment ink
- Home printers = mostly dye ink
- Business / Pro printers = pigment ink
- Dye ink + sealing works beautifully
- Pigment ink offers built-in water resistance
This knowledge helps you choose the right printer — or the right workflow — for clean, professional decoupage results.

Why Vellum Does Not Work in Inkjet Printers
Many customers ask why vellum paper, the type Pixie Decoupage sells, cannot be printed successfully on an inkjet printer. The short answer is: vellum and inkjet ink are not compatible.
Even though this type of vellum paper is not the stiff, waxy type some people associate with traditional vellum, it is still manufactured with a non-absorbent surface. That surface is intentional — it’s what gives vellum its smooth finish and translucent appearance.
What happens with an inkjet printer on vellum
Inkjet printers use liquid dye-based ink that is designed to soak into paper fibers. On vellum:
- The ink cannot absorb into the paper
- Instead, it sits on the surface
- This causes:
- Blurry or fuzzy images
- Feathered edges
- Smudging and smearing
- Long (or never-ending) dry times
No amount of drying time will fix this, because the ink simply has nowhere to go.
Why a color laser printer is required
Laser printers work in a completely different way. Instead of liquid ink, they use toner, which is a fine plastic-based powder. That toner is:
- Heat-fused onto the surface of the vellum
- Permanently bonded using heat and pressure
- Crisp, sharp, and waterproof once fused
Because toner does not rely on absorption, a color laser printer is the correct and required method for printing on this type of vellum paper.
Bottom line
For this specific vellum paper:
- Inkjet printers will always produce blurry results
- Inkjet ink will sit on the surface and smear
- A color laser printer is mandatory for clean, sharp prints
This is not a printer defect or paper defect — it’s simply a matter of using the correct technology for the material.
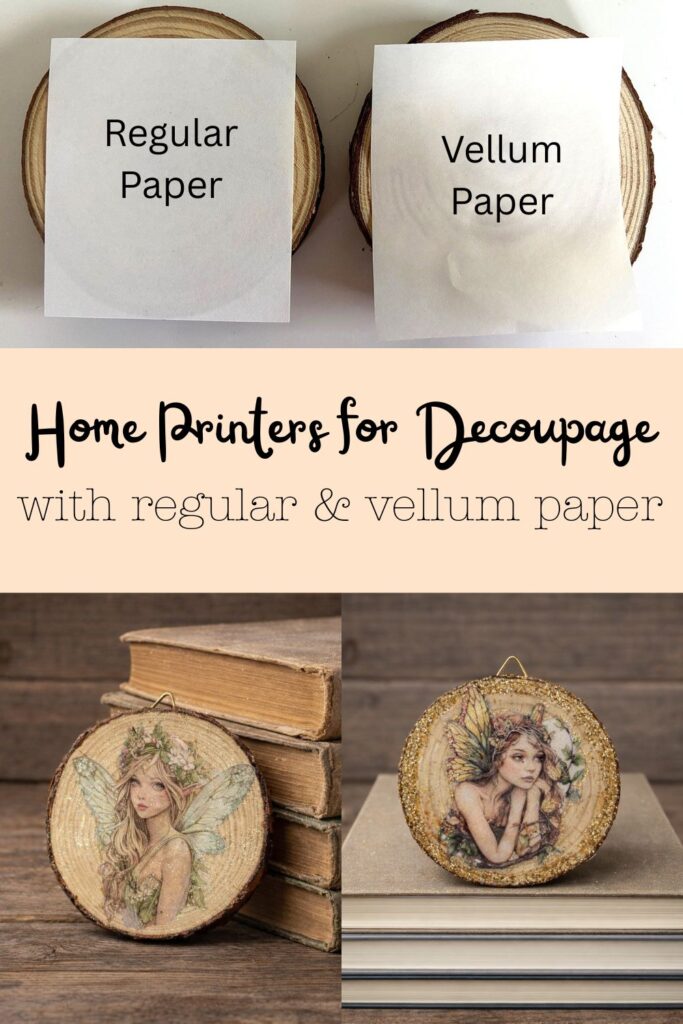
Using Inkjet Prints on Regular Paper for Decoupage (What Does Work)
If you do not have a laser printer, you can still print your designs on a home inkjet printer and use them for decoupage — with a few important limitations and adjustments.
What to expect when using regular paper
Inkjet prints on standard paper are typically thicker and less flexible than vellum or laser-printed overlays. Because of this:
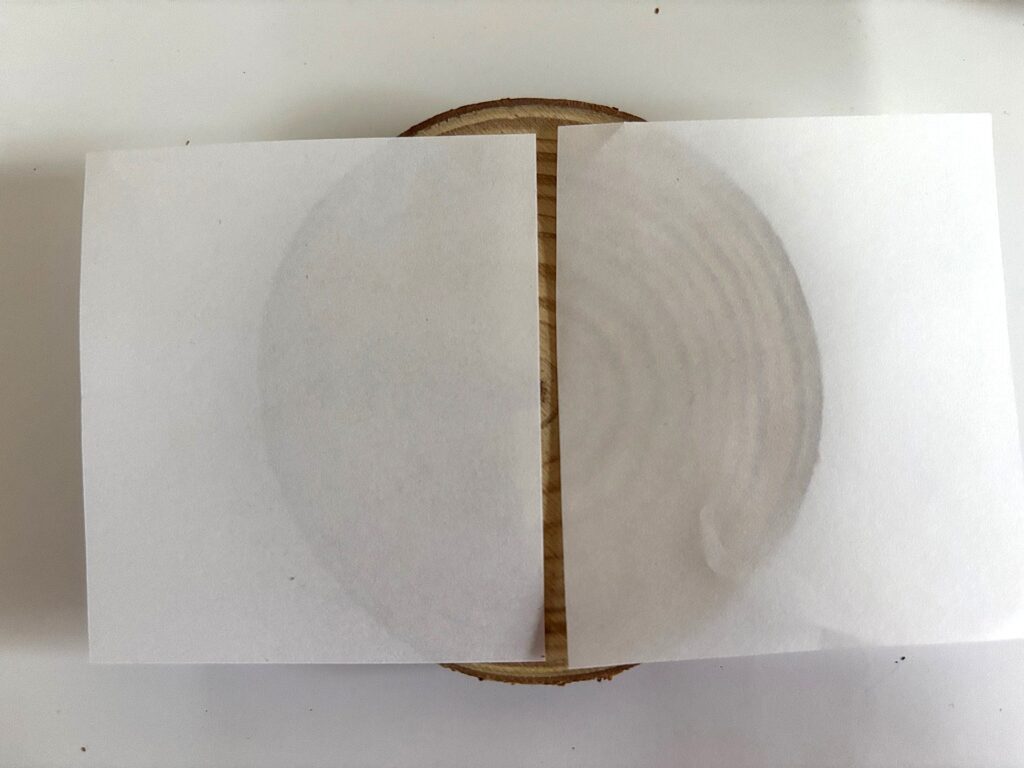
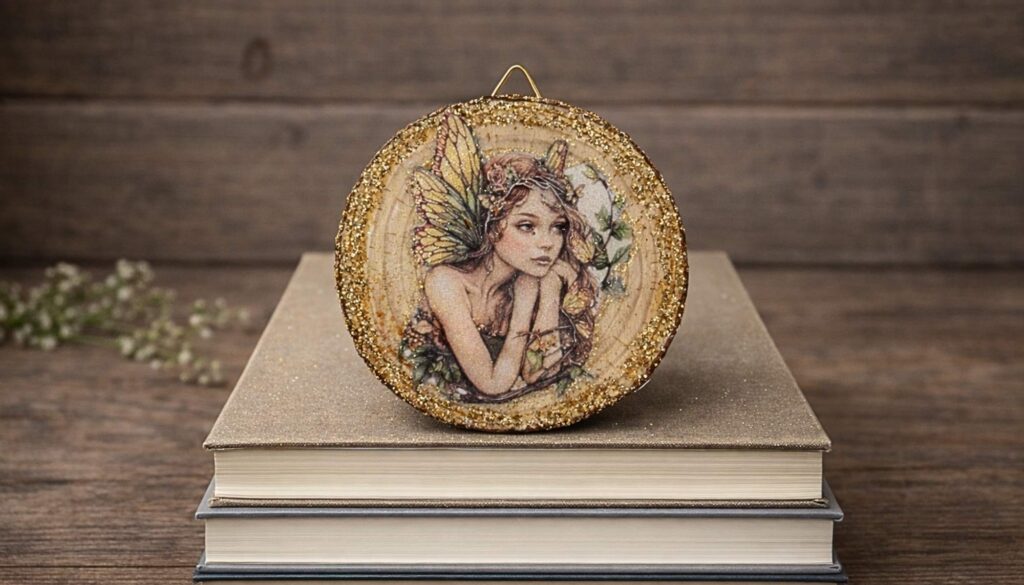
- They work best on flat surfaces (small images that can be cutout will work on curvier surfaces such as shells)
- See below: the difference between the translucency of regular paper on the left and Vellum paper on the right
- They are not suitable for tight curves, rounded edges, or heavily contoured objects
- Extra care is needed to prevent wrinkles and bubbling
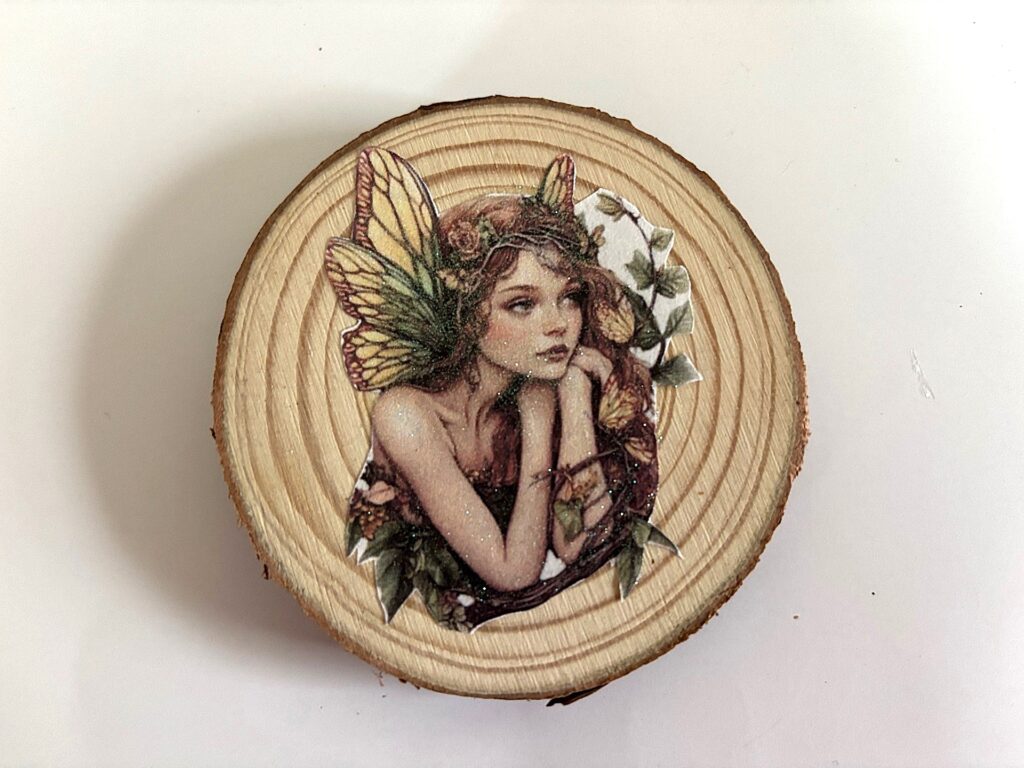
- See below: the quality of a laser print on regular paper on the left versus the same print on Vellum paper on the right. You can buy blank 8.5×11 inch sheets here!. The printed image is much more detailed and less grainy.

With the right technique, however, you can still achieve a clean and beautiful result.
Key rules for inkjet prints used in decoupage
Side note: you will see the paper edge, to camouflage you could outline with glitter glue or cut very close to the actual image in the first place. Resin as a final top coat is the best top coat to “hide” edges too.
1. Choose the right paper
- Use bright white copy paper, presentation paper
2. Apply glue carefully
- Apply decoupage medium to the surface, not directly onto the paper although I have done it numerous times without issues
- Gently smooth from the center outward
- Do not overwork the paper — once it’s down, leave it alone
3. Not suitable for curved surfaces because regular paper is thicker:
- Not recommended to use it on curved or rounded items
- Slits or overlapping seams may be required for mild curves
- Flat signs, plaques, frames, trays, flat (or flatter) shells and panels work best
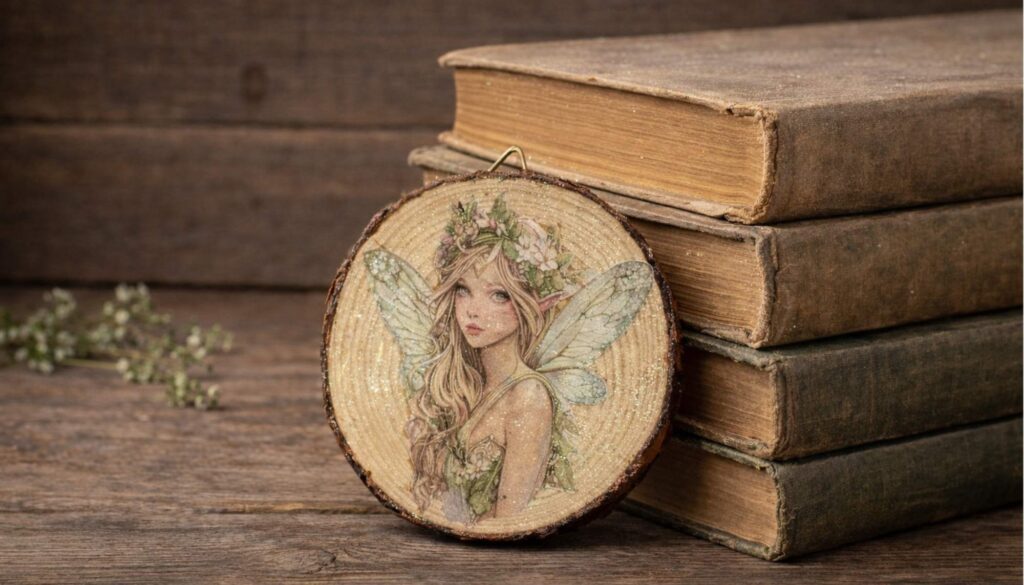
- See below: a laser print on regular paper still works when a coat of glitter paint to added to camouflage the grain in the print. It must be printed on a printer with dye-based ink or pigmented ink and also, the print should not have blues and reds as they tend to bleed more
Sealing AFTER decoupage (important)
Once the paper is fully adhered and dry:
- Use Krylon Clear Acrylic Spray (Matte or Satin recommended)
- Apply 2–3 very light coats
- Allow each coat to dry fully before the next
- This step is essential — do not skip it.
This final sealing step protects the design from moisture, wear, and fading and gets it ready for the top coat which my recommendation is always RESIN 🙂
Bottom line
- Inkjet printers can be used with regular paper for decoupage
- Proper sealing makes clean results possible
- Not suitable for tight curves or highly dimensional surfaces
- Best results come from sealing after decoupaging, working gently, and sealing again before final top coat (Resin or top coat of choice)
With these adjustments, inkjet-printed designs on regular paper can still be a practical and beautiful option for many decoupage projects.